

A professional lash lift is a highly precise chemical treatment designed to restructure and lift the natural eyelashes from the root. Unlike lash extensions that attach synthetic fibers to the natural lash, a lash lift works exclusively with the client’s existing hair structure, visually elongating and organizing the lashes to create an open-eyed, awake appearance. For beauty salons, mastering the technical execution and chemistry of this service provides a highly profitable, low-maintenance alternative for clients seeking an effortless cosmetic enhancement.
To deliver consistently exceptional results, a technician must understand more than just the basic steps of application. A truly professional treatment requires a deep grasp of lash chemistry, meticulous shield placement, precise timing, and custom aftercare planning.
The Science of Chemical Restructuring
The natural lash structure is composed primarily of keratin proteins held together by strong covalent disulfide bonds. These bonds act as chemical bridges between cysteine residues, determining the natural shape, strength, and curl of the hair. To permanently alter this structure without causing irreversible damage, a controlled two-stage chemical reaction must take place.
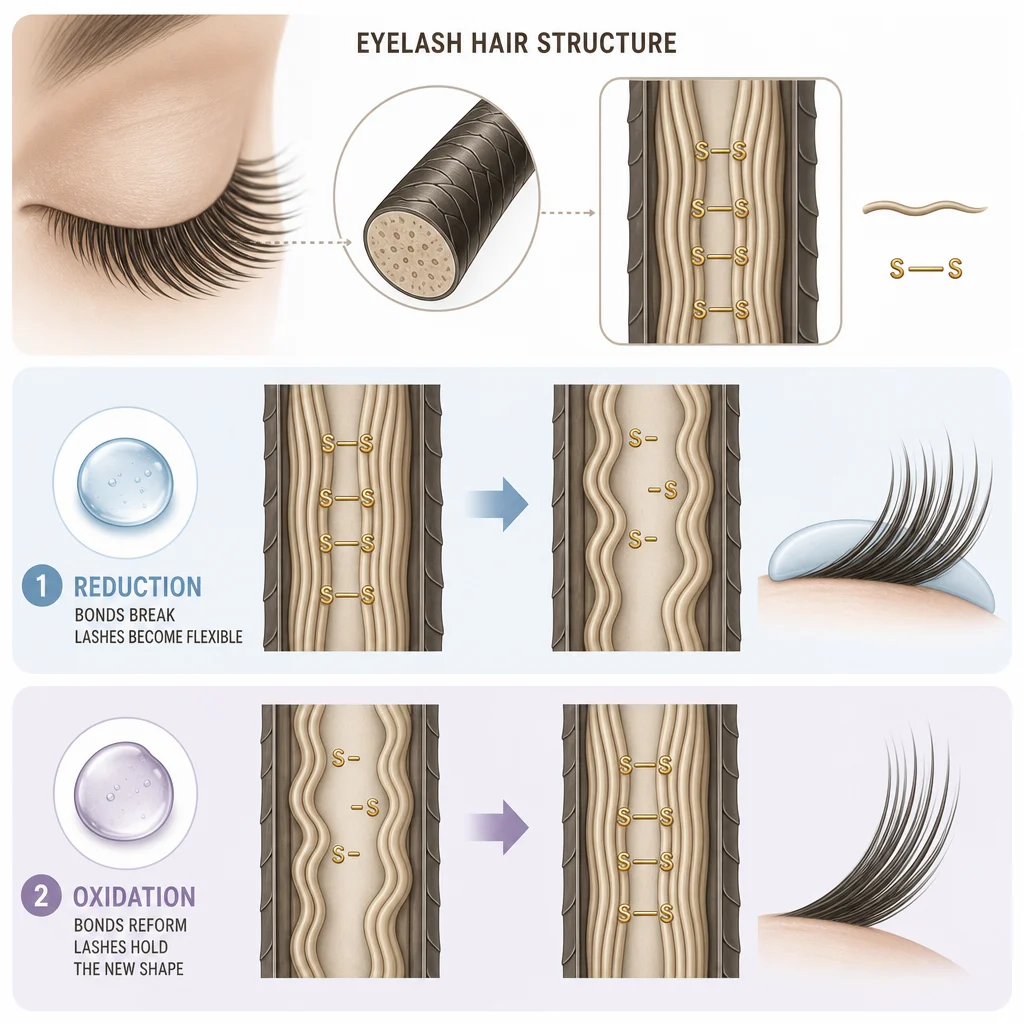
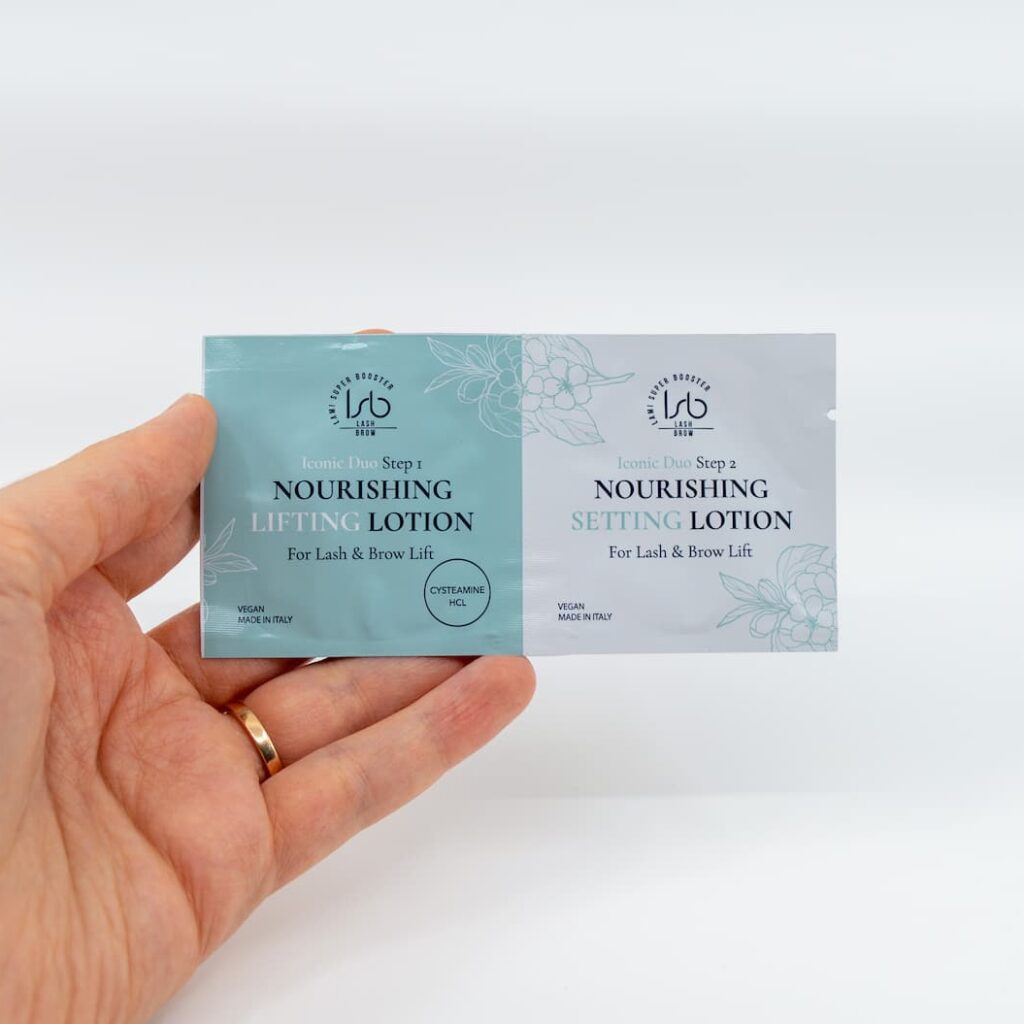
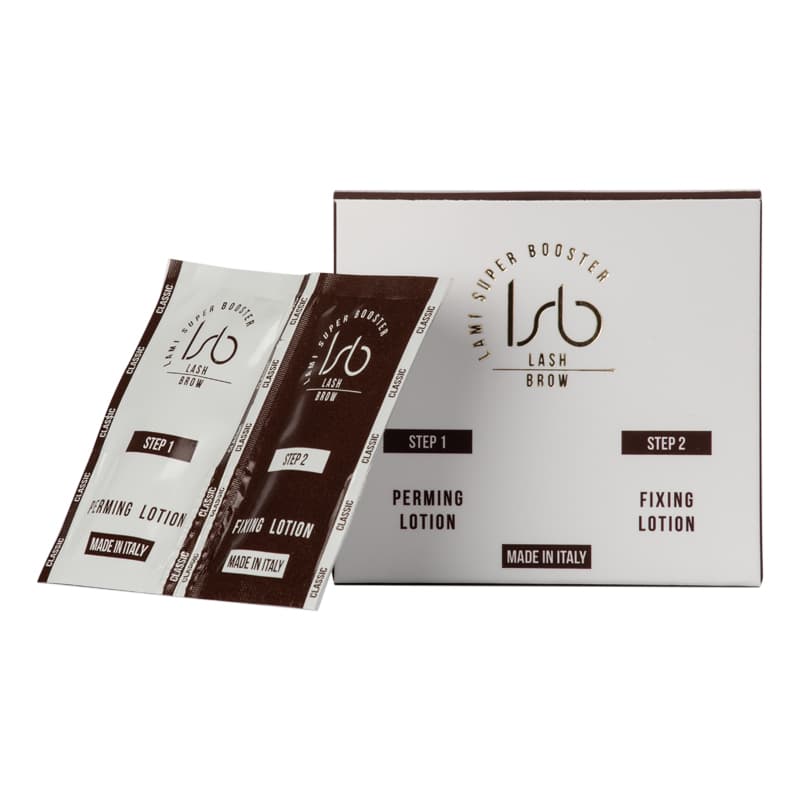
The first stage is a chemical reduction process. When a technician applies a professional lifting or perming lotion, the alkaline formulation swells the hair cuticle, raising the hair’s natural acidic pH of approximately 5.5 to an alkaline level of 8.5–9.5. This swelling allows the active reducing agent to penetrate the cortex. The active ingredient – typically either Ammonium Thioglycolate or Cysteamine HCl – cleaves the disulfide bonds, converting them into weaker sulfhydryl groups. This makes the lash temporarily malleable and ready to be reshaped. For a closer look at this chemical phase, technicians can consult our detailed breakdown of disulfide bonds.
The second stage is the neutralizing or oxidizing step. Once the lashes are secured in their new, lifted position on a silicone shield, a setting lotion (commonly formulated with hydrogen peroxide) is applied. This neutralizes the alkaline residues, lowering the pH back to its natural acidic state and closing the cuticle. Crucially, the oxygen introduced during this step oxidizes the sulfhydryl groups, prompting them to reform into new disulfide bonds that “lock in” the desired curvature. Because repeated chemical waving can alter the natural organization of keratin fibers over time, understanding this transition is key to protecting lash health. Technicians can read more about this stabilizing stage in our guide to pH neutralization in lash lifts.
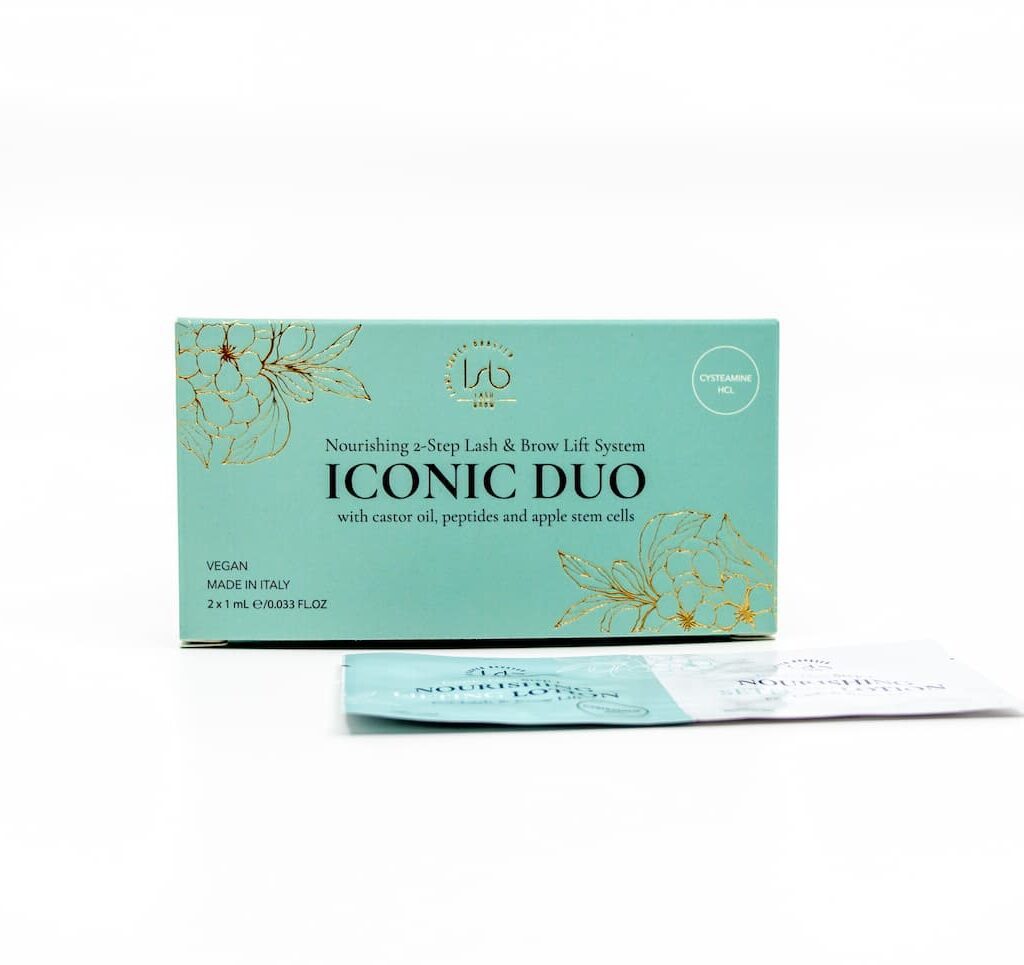
When selecting formulas, technicians generally choose between two primary active agents. Ammonium Thioglycolate is a traditional, robust reducer that works quickly and is highly effective on coarse, stubborn lashes. Cysteamine HCL is a modern, gentler alternative that acts as a softer reducing agent, making it highly recommended for clients with sensitive eyes or compromised lash fibers. This distinction and the specific functions of stabilizers and emulsifiers are detailed in our lash lift lotion ingredients overview. For a complete understanding of how these chemical compounds interact, refer to our essential guide to lash chemicals and our guide to understanding perming lotions.
The Professional Procedure Step-by-Step
A standard, professional lash lift service requires systematic preparation, anatomical accuracy during application, and meticulous post-treatment conditioning.
Preparation and Cleansing
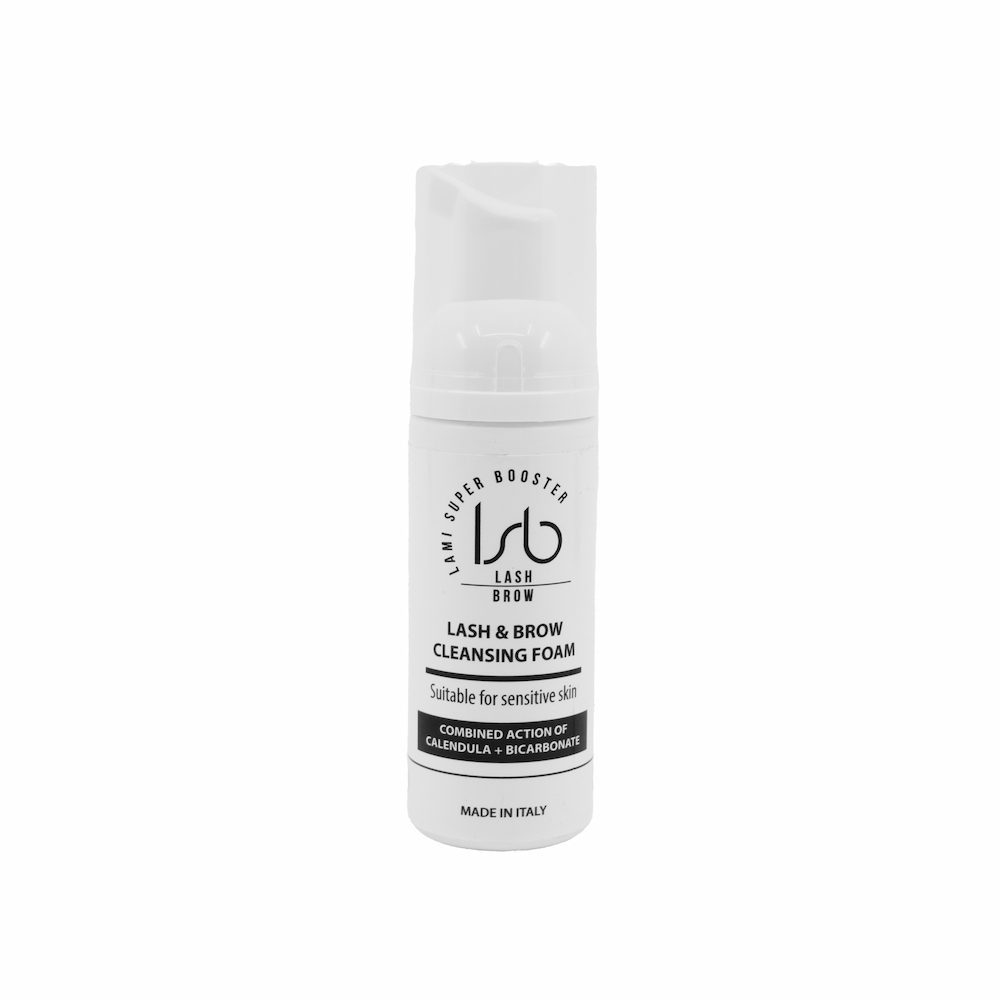
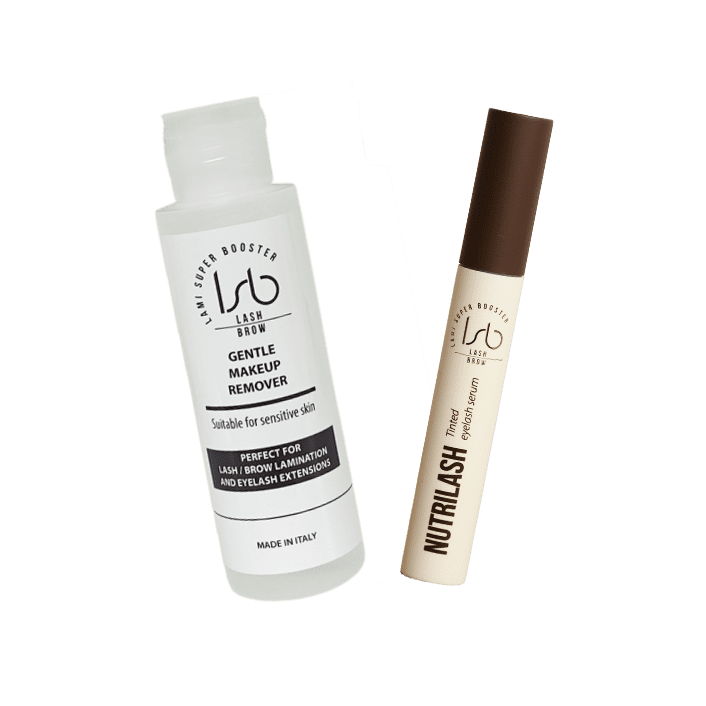
The service begins with a thorough purification of the eye area. Eyelids and lashes must be entirely free of sebum, makeup residues, and dust, as any leftover oils will act as a chemical barrier and inhibit the uniform penetration of the perming lotion. Technicians should lightly dampen the lashes and apply a specialized, non-greasy cleansing foam. Using gentle, circular motions with a soft brush, cleanse the lash line thoroughly, then rinse with lukewarm water and pat dry with a lint-free towel.
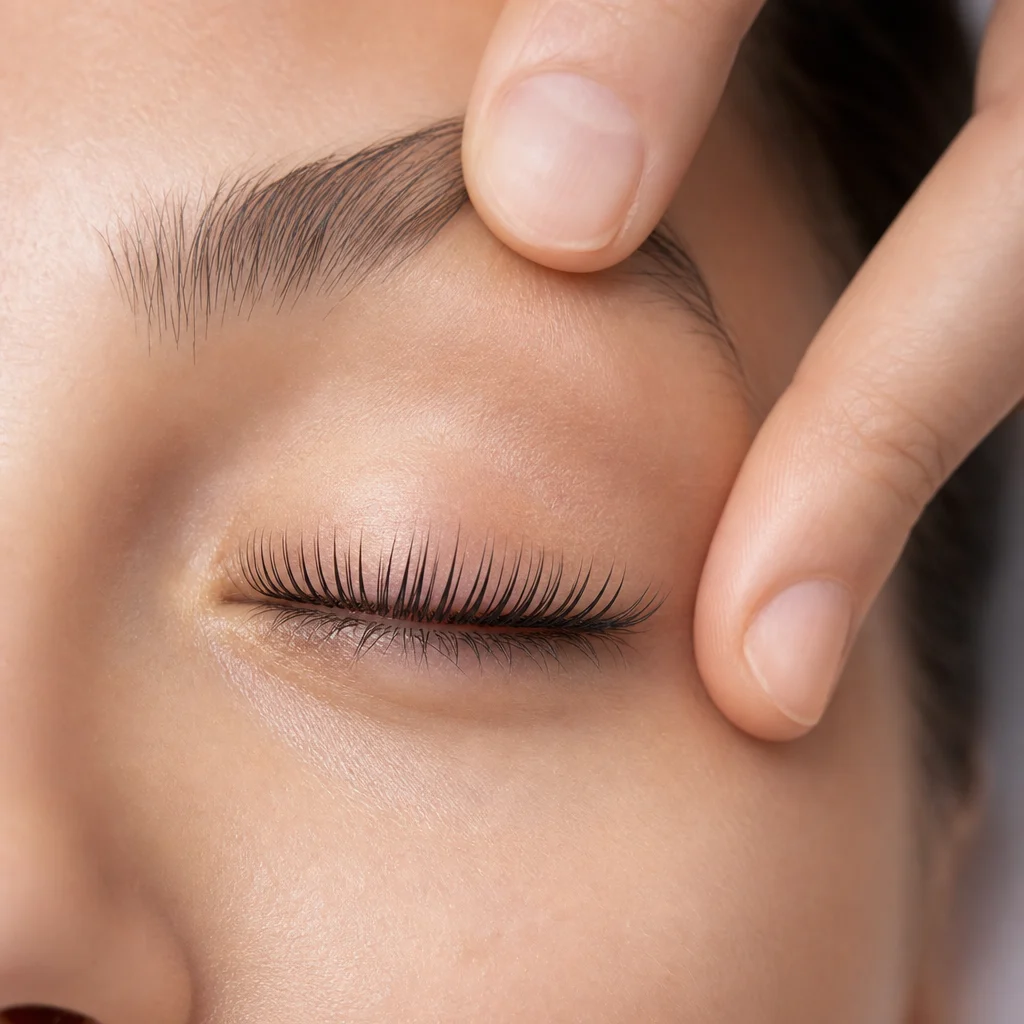
Shield Selection and Lash Alignment
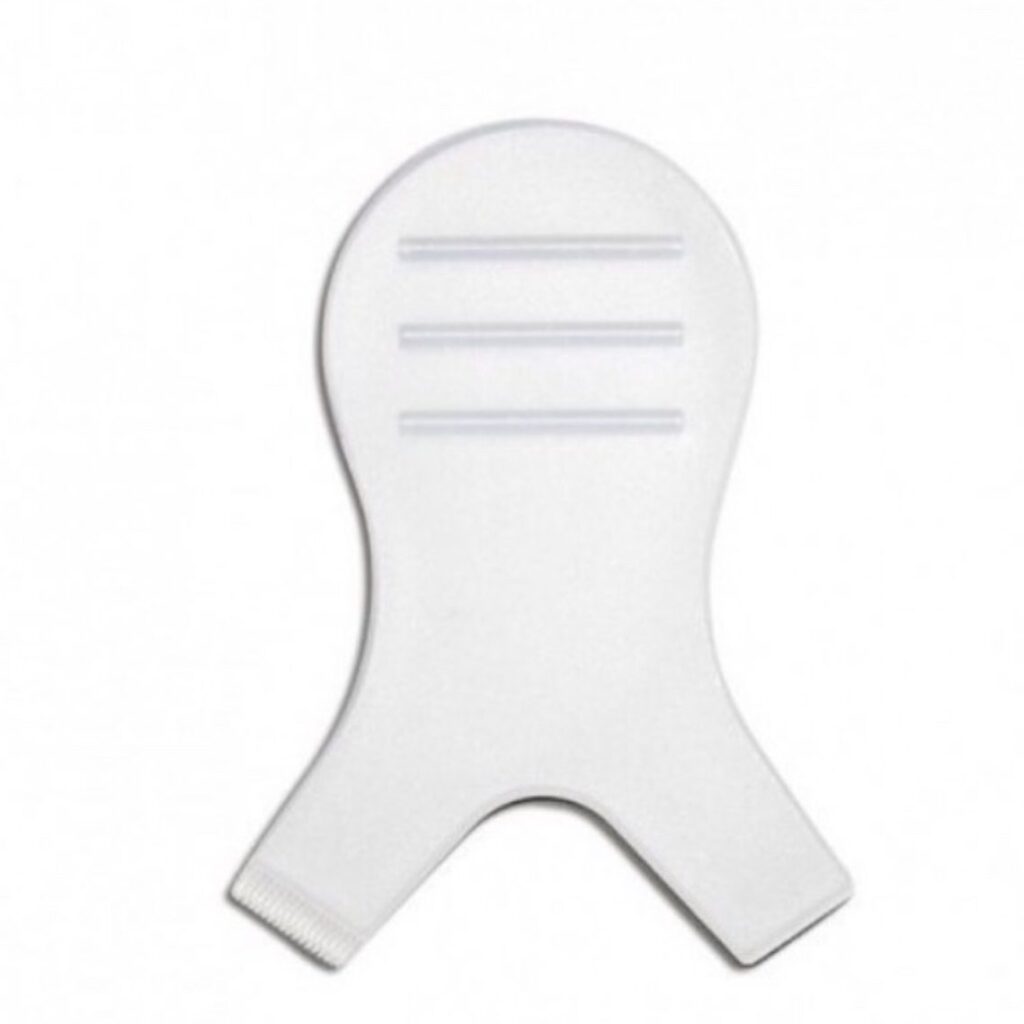
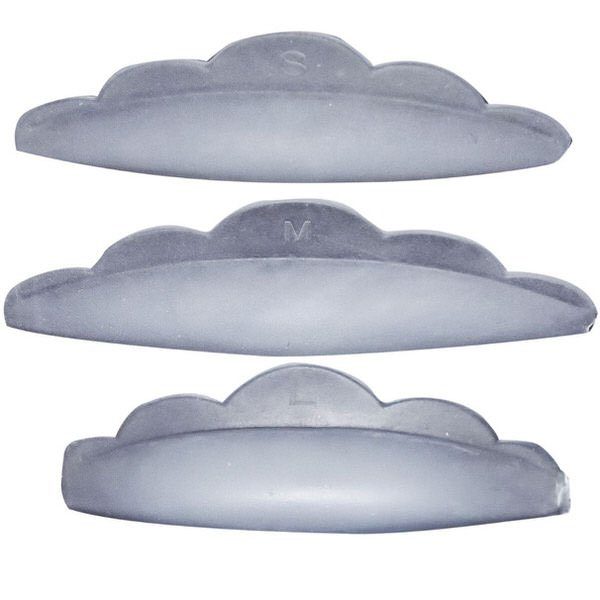
Choosing the correct shield size is the single most important factor in preventing unnatural, crimped, or under-lifted results. Technicians must select small (S), medium (M), or large (L) shields based on the client’s natural lash length and the desired level of curl. As a general rule, shorter lashes require smaller shields to achieve a noticeable lift, while longer lashes require larger shields to prevent the tips from curling back into the eyelid. For detailed guidance on matching eye anatomy to the correct tool, reference our lash lift shield size guide and explore the nuances of the rod and shield lash lift method.
Apply a 1mm layer of water-soluble adhesive along the back of the silicone shield and position it as close to the natural lash line as possible without touching the bare eyelid skin. Once secured, apply a thin, even layer of adhesive to the front of the shield. Working in small sections, use a specialized alignment tool or a Y-comb to lift the natural lashes upward, tensioning them evenly and ensuring they are perfectly separated and parallel. Proper alignment is crucial; any lashes crossed or clumped at this stage will set permanently in that incorrect position. Technicians can find detailed visual steps in our step-by-step guide to applying lash lift shields.

Solution Application and Timing
Apply the lifting lotion across the center of the lashes, keeping the product approximately 1mm away from the eyelid skin to prevent irritation, and avoid covering the delicate lash tips. Processing times must be monitored using a digital timer and adjusted based on the client’s lash density and thickness. Every brand and product has their unique recommended processing times, but you should always assess how the hair reacts instead of relying solely on the recommended times.
For modern Cysteamine HCl-based or specialized Korean systems, processing times are often shorter, typically ranging from 4 to 10 minutes. For precise protocols, refer to our lash lift processing times protocol.
Once the processing time for the lifting lotion is complete, remove the product thoroughly with a cotton swab. Apply the setting or fixing lotion to the exact same area, matching the exposure time of the first step to ensure complete disulfide bond restoration.
Advanced technicians looking to customize lotion consistency can mix a specialized glue powder additive directly into the perming and fixing lotions. This technique modifies the product’s texture, giving the lotion added grip and allowing for a completely glueless or hybrid application that keeps the solutions precisely where they are placed.
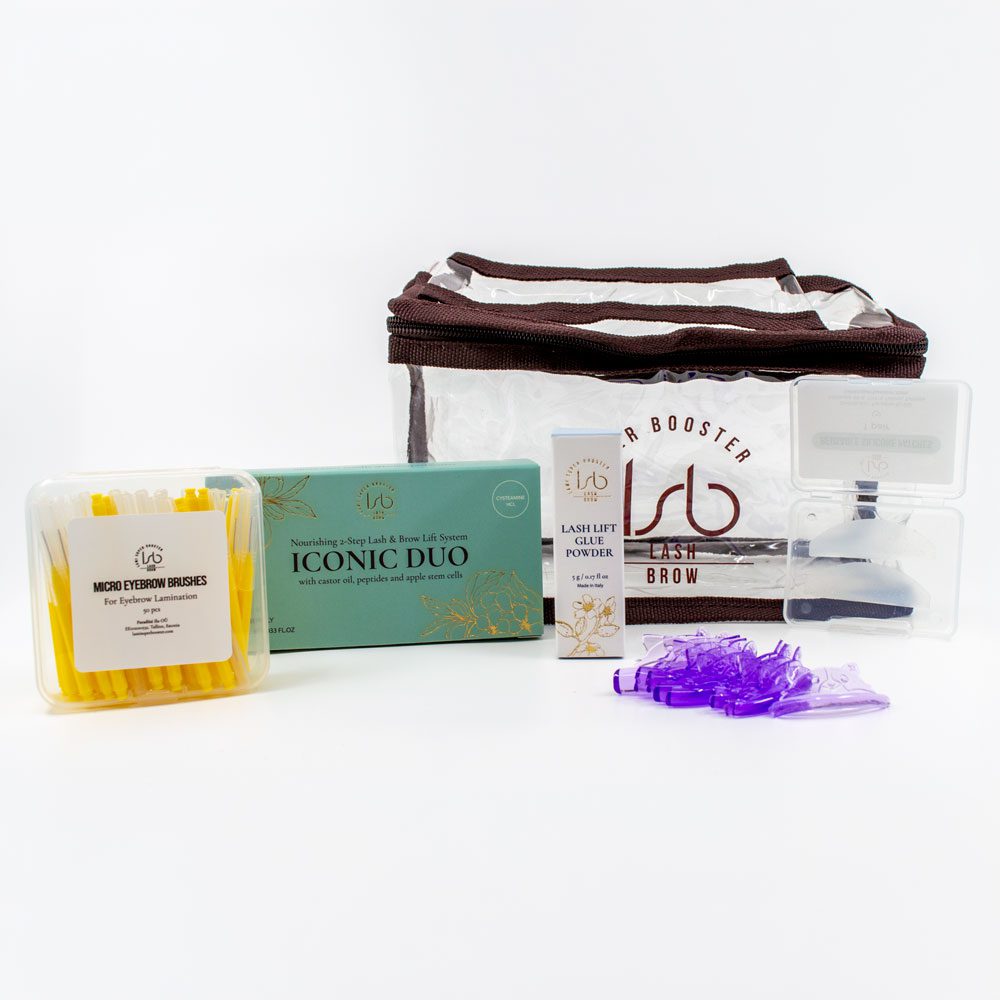
Iconic Duo Cysteamine Lash Lift Kit medium
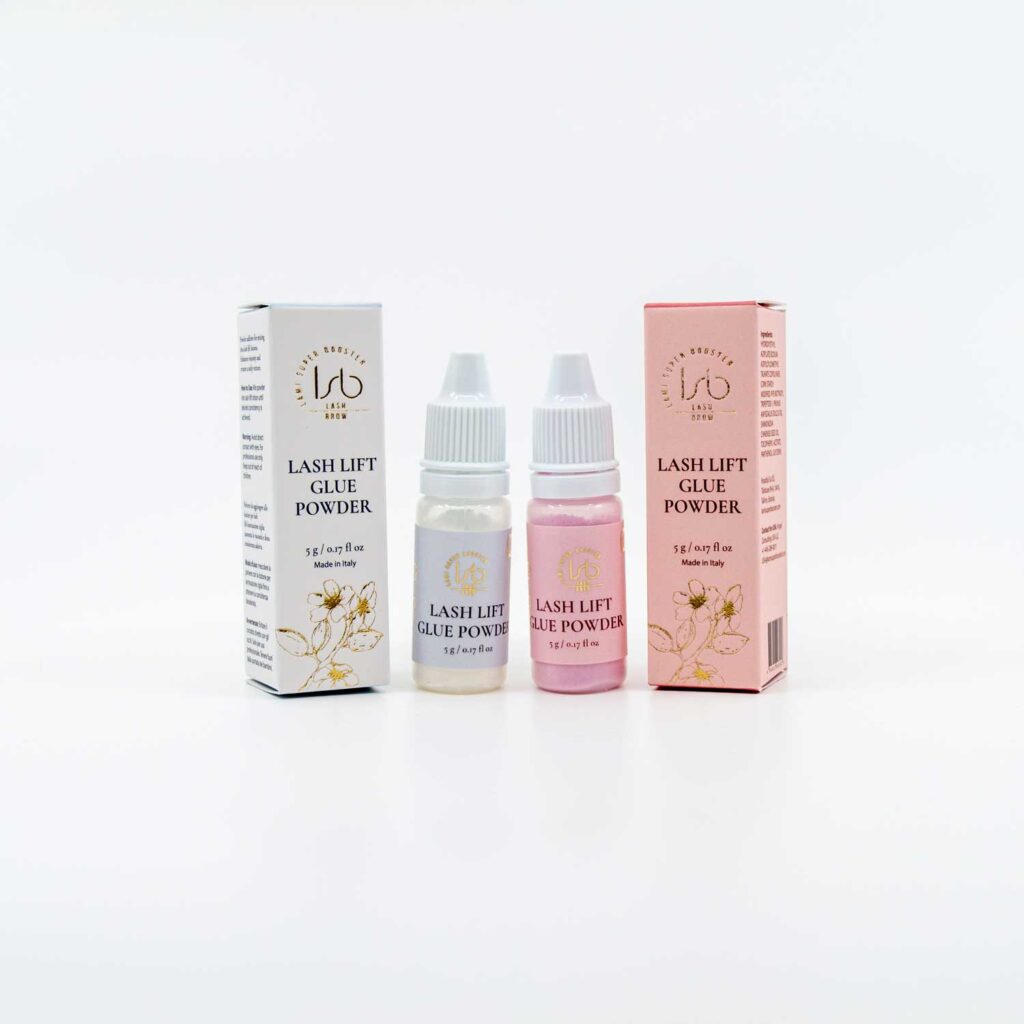
Lash Lift Glue Powder
Tinting and Keratin Lamination
To maximize visual impact, an optional tinting service can be performed immediately after removing the setting lotion while the hair cuticle remains receptive. To explore the range of professional shade options, visit our professional eyelash tints category, or read our lash lift and tint timing guide to understand how to seamlessly merge these services.
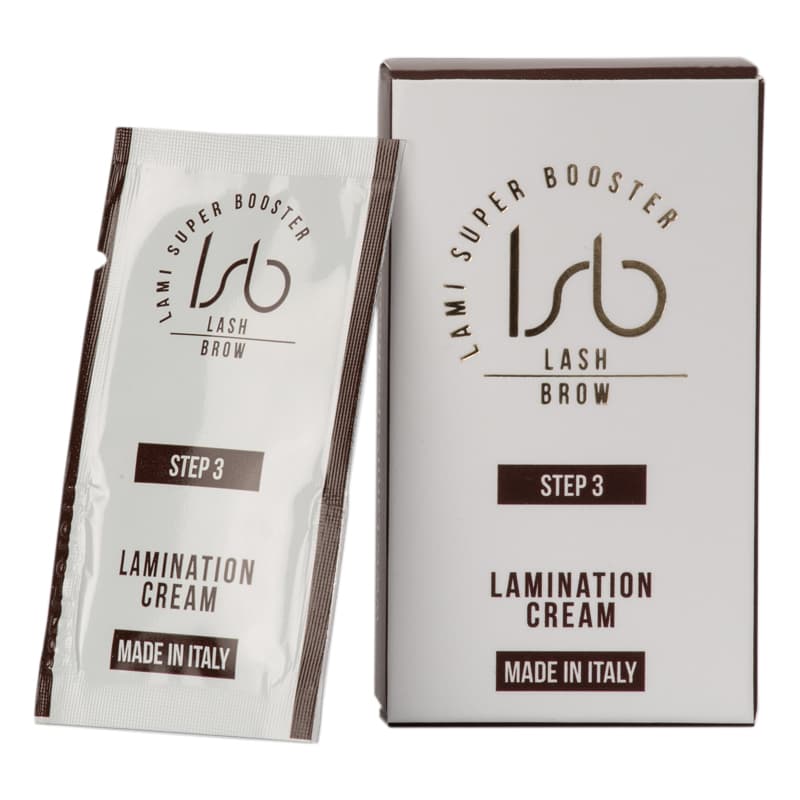
The final step is the application of a nourishing lamination cream. Eyelash lamination is an essential post-treatment phase that introduces low-molecular-weight proteins – such as hydrolyzed keratin, silk, and collagen – deep into the hair cortex. This step seals the cuticle, locks in moisture, and restores structural integrity, leaving the lashes looking thicker, darker, and healthier. The clinical differences between standard lifting and protein-infused lamination are explored in our science of keratin lash lifting and our eyelash lamination guide.
Pre-Treatment Safety and Contraindications
Prior to performing any lash lift, technicians must conduct a comprehensive consultation and screening process to evaluate the client’s medical history and suitability for the treatment.
A professional patch test must be performed 24 to 48 hours before the service. Apply a 1mm drop of both the lifting and setting solutions to the inner wrist or behind the ear, then remove. If the client experiences any redness, itching, swelling, or discomfort, the treatment must not proceed.
To protect both the client and the salon, technicians should screen for the following key contraindications:
- Active eye infections, inflammation, or diseases (such as conjunctivitis or blepharitis)
- Dry eye syndrome or glaucoma, which can be exacerbated by exposure to chemical vapors
- Recent ocular surgeries, including LASIK, requiring a minimum recovery period of six months
- Severe skin sensitivities, eczema, or psoriasis in the immediate orbital area
- Brittle, severely damaged, or over-processed natural lashes
Technicians can find complete documentation templates and screening guidelines in our essential lash lift contraindications guide. For advice on navigating safety during pregnancy and breastfeeding, consult our guide on the safety of lash lifts during pregnancy. For a broader understanding of chemical safety, hygiene protocols, and emergency response, review our comprehensive guide to lash treatment risks.
Troubleshooting Underprocessed and Overprocessed Lashes
If a lash lift does not produce the expected curl, the cause is typically underprocessing due to insufficient timing, old product, or incomplete removal of natural sebum. To correct this, wait a minimum of 4 weeks before performing a corrective service, adjusting the processing time slightly upward.
In the case of overprocessing – where lashes appear frizzy, crimped, or overly curled – the structural integrity of the hair has been compromised. Do not attempt another lifting service. Instead, focus on intensive nourishment, advising the client to apply daily peptide-rich serums. To establish safe retreatment timelines and learn how to manage damaged hair fibers, refer to our guide on safely repeating lash lifts.
Post-Treatment Care and Retention Maximization
The longevity of a lash lift typically spans 6 to 8 weeks, aligning with the natural lash shedding cycle. However, the stability of the newly reformed chemical bonds depends heavily on the client’s behavior during the first 24 to 48 hours.
Technicians should provide clients with clear, written aftercare instructions:
- Keep the eye area completely dry and avoid steam, saunas, hot showers, and intense workouts for the first 24 to 48 hours to prevent the new curl from dropping before it has fully set.
- Avoid wearing eye makeup or heavy mascaras during this initial setting window.
- Do not sleep face-down or rub the eyes, as mechanical pressure can permanently bend the malleable lashes into irregular shapes.
- After 48 hours, cleanse daily using a gentle, oil-free cleanser to keep the lash line clean without stripping the hair’s natural moisture.
- Brush the lashes upward daily with a clean, dry spoolie to maintain separation.
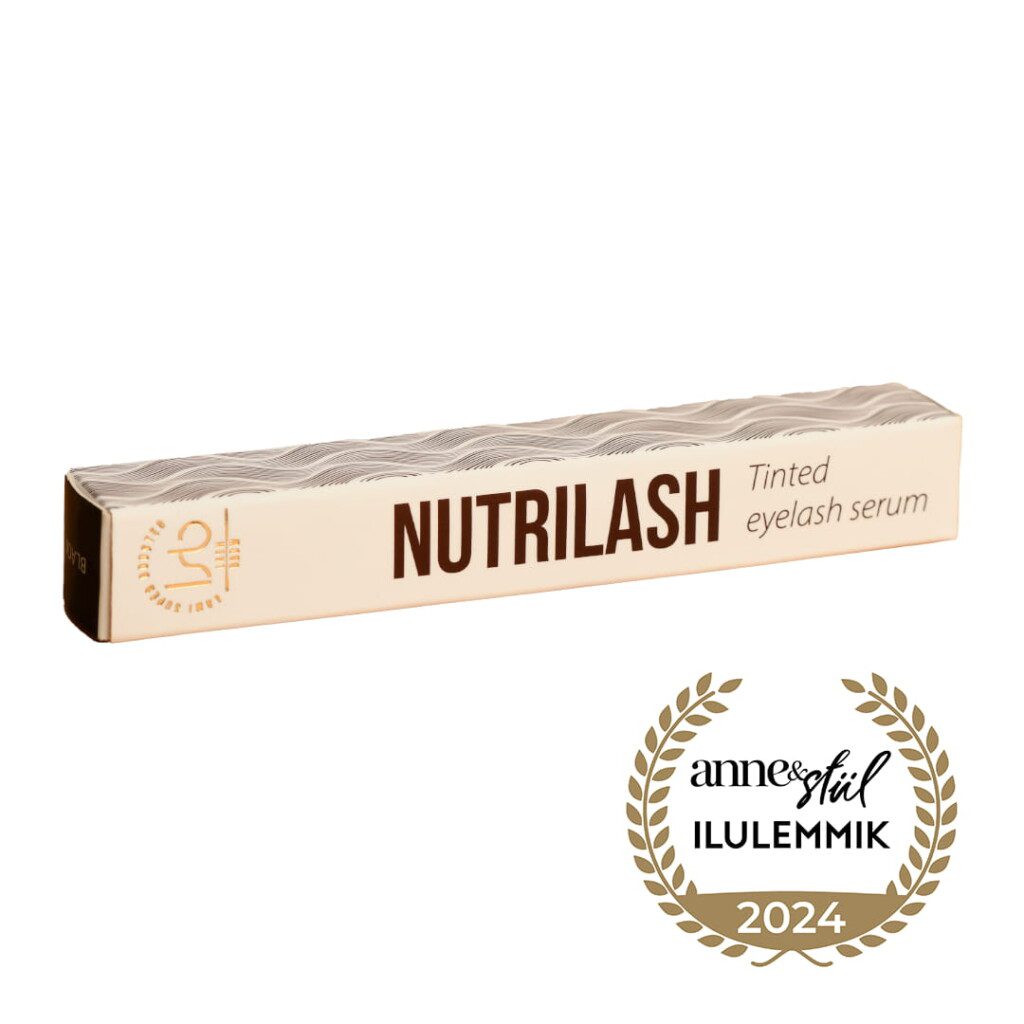
- Apply a professional, non-hormonal lash growth serum daily to hydrate, strengthen, and support the growth of new lash cycles.
Salons can find professional retail products and educational resources to support client maintenance in our lash lift aftercare products category, and find detailed advice on maximizing retention in our lash lift aftercare recommendations.

Elevating Your Salon’s Standard
Mastering the technical artistry of the lash lift requires a careful blend of chemical understanding, physical precision, and strict safety standards. By shifting away from one-size-fits-all processing times and choosing high-quality, Italian-made formulations tailored to individual lash densities, technicians can deliver highly customized, damage-free results that keep clients returning cycle after cycle.
To expand your salon’s service menu, ensure your backbar is stocked with professional-grade solutions, anatomical shields, and nourishing lamination creams. Explore our comprehensive collections of lash lift products, professional lash lift kits, and precision lash lift tools and accessories to elevate your treatments and secure outstanding, long-lasting curl retention.