
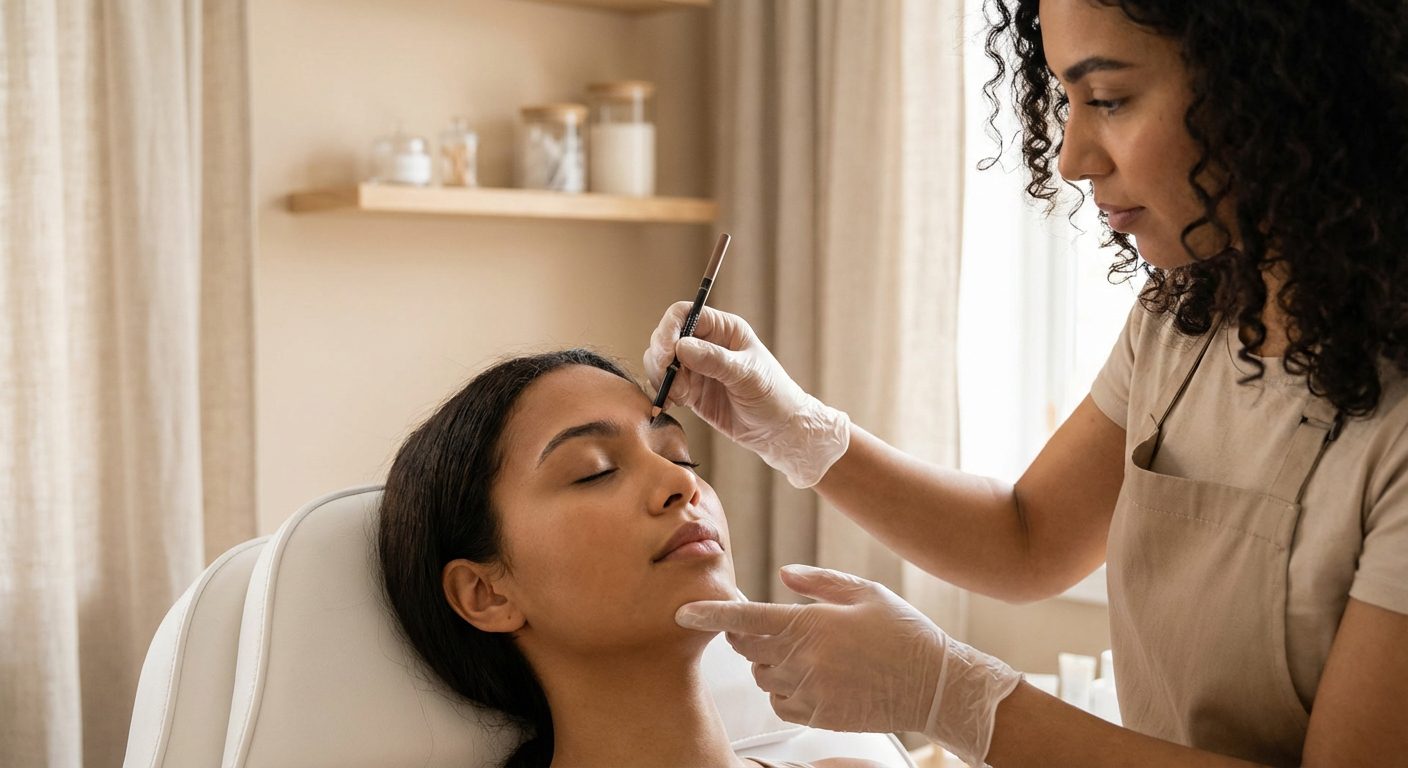
In the professional beauty industry, an eyebrow service is rarely just about hair removal; it is an exercise in facial architecture. For a beauty technician, the goal is to identify a client’s unique bone structure and use brow design to enhance symmetry, balance proportions, and achieve a more polished, aesthetic appearance. Whether you are performing a simple wax or a complex brow lamination, the ideal shape is determined by the specific canvas of the face.
Foundations of Facial Analysis
Before picking up a marking pencil or a spoolie, the client’s face shape must be categorized to dictate where the arch should sit and how long the tail should extend. For an oval face, often considered the standard for balanced proportions, the goal is maintenance. You should follow the natural orbital bone, placing the arch approximately two-thirds of the way from the start of the brow while keeping the curve soft to maintain the face’s natural harmony.
Round faces require a different approach to contrast the lack of angles in the jawline and cheeks. Technicians should design a high, sharp arch to create a vertical point of interest that elongates the face. It is important to avoid rounded brow shapes in these cases, as they tend to emphasize the existing roundness of the facial structure. Conversely, a square face with a strong, angular jaw requires a softened brow to balance the lower face. A defined but gently curved arch, perhaps paired with a slightly thicker brow, helps offset a prominent jawline, whereas a thin, sharp brow may look out of place.
For heart-shaped faces characterized by a wider forehead and a pointed chin, the brows should remain soft and rounded. High, dramatic arches can draw excessive attention to the forehead, so the focus should remain on a controlled curve that tapers elegantly at the tail. Finally, for long or oblong faces, the objective is to create the illusion of width. Keeping the brow shape relatively flat and extending the tail horizontally helps break up the vertical line of the face, making it appear shorter and more balanced. Understanding these nuances is essential for professional brow shaping techniques, allowing you to document precise measurements for repeatable results.
Precision Brow Mapping Protocol
Brow mapping uses the Golden Ratio to achieve symmetry by identifying key landmarks relative to the client’s anatomy. While every face is naturally asymmetrical, mapping allows you to create a “sister, not twin” harmony that compensates for different eye heights or orbital bone protrusions. A professional mapping session typically takes 30 to 45 minutes to ensure total accuracy.

- The Starting Point: Align a straight tool vertically from the outer edge of the nostril to the inner corner of the eye. This mark identifies the head of the brow.
- The Arch: Angle the tool from the outer edge of the nostril through the center of the pupil. This is the highest point of the brow. A slightly higher, more lifted arch can open the eye area, creating a more youthful and open expression.
- The Tail: Angle the tool from the nostril to the outer corner of the eye. To prevent a “drooping” or tired appearance, the tail should never drop lower than the head of the brow.
To ensure the most accurate application of these marks, use high-quality disposable tools that allow for 360-degree control and maintain strict hygiene standards.
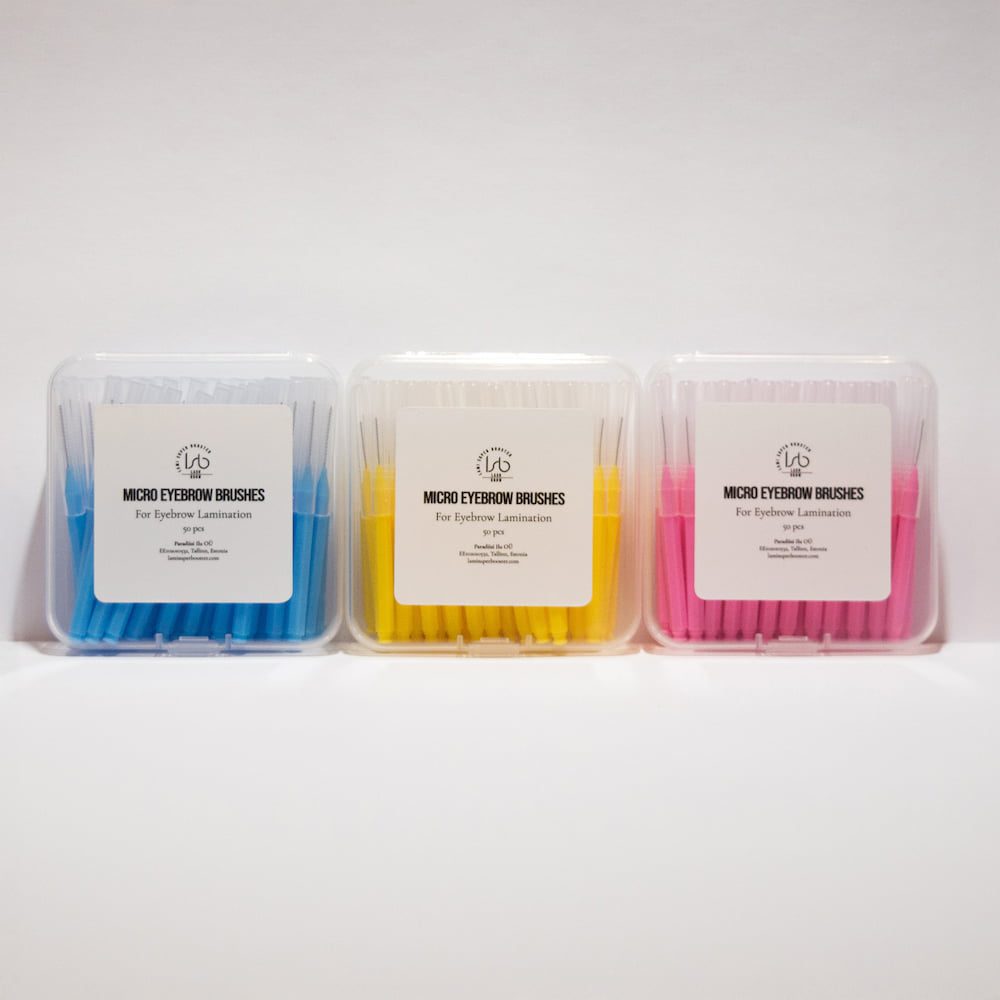
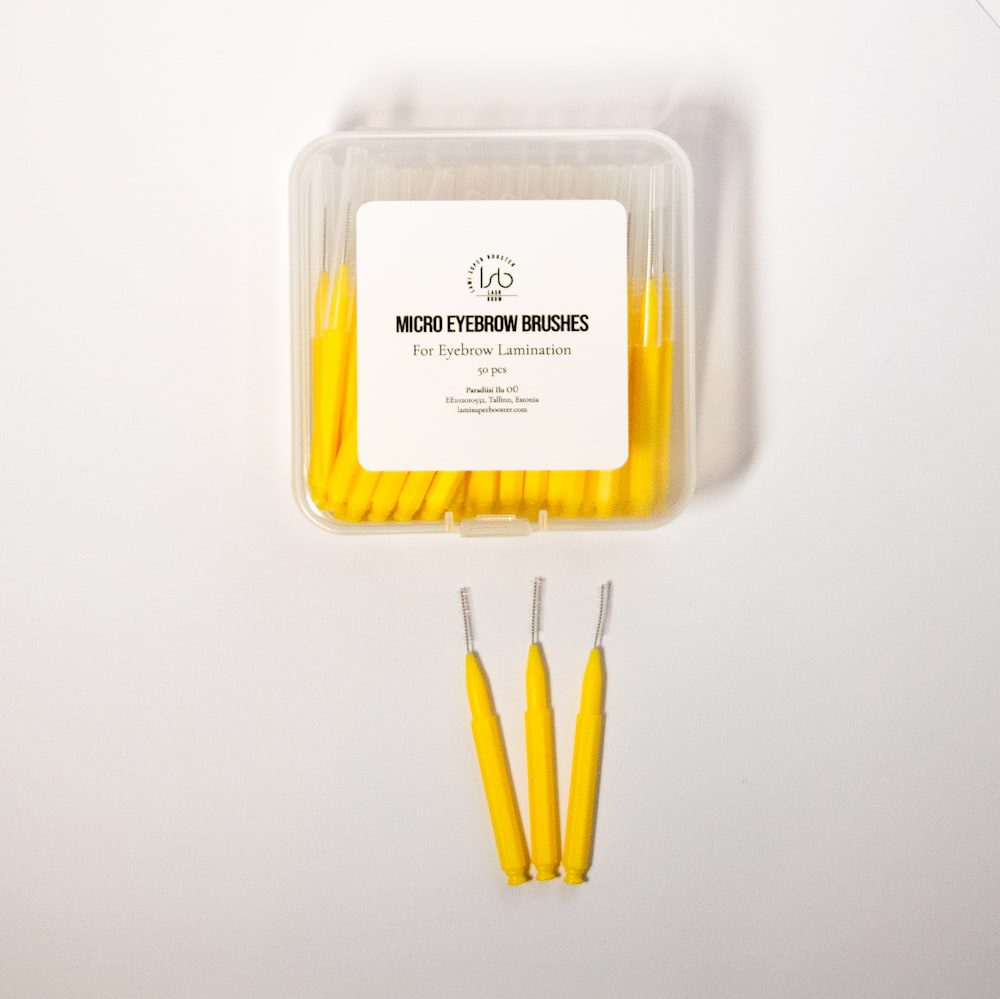
50 Micro Eyebrow Brushes
Transforming the Canvas with Brow Lamination
Mapping provides the blueprint, but hair growth patterns often require chemical intervention to align with the design. This is where lamination becomes an essential corrective tool. If a client has downward-growing hairs or sparse, thin brows, lamination allows you to reposition the hair to fill gaps and lift the entire eye area.
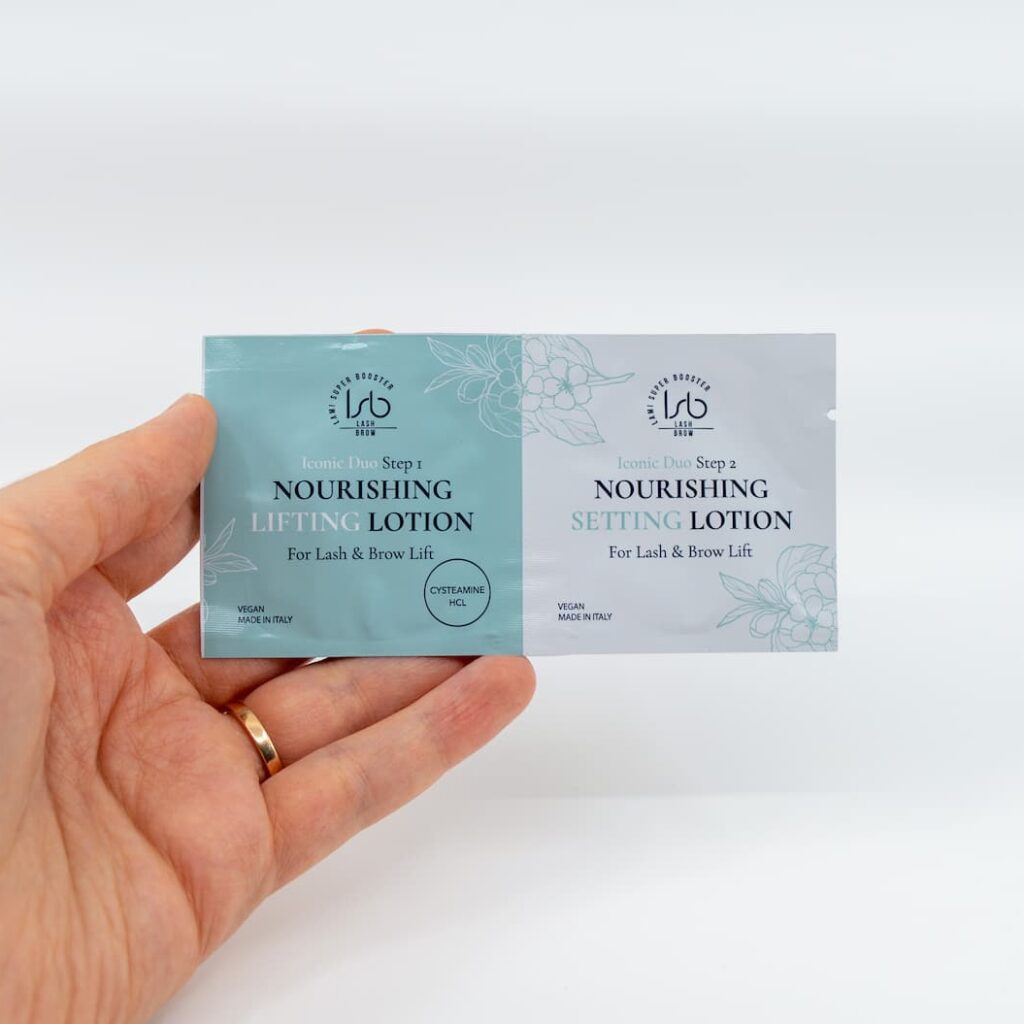
When choosing a lamination system, technicians must consider skin sensitivity. Traditional formulas can be harsh on the delicate supraorbital skin. Cysteamine-based systems offer a gentler alternative by restructuring hair bonds without the aggressive chemical smell or irritation risks often associated with ammonium thioglycolate. By redirecting the hairs upward and outward, you can create a significant impact that mimics a non-invasive brow lift. This technique is particularly effective for exposing more of the eyelid space and creating a cleaner, more defined brow bone.

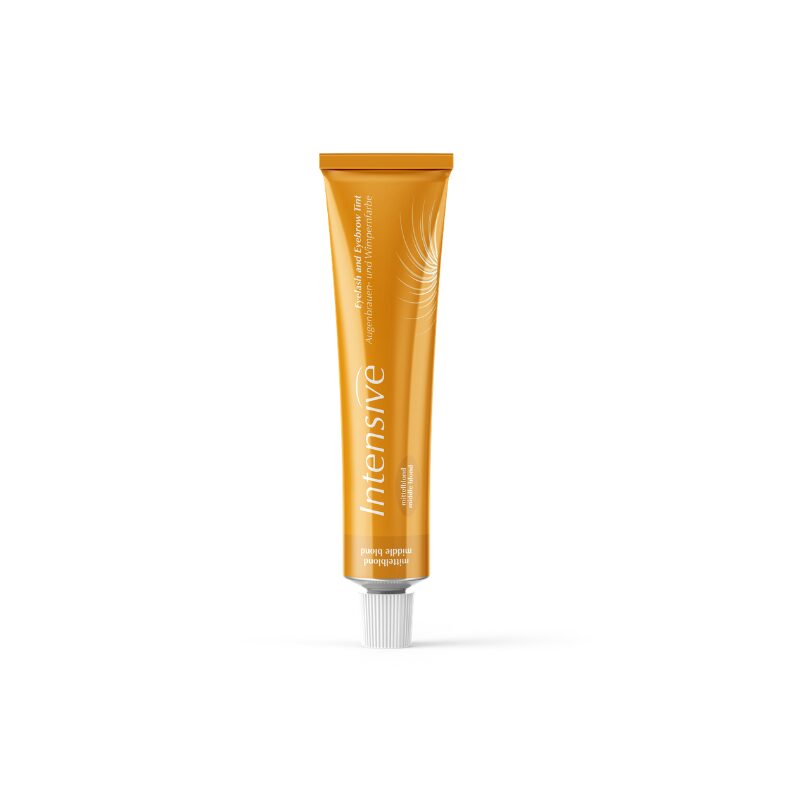
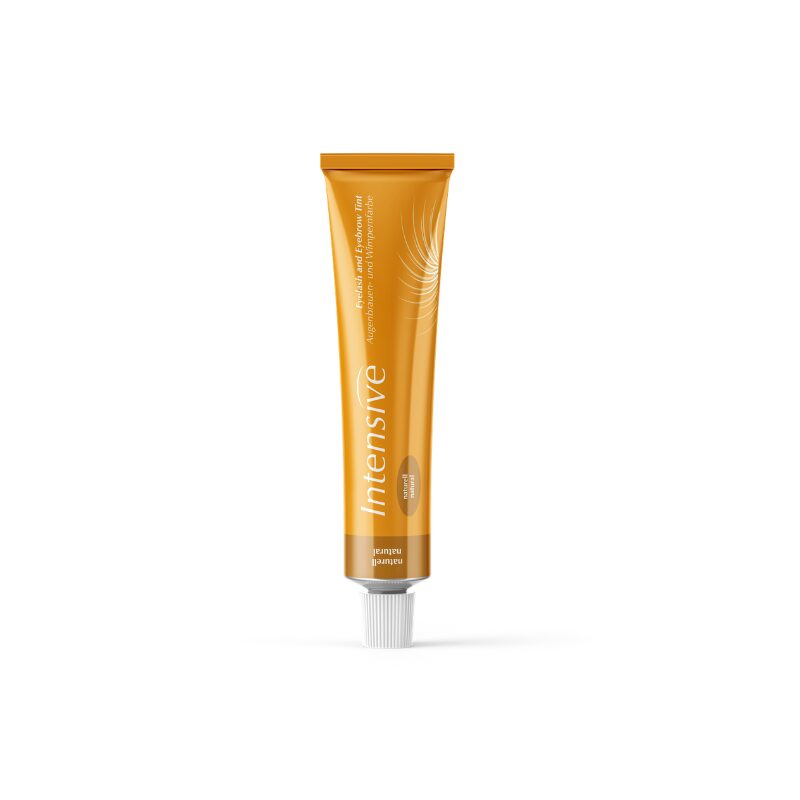
Color Theory and Dimensional Tinting
Shape is only half of the equation; depth provides the finish. Tinting the brows after a lamination service – or as a standalone treatment – can reveal vellus hairs that were previously invisible, instantly making the brow look fuller. For a professional result, technicians should avoid a “one-color-fits-all” approach and instead mix shades to match the client’s undertones. For example, adding a touch of graphite to a medium brown can neutralize unwanted warmth in clients with cool skin tones.
Processing times for tinting usually range from 5 to 15 minutes, but when performing a combined service, it is critical to remember that lamination opens the hair cuticle. This means the tint will process much faster than usual. Technicians should reduce the standard tinting time by at least 50% to prevent the color from becoming too dark or “boxy.” Always use a professional cream oxidant to ensure a smooth, no-drip consistency for precise application.


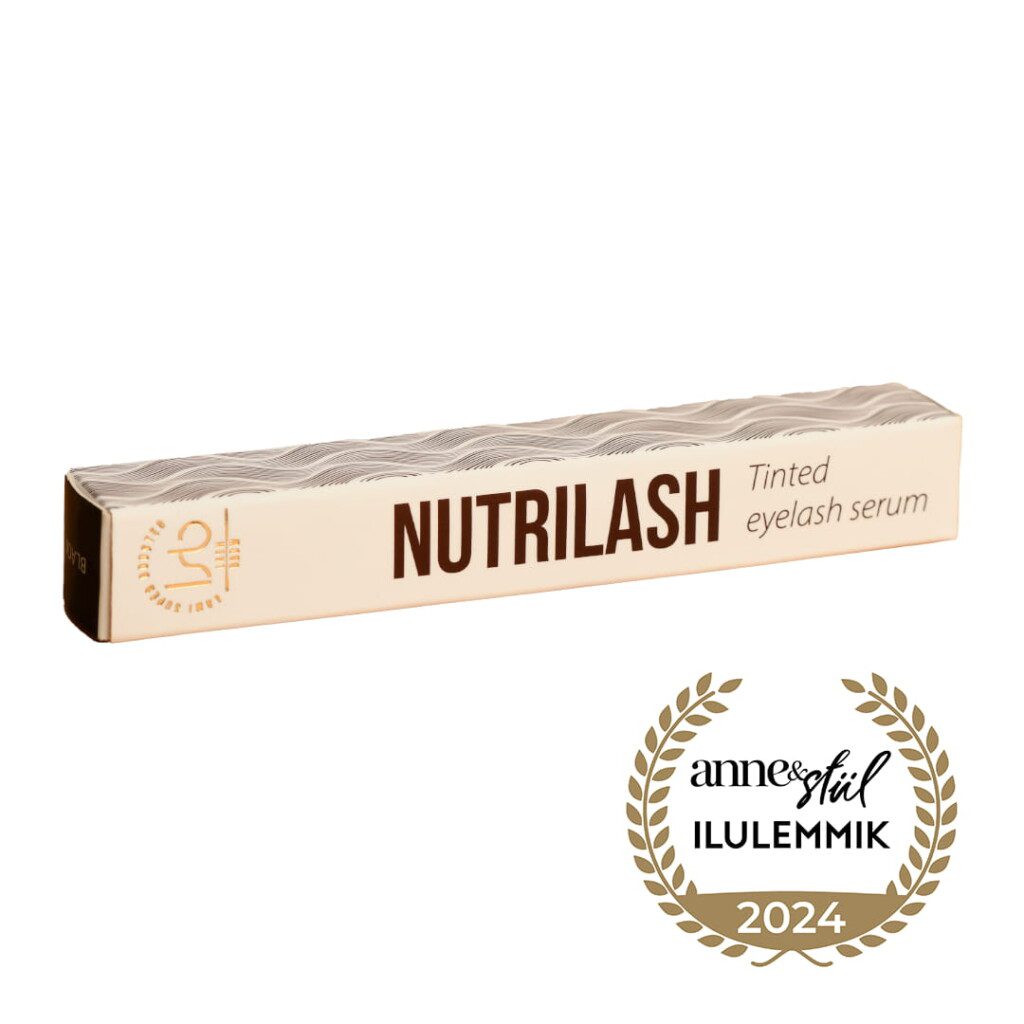
Managing Long-Term Brow Health
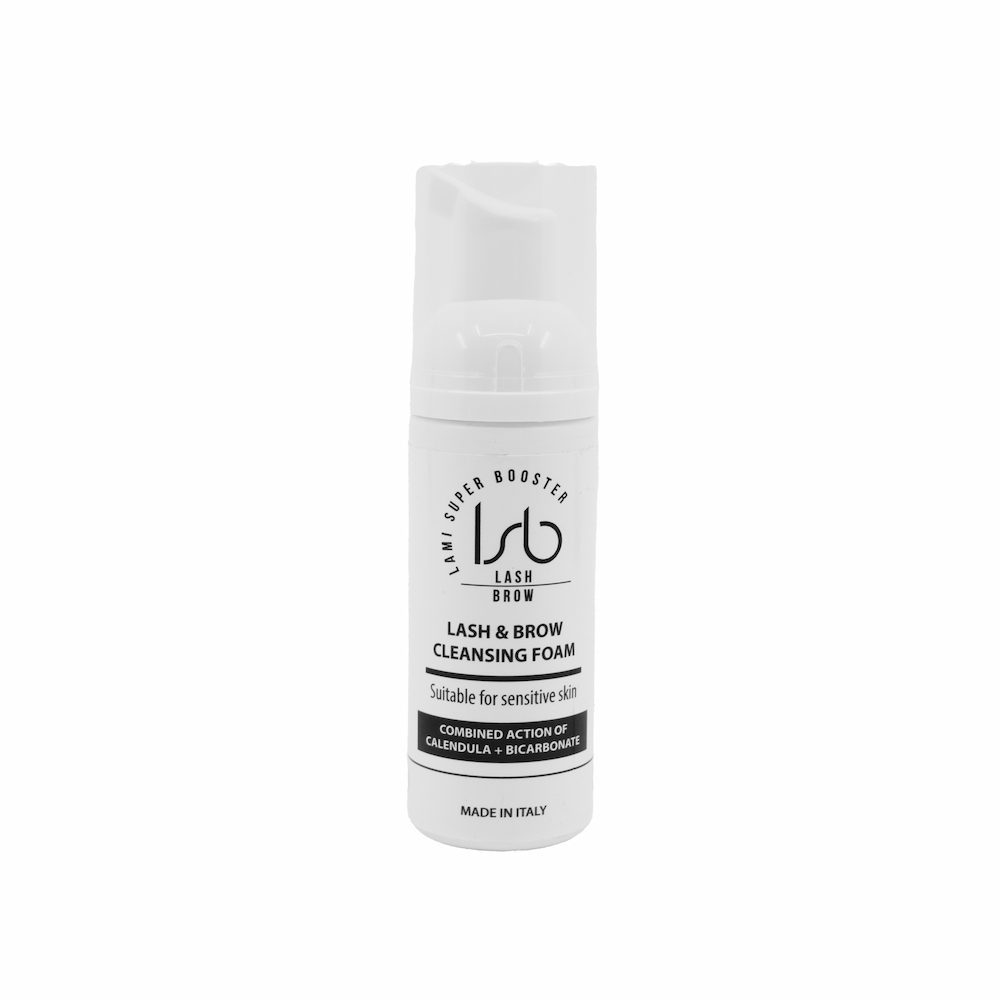
A successful brow design is a long-term commitment. Technicians should educate clients on eyebrow hair growth cycles, which typically last 30 to 45 days in the anagen phase. If a client has over-plucked in the past, a nourishing serum is a necessary recommendation to support the regrowth needed for future shaping. Proper brow lamination aftercare is equally important for maintaining the integrity of the hair.
Advise clients to avoid moisture, steam, and heavy exercise for the first 24 to 48 hours following a chemical treatment. Using a conditioning cream or oil daily keeps the hairs flexible and prevents the frizzy or brittle texture that can occur when chemically treated hair becomes dehydrated.

Mastering the art of brow design requires a balance of technical mapping, chemical knowledge, and an artistic eye for facial proportions. By moving beyond simple grooming and into detailed facial analysis, you elevate the service from a routine appointment to a transformative aesthetic treatment. For technicians looking to refine their process further, exploring specialized kits and professional tools is the next step in delivering consistent, high-end results.


")