Brow lamination has transformed the beauty industry by offering a semi-permanent solution for clients seeking fuller, more symmetrical, and perfectly groomed eyebrows. As a professional technician, mastering this service requires a deep understanding of hair chemistry, precise application techniques, and an eye for professional eyebrow shaping techniques.
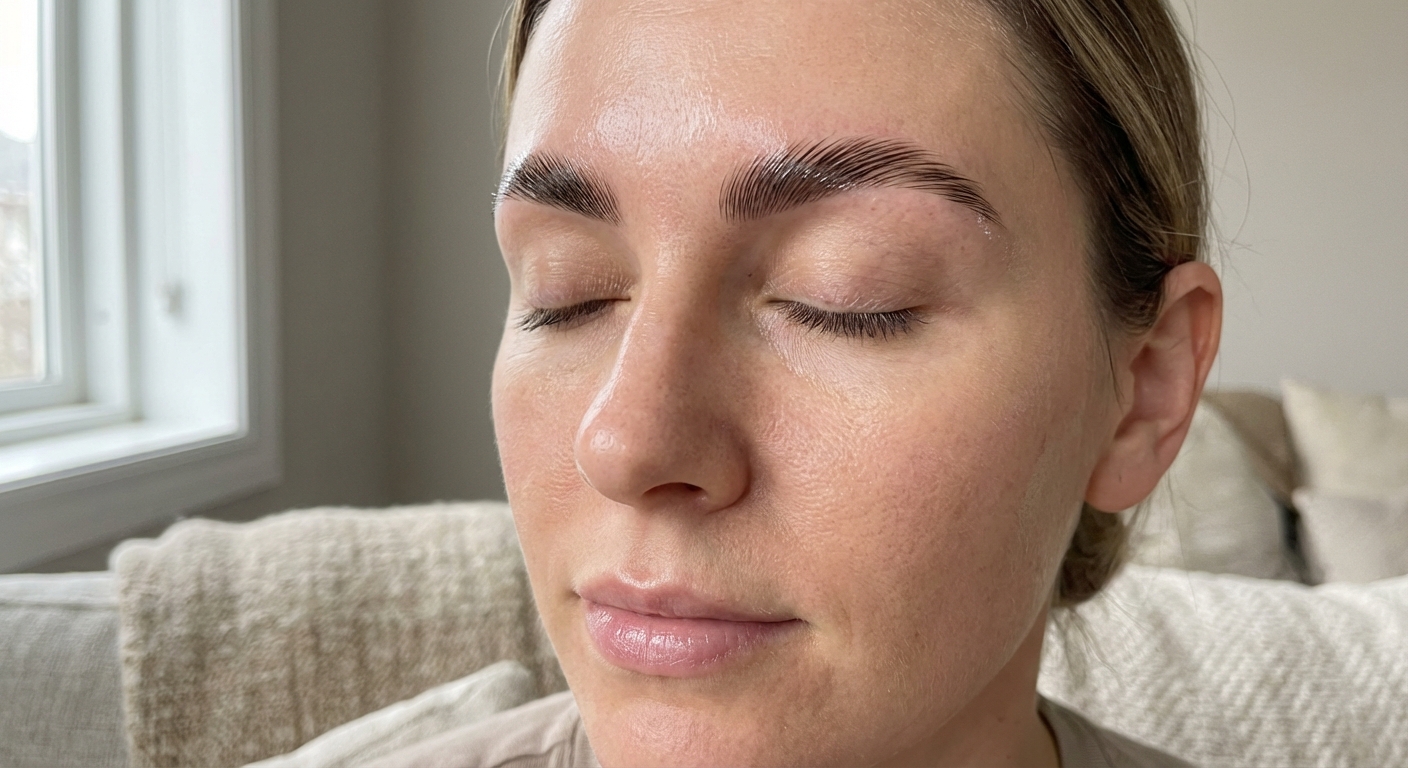
A successful treatment redirects unruly growth patterns and lifts the hair from the root, creating a “brushed-up” look that lasts between 6 and 8 weeks. This professional guide details the step-by-step process of performing brow lamination with technical precision.
Pre-Treatment Safety and Contraindications
Before any chemical service, a thorough consultation is mandatory to document medical history and current skin condition. You must screen for specific brow lamination contraindications, such as active eczema, psoriasis, alopecia, or recent chemical peels in the treatment area. Clients using Retinol, AHAs, or BHAs must discontinue these products 4–7 days before the appointment to prevent skin sensitivity or chemical burns.
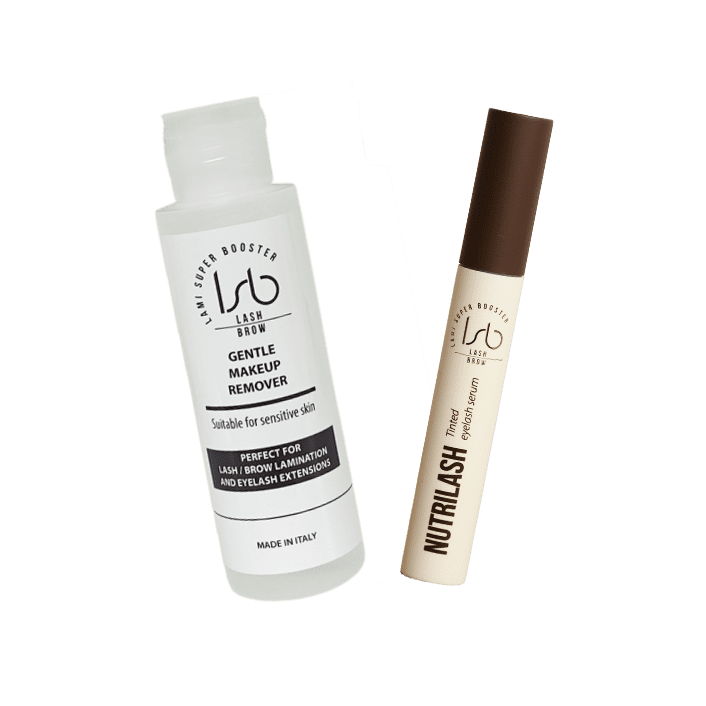
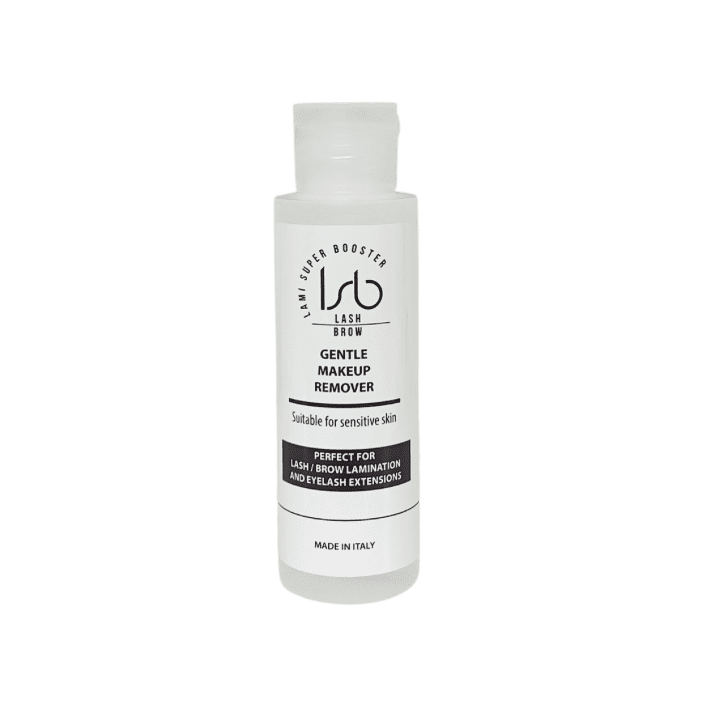
A patch test is required 24–48 hours before the first treatment to monitor for adverse reactions. Apply a small amount of the lifting, fixing, and tinting solutions to the inside of the wrist or behind the ear to ensure the safety of the procedure for your client.
Step 1: Preparation and Deep Cleansing
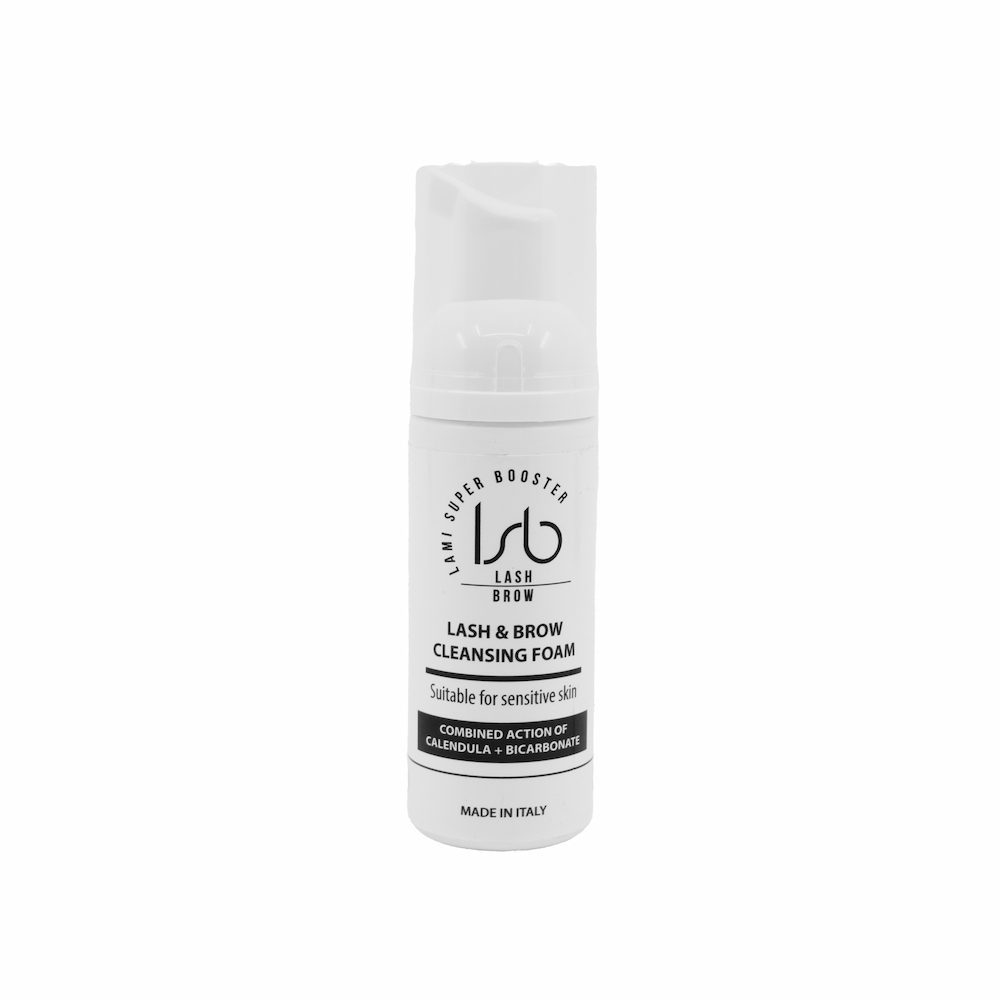
For the lifting solutions to penetrate the hair shaft effectively, the brow area must be completely free of sebum, makeup, and skincare residue. Even trace amounts of oil can act as a barrier, leading to uneven results or premature lifting failure.
- Apply a small pump of cleansing foam to the brows and surrounding skin.
- Massage gently in circular motions using a soft brush to lift dirt and oil.
- Rinse the area thoroughly with lukewarm water and pat the skin completely dry with a soft towel.
Step 2: Brow Mapping and Shaping
Precision mapping ensures the final shape complements the client’s unique facial structure. Using a white charcoal pencil or mapping string, identify the starting point (vertical from the nose corner), the arch (45° from the nose through the pupil), and the tail (from the nose past the outer corner of the eye). This stage allows you to plan how to correct asymmetrical brows by redirecting hairs to cover sparse gaps or visually lowering a high arch for better balance.
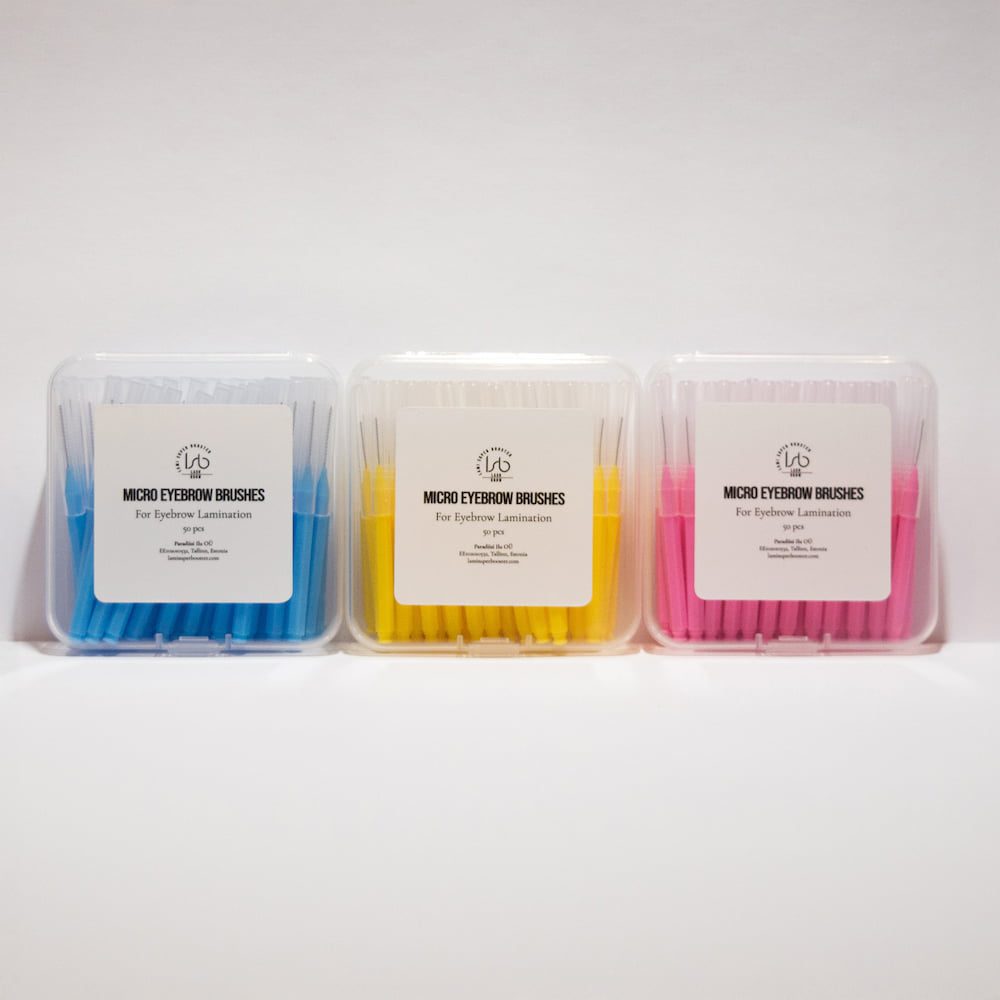
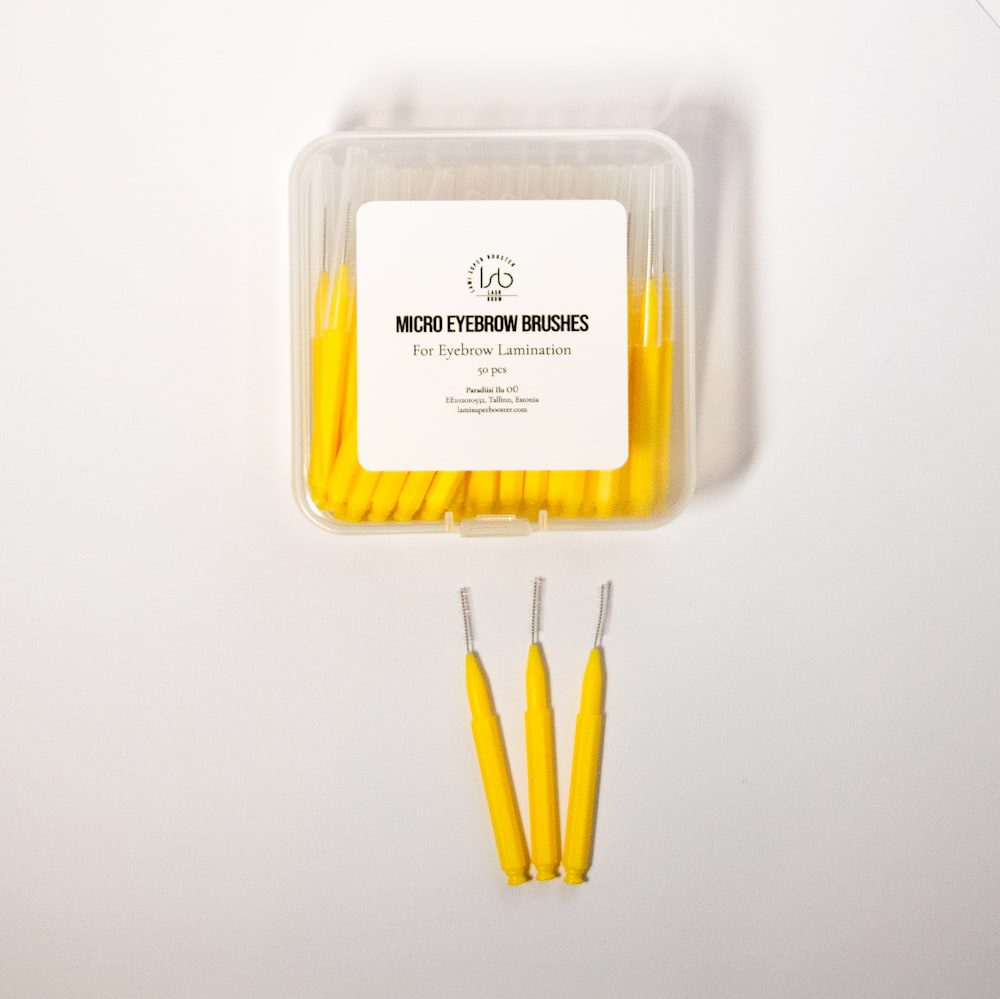
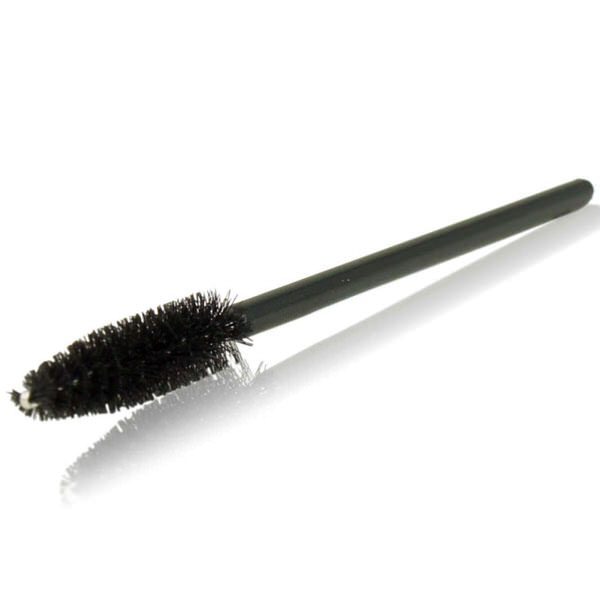
50 Micro Eyebrow Brushes
Step 3: Adhering and Straightening
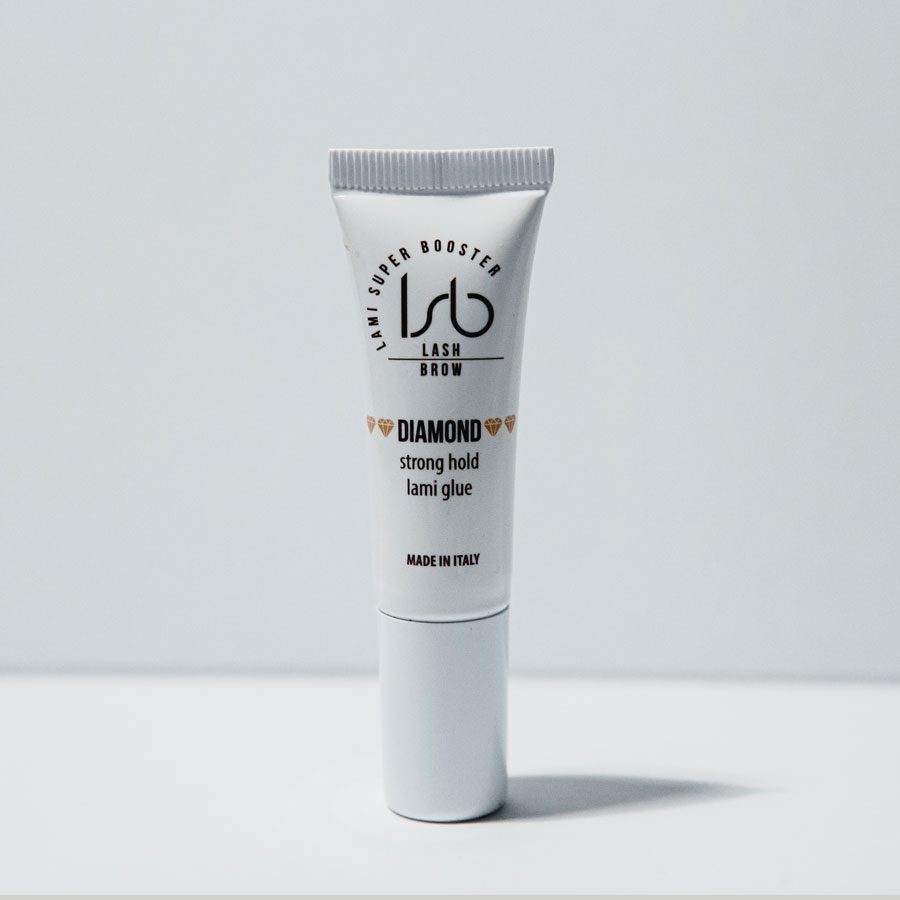
While advanced technicians may opt for “glueless” techniques, using a water-soluble adhesive provides the necessary control for stubborn or downward-growing hairs. Apply a thin, 1mm layer of adhesive to the brow hairs in small sections, working quickly to prevent the glue from setting before the hair is positioned.
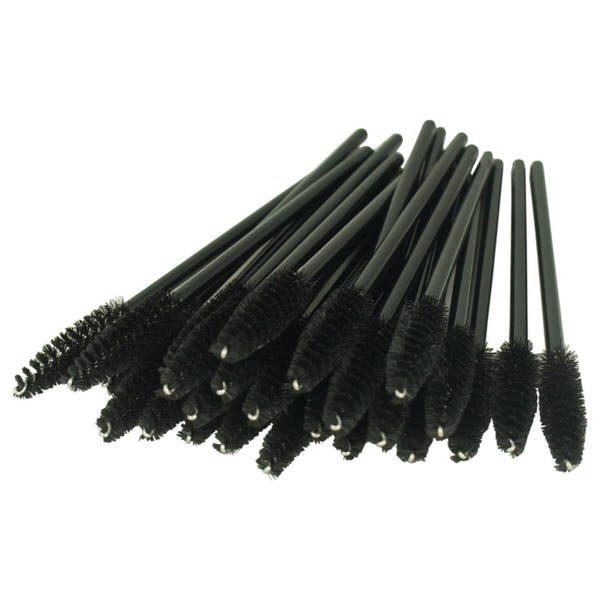
Use an eyebrow separation tool or a clean spoolie to brush the hairs into the desired direction, ensuring they lie flat against the skin without overlapping. When selecting an adhesive, consider that balm glue vs traditional glue offers different working times; balm glue provides a more malleable texture for beginners, while traditional adhesives offer a stronger hold for coarse hair types.
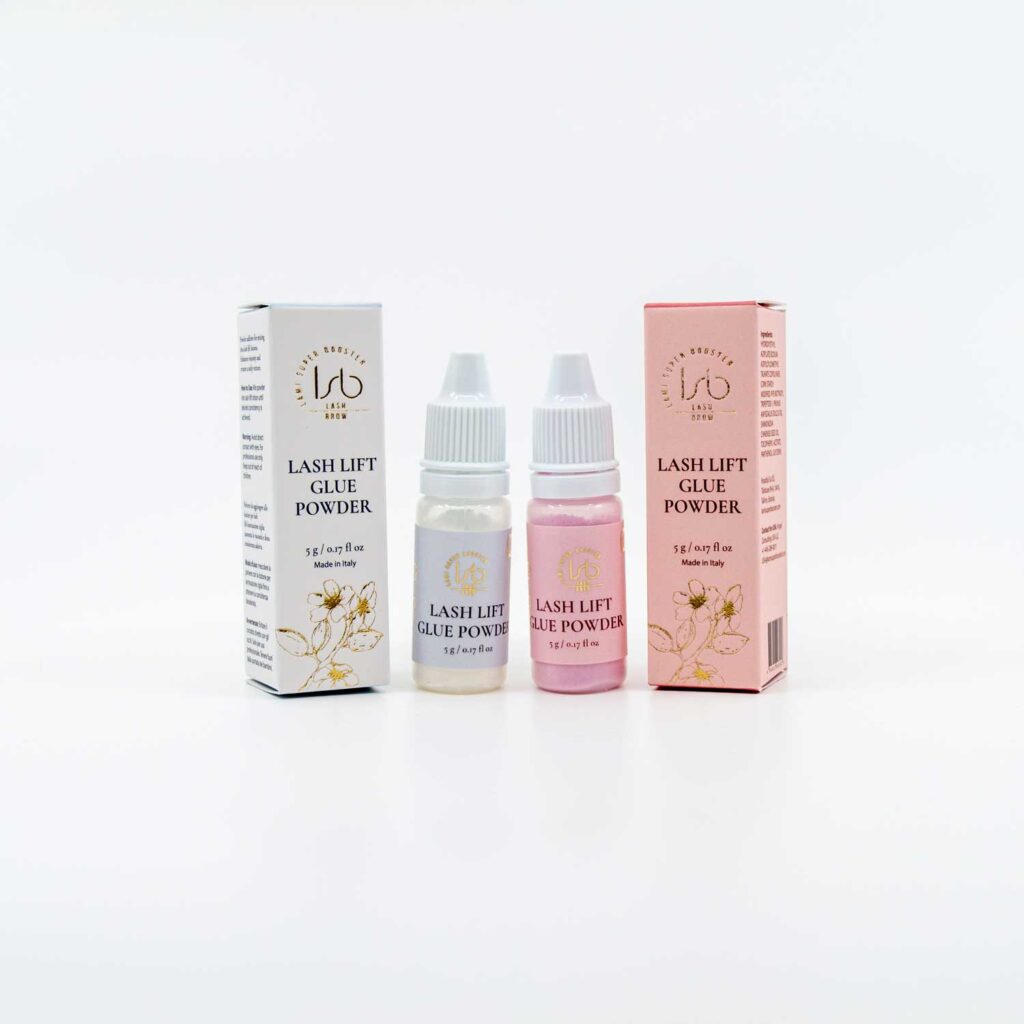
Lash Lift Glue Powder
Step 4: Applying the Lifting Lotion
The curling lotion utilizes active ingredients like Ammonium Thioglycolate or Cysteamine HCL to temporarily break the disulfide bonds within the hair. This chemical process makes the hair pliable enough to be reshaped.
- Apply a generous, even layer of lifting lotion to the brow hairs using a microbrush, focusing on the base and mid-section.
- Avoid the fine tips of the hair if they appear compromised or have been previously processed.
- Cover the brows with professional plastic wrap to create a humid environment that enhances the effectiveness of the solution.
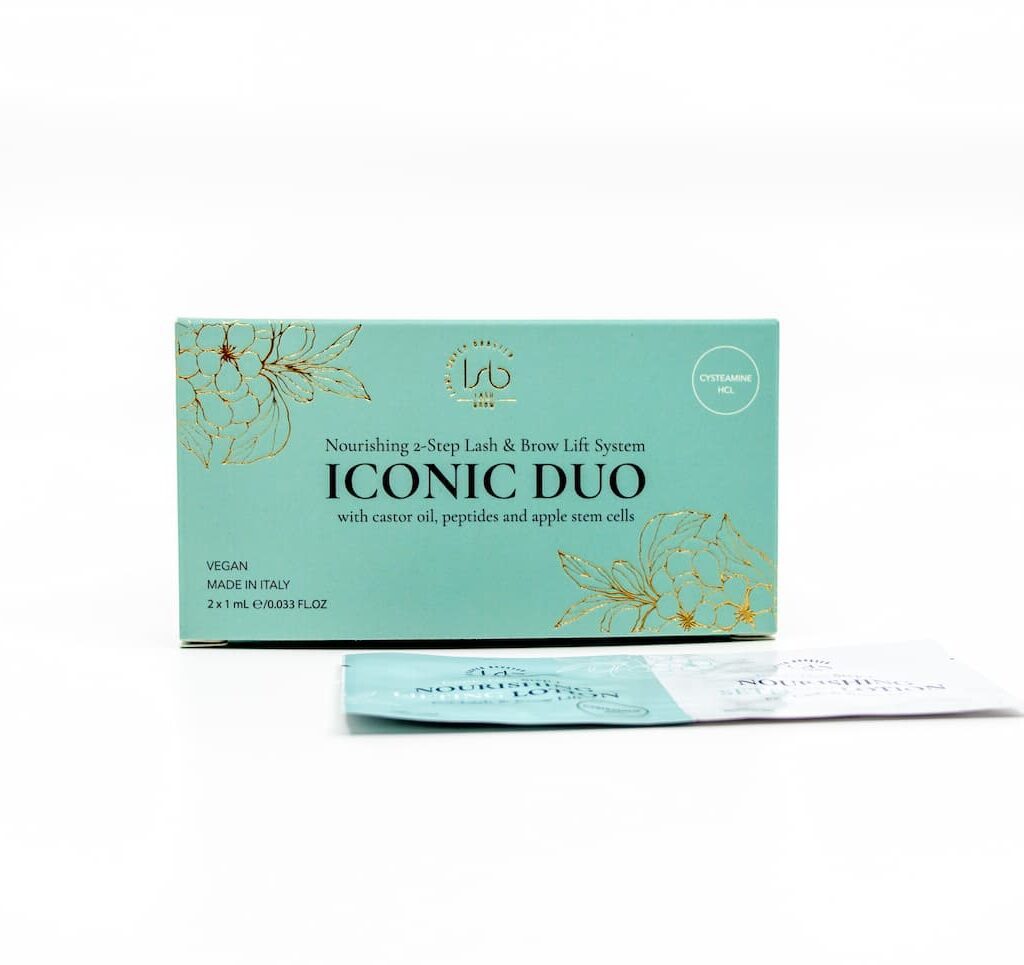
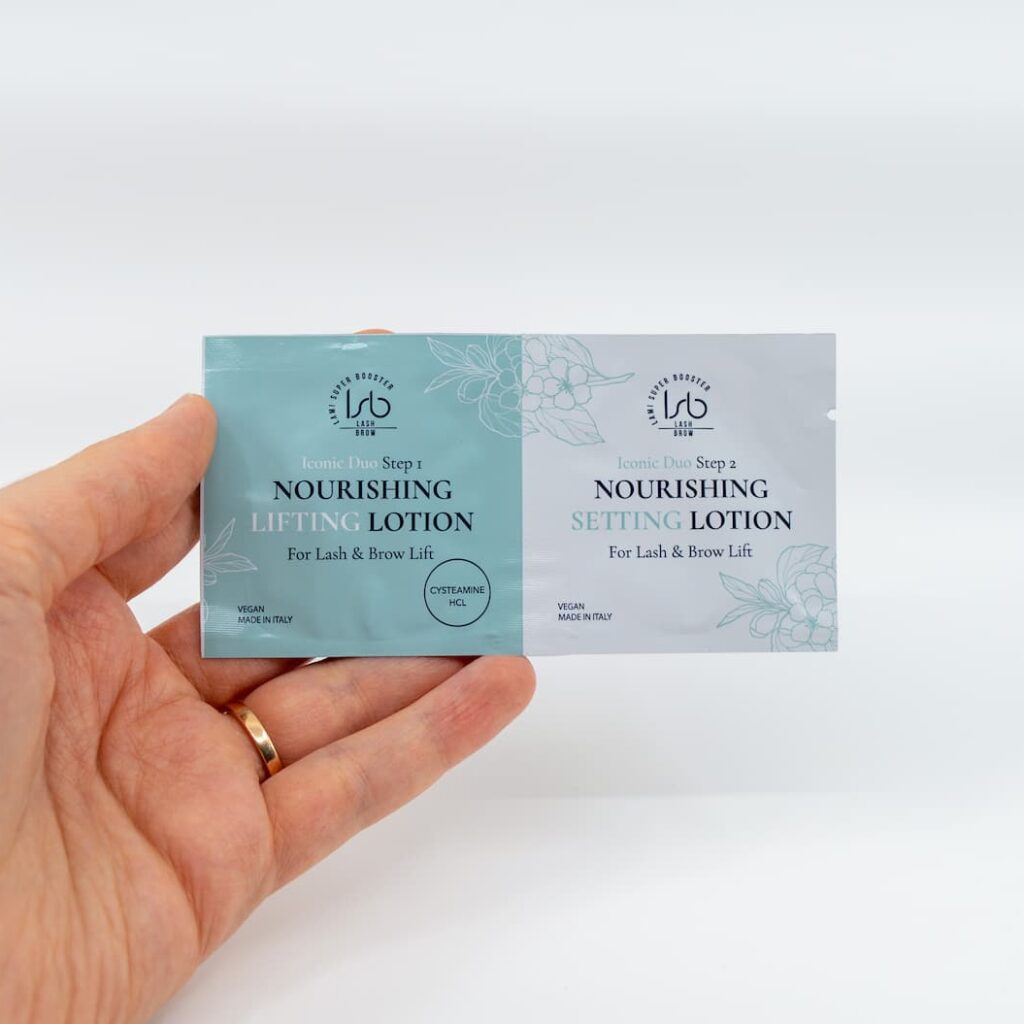
Processing times depend strictly on hair texture: 7–8 minutes for thin or fine hair, 10 minutes for medium hair, and up to 12 minutes for thick or coarse hair. If you are using the Korean-style Iconic Duo system, times typically range between 4 and 10 minutes. Always perform a hair test by lifting the wrap to check if the bonds have softened sufficiently for the hair to hold its new direction.
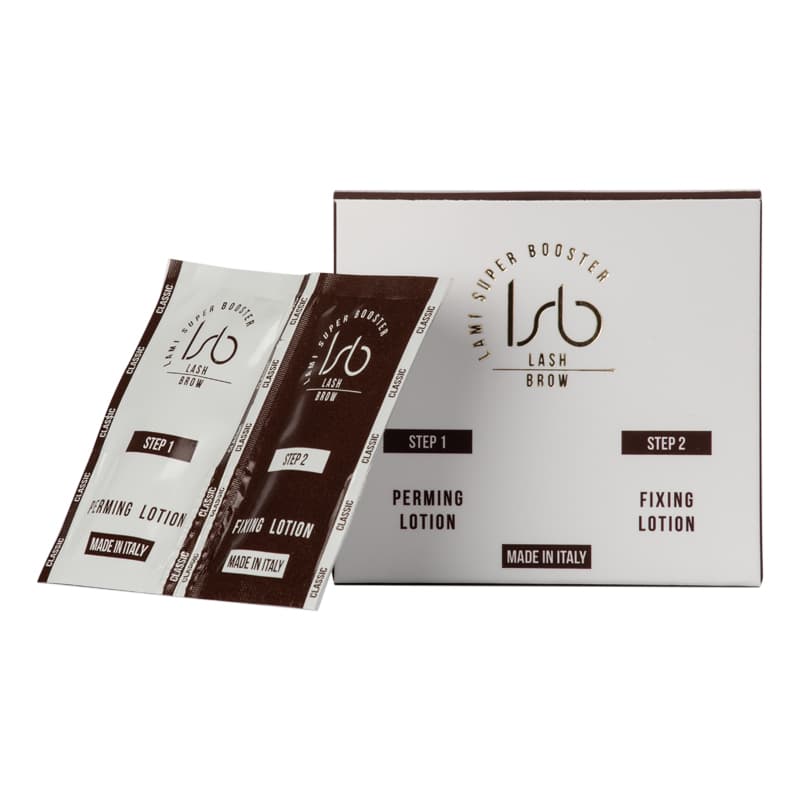
Step 5: Fixing and Neutralizing
Once the lifting phase is complete, you must rebuild the hair bonds to stabilize the new shape. This is achieved through the fixing lotion effects, which lower the pH of the hair and lock in the lifted appearance.
- Remove the lifting lotion completely with a dry cotton swab using upward strokes; avoid using water at this stage as it can interfere with the chemical reset.
- Apply the fixing lotion over the entire brow, ensuring complete and even coverage of every hair.
- Apply a fresh layer of plastic wrap and process for the same amount of time used during the lifting step.

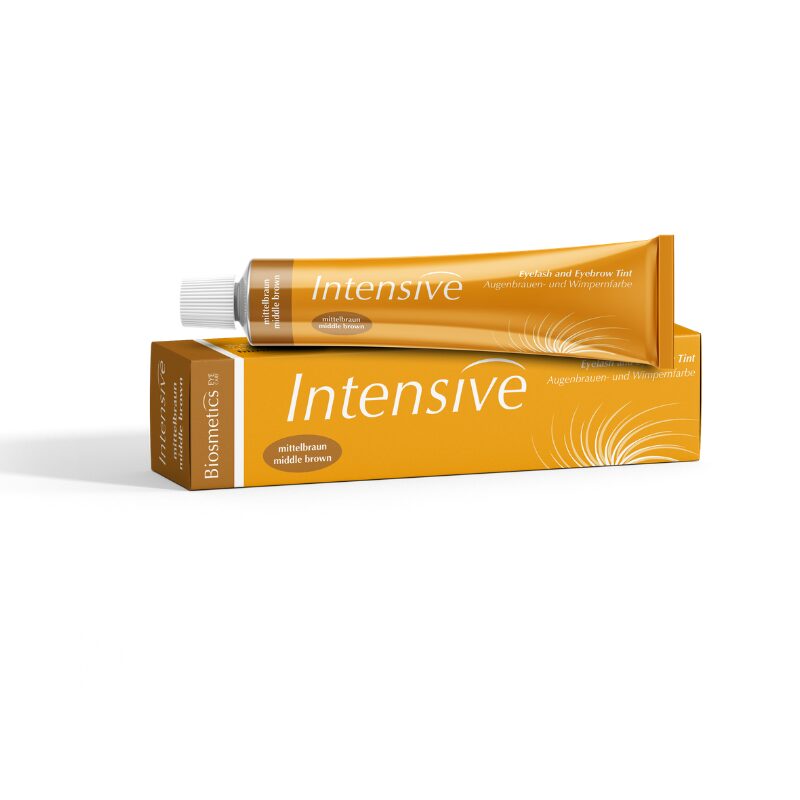
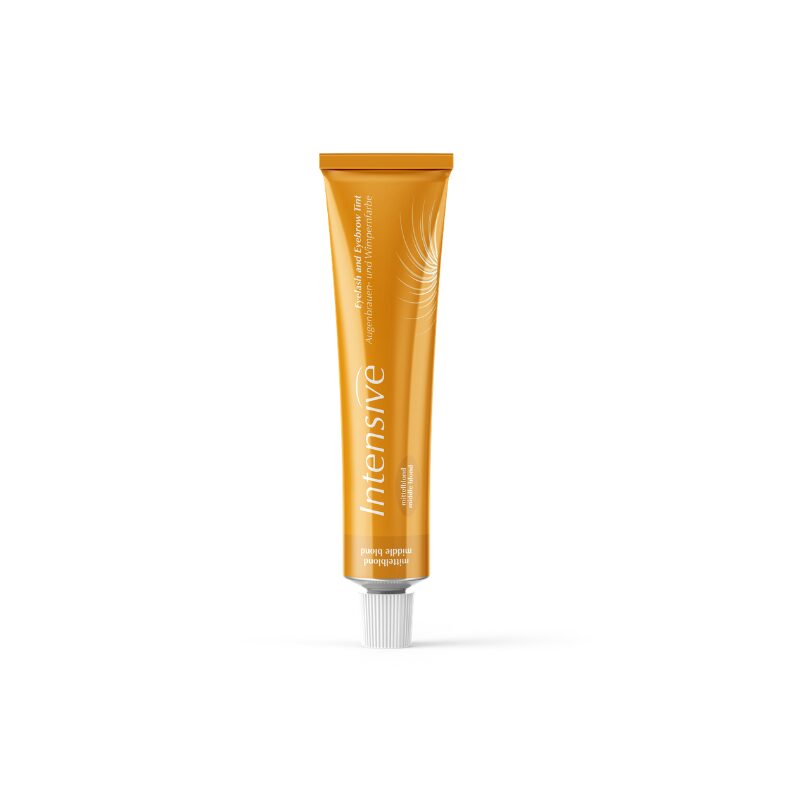
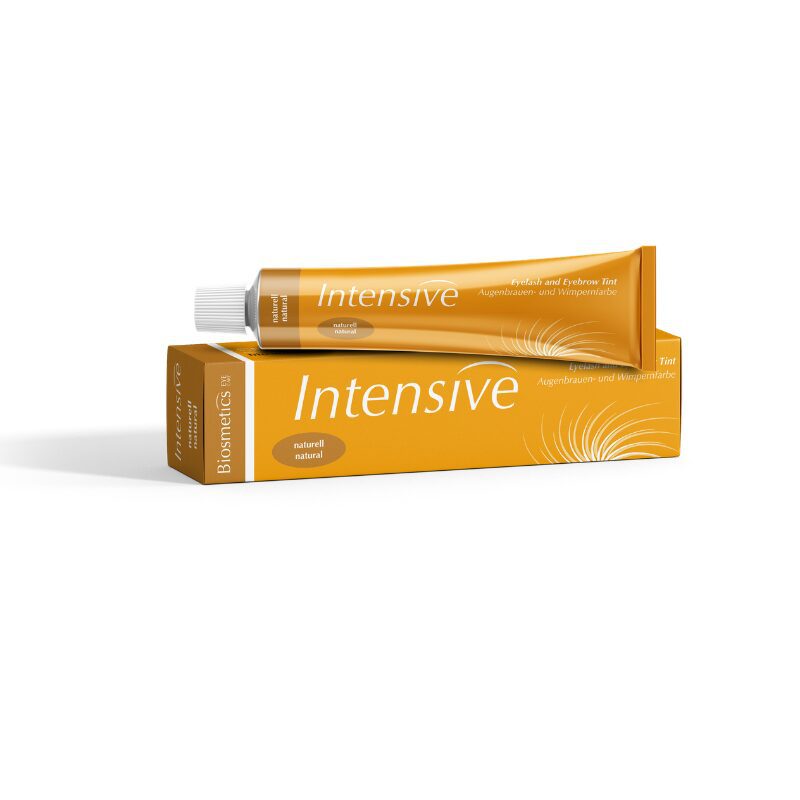
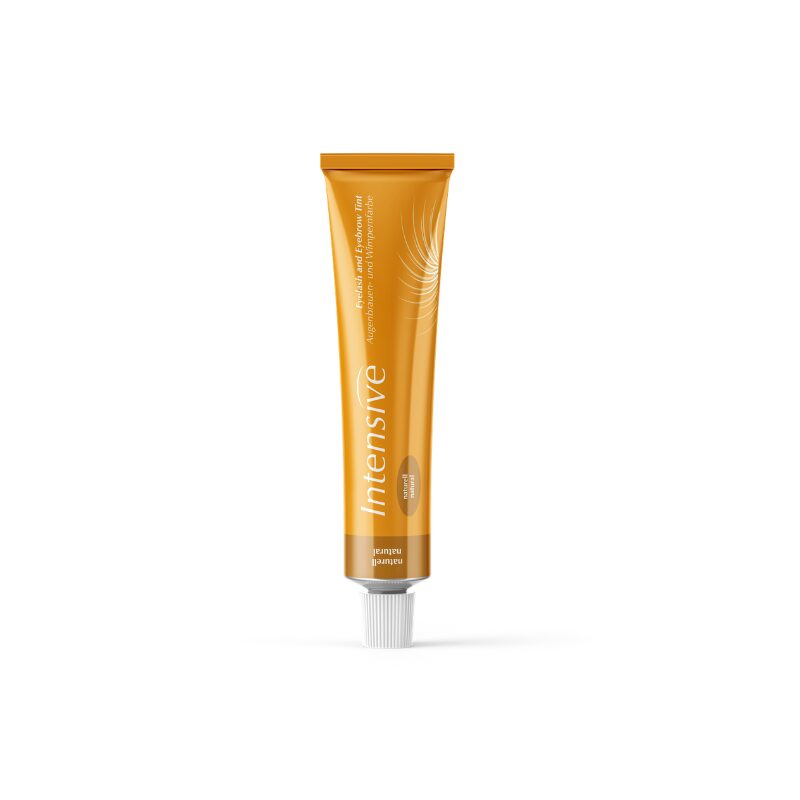
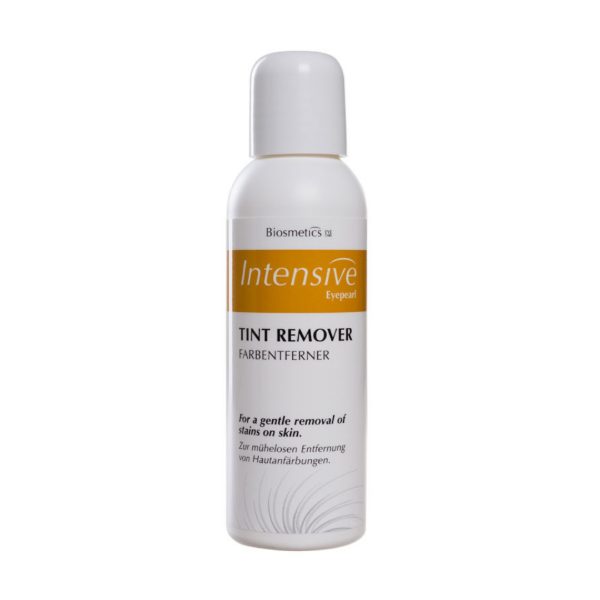
Step 6: Tinting and Enhancement
Brow lamination can occasionally lighten the natural hair color due to the chemical processing. Consequently, tinting after lamination is a standard professional practice to restore depth and definition. Because the hair cuticle is already open, the color will penetrate the hair much faster than a standalone tinting service.
- Mix the chosen tint with a 2% cream oxidant in a glass dappen dish according to the manufacturer’s ratio.
- Apply the tint carefully and monitor it closely, usually processing for only 2–5 minutes to avoid over-darkening.
- Remove the tint first with a dry cotton pad, followed by a slightly damp pad to ensure no residue remains on the skin.

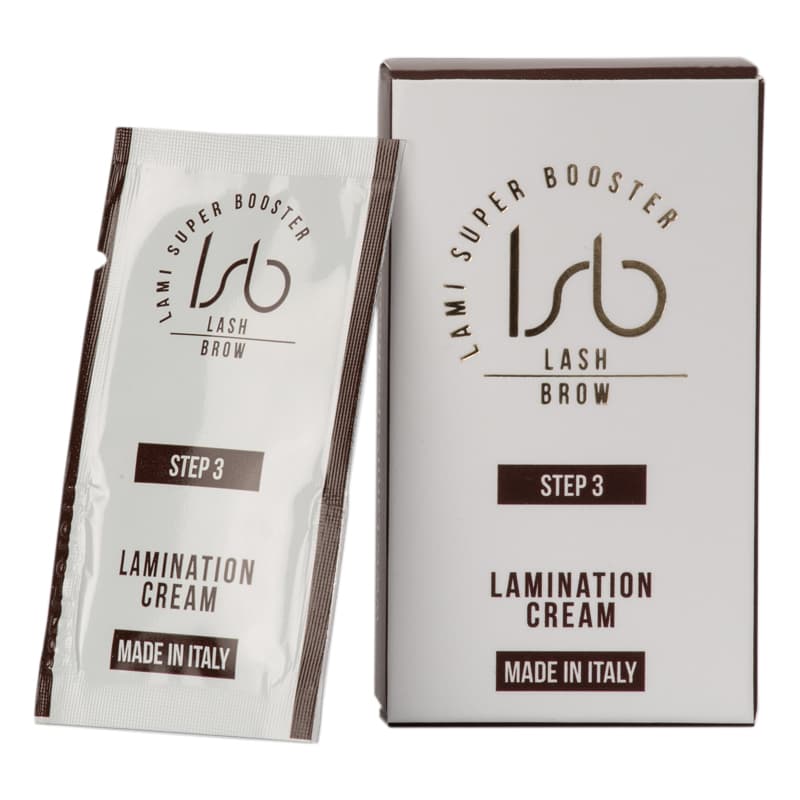
Step 7: Nourishment and Finishing
The final step is vital for restoring hair integrity. A nourishing cream or keratin-based treatment seals the hair cuticle, locks in moisture, and adds a healthy shine to the finished look.
- Apply the lamination cream evenly across the brows using a clean brush.
- Leave the product to process for 5–10 minutes before gently removing any excess with a dry cotton pad.
- This step ensures the hair remains soft and resilient rather than becoming brittle after the chemical service.
Professional Aftercare Guidance
Maintaining the integrity of the lamination depends on the client’s commitment to a specific aftercare routine. For the first 24 to 48 hours, clients must avoid water, steam, saunas, and heavy sweating to prevent the chemical bonds from deactivating. They should also avoid applying makeup or oil-based skincare directly to the brow area during this window.
Daily maintenance involves brushing the brows upward every morning with a clean spoolie to reinforce the shape. Because chemical treatments can be drying, recommend a professional nourishing serum for daily use to keep the hair hydrated and healthy. Consistent follow-up appointments should be scheduled every 6 to 8 weeks to maintain the result without over-processing the hair. To achieve the most reliable results, always utilize a professional-grade brow lamination kit.