


The foundation of a flawless lash lift lies not in the lotions themselves, but in the precision of the shield selection and placement. For a professional technician, the ability to customize the lift based on the client’s unique eye anatomy and lash length is what separates a standard service from a transformative one. Incorrect positioning can lead to kinks, over-curled tips, or an underwhelming lift that fails to open the eye. Mastering these nuances ensures consistent results that grow out beautifully without damage.
Selecting the Correct Shield Size and Type
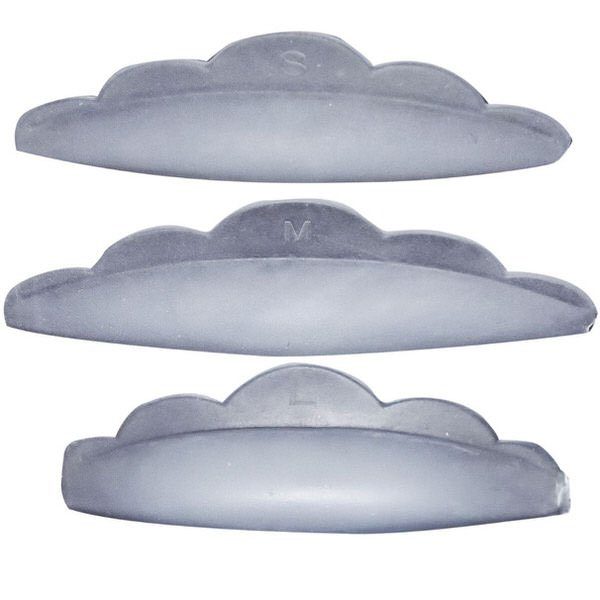
Choosing the right shield requires an assessment of the lash length and the desired outcome. As a general rule, lashes should cover approximately two-thirds of the shield’s curve. If the lashes reach all the way to the top or over the edge, the shield is too small, which risks over-curling or creating a “pig’s tail” crimp. Conversely, if the lashes barely reach the midpoint of the curve, the shield is too large, resulting in a lift that is nearly invisible. Detailed guidance on these dimensions can be found in our lash lift shield size guide.
Measuring for the Perfect Fit
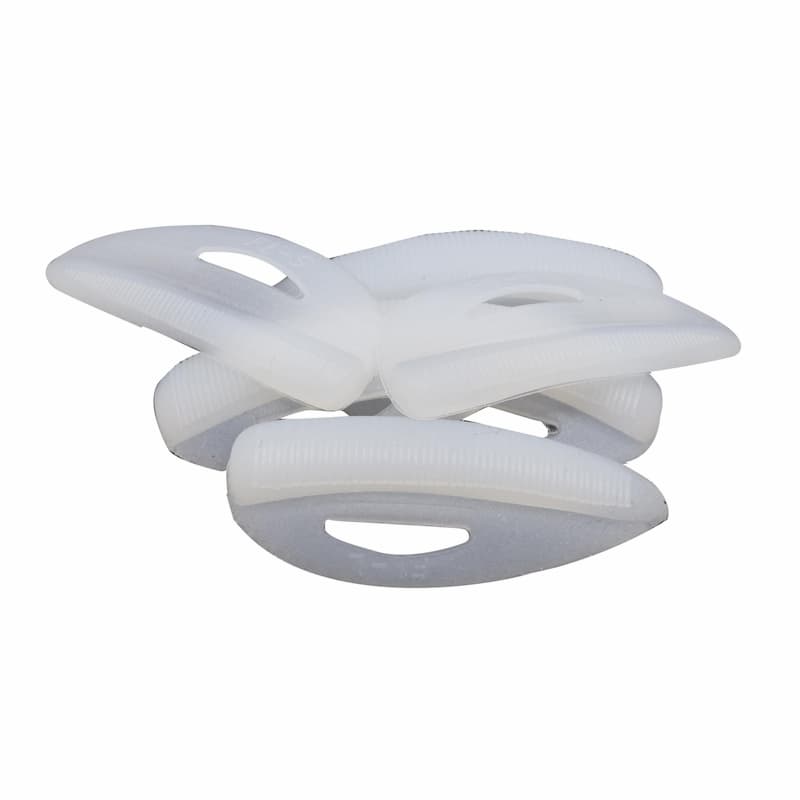
Technicians must measure lashes when they are clean and dry. Standard silicone shields typically come in sizes ranging from S to XL. Size S provides the most dramatic angle, which is often necessary for short lashes under 7mm or when a client requests maximum intensity. Sizes M and L are the industry standards for medium to long lashes, offering a balanced “C” or “D” curl that mimics the natural arc of a lash curler. When working with stubborn or thick lashes, ridged shields can significantly improve the isolation process by providing pre-set channels for the lashes to follow, ensuring they remain parallel throughout the treatment.
Shield Geometry and Lash Direction
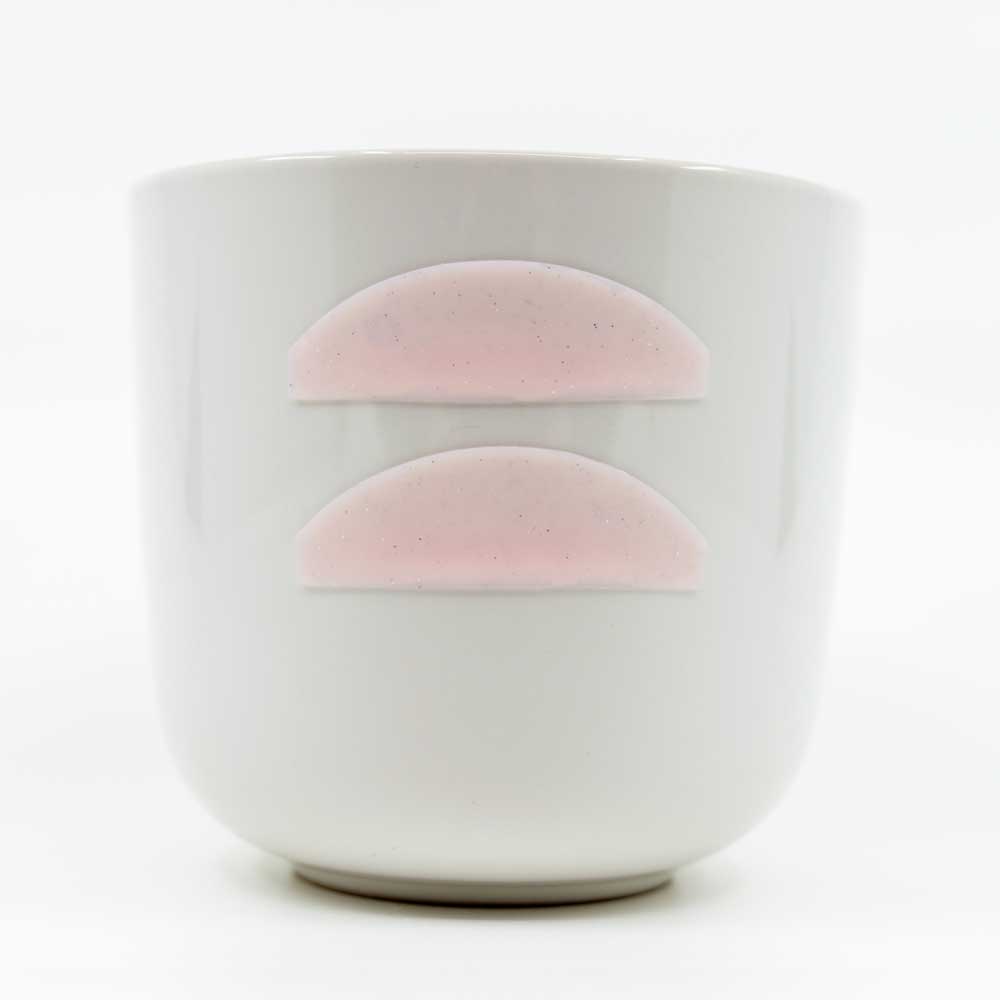
The shape of the silicone also dictates the lift profile. While rounded rods create a gradual curl, flat silicone shields are designed to encourage lashes to lift directly from the root without creating an excessive curve. This is often preferred in Korean-style techniques, where an ultra-flat base ensures that the lifting lotion makes thorough contact with the base of the lash. For more information on these differences, refer to our guide on lash lift silicone types.

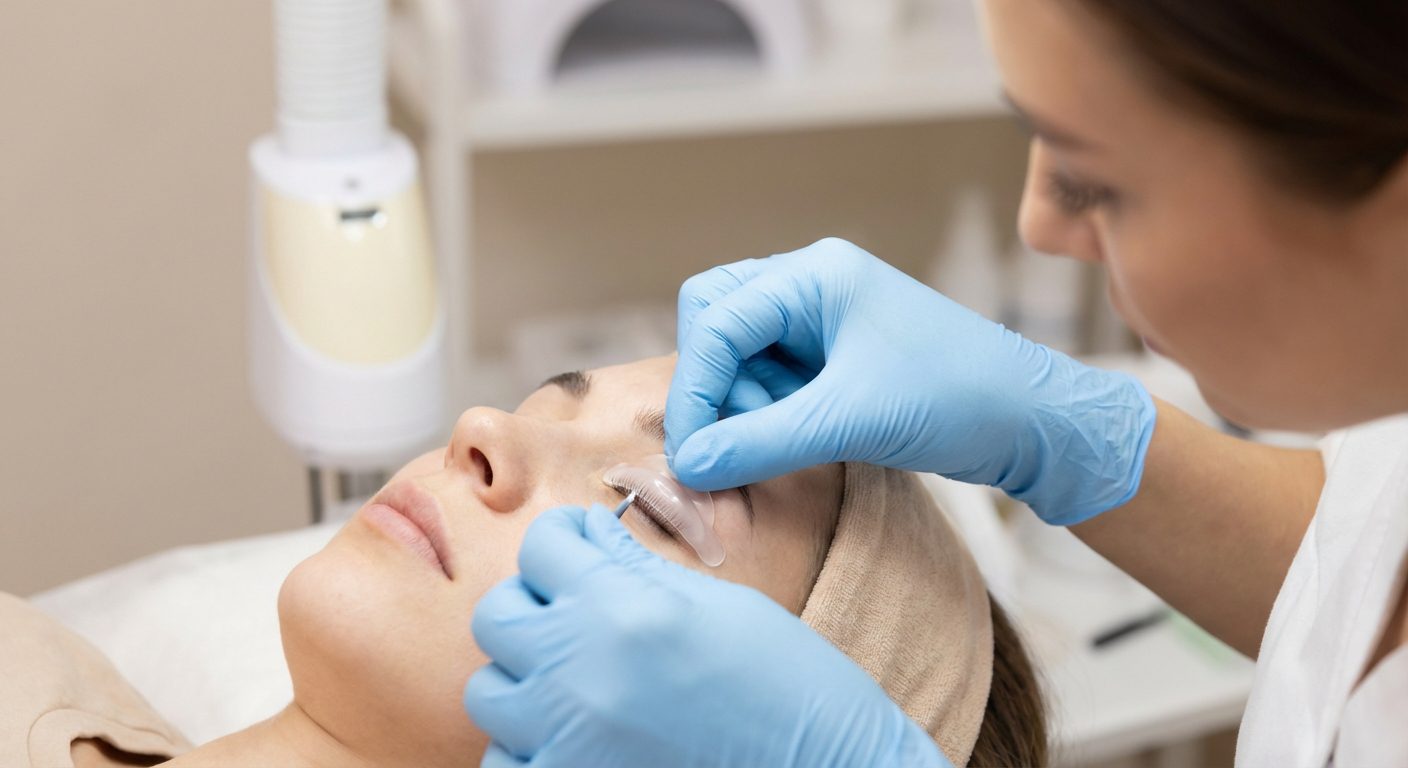
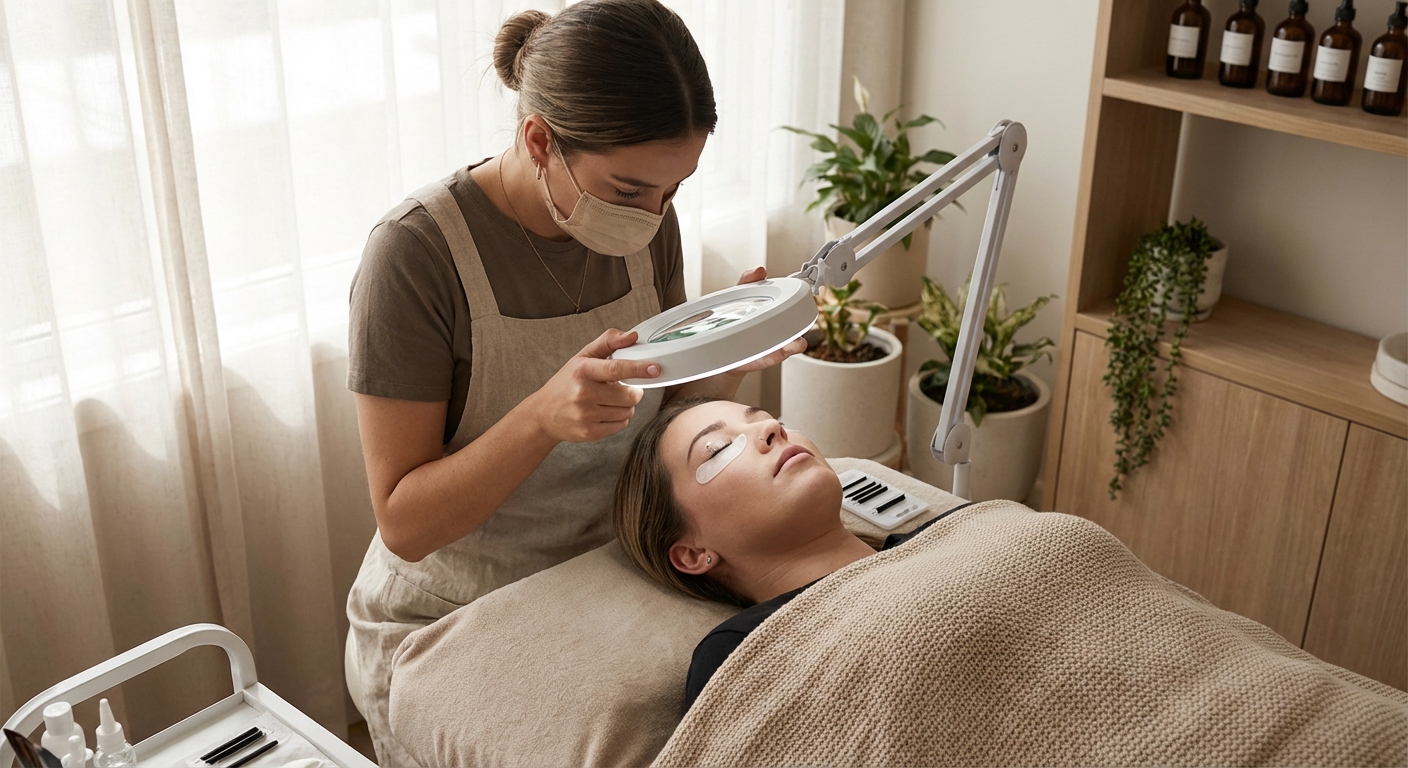
Precise Fitting and Placement Techniques
Before applying any adhesive, dry-fit the shield to the eyelid. The shield should sit as close to the lash line as possible – ideally 0.5mm to 1mm from the waterline. Placing the shield too high on the lid results in a “gap” lift that looks messy as the lashes grow out, while placing it too low can cause discomfort and potential chemical irritation.
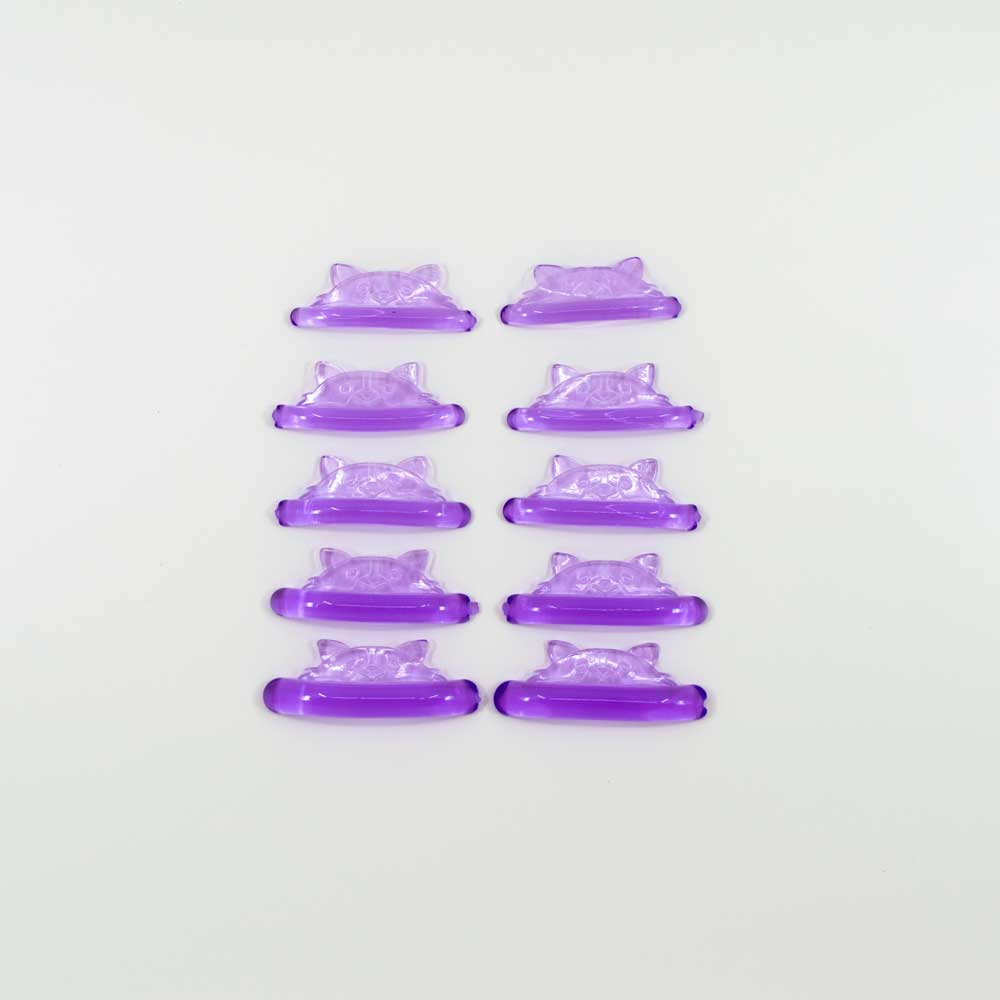
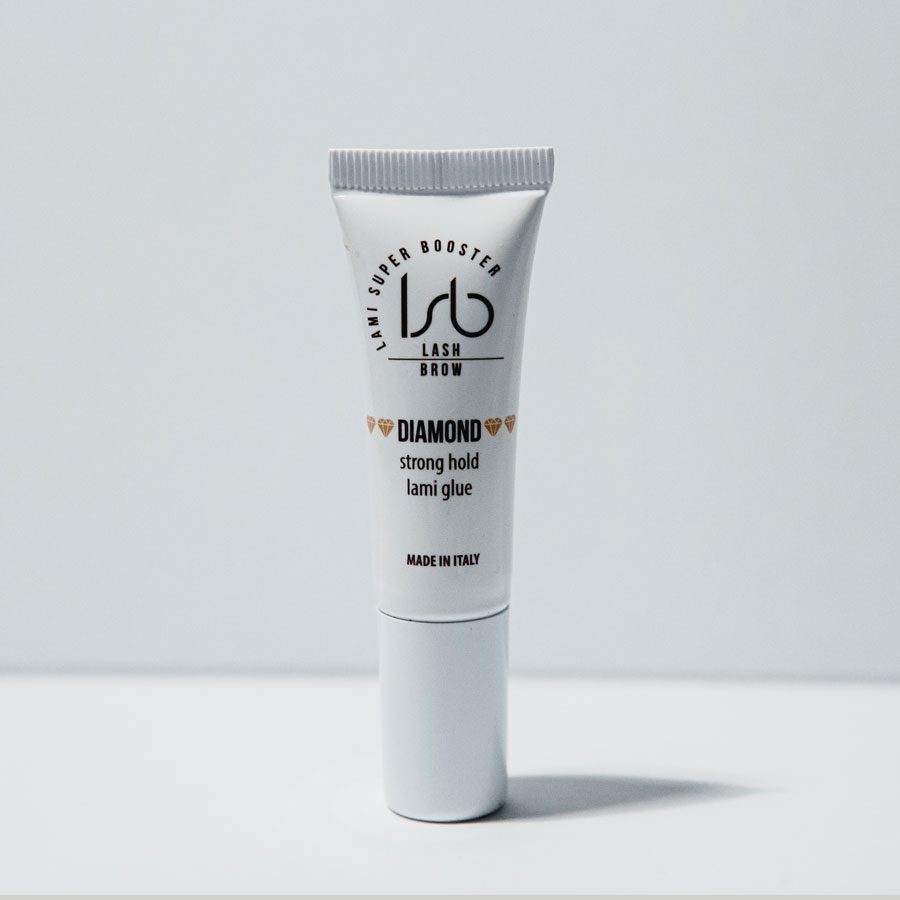
To secure the shield, apply a thin, 1mm-wide band of Diamond Glue along the back of the shield. Wait approximately 10–15 seconds for the adhesive to become tacky before pressing it onto the lid. Hold the shield in place for at least 10 seconds, ensuring the inner and outer corners are firmly adhered, as these are the areas most prone to lifting during the procedure. For clients with sensitive skin or those who prefer a faster setup, glueless reusable silicone shields like the Kitty Purple series offer a self-adhering alternative that eliminates the need for adhesive on the eyelid itself.

Adapting for Diverse Eye Shapes
Eye shape is the most critical variable in shield placement, and a “one-size-fits-all” approach often leads to lash lift asymmetry. Technicians must adjust the angle and height of the shield to compensate for different orbital structures:
- Hooded Eyes: Use a rounder shield and place it slightly higher than usual. This prevents the lashes from hitting the brow bone or the eyelid fold, which can cause the tips to look squashed.
- Deep-Set Eyes: Opt for larger M or L shields. The goal is to bring the lashes forward and out from the orbital bone rather than curling them back toward the lid.
- Downturned Eyes: Focus on the outer corners by angling the shield slightly upward at the outer edge to counteract the natural downward growth. Technicians can find more specialized advice in our tutorial on lifting downward-pointing lashes.
- Monolids: These often require a smaller shield (S or M) to ensure the lift is visible past the lash base, which may be partially covered by the eyelid fold.
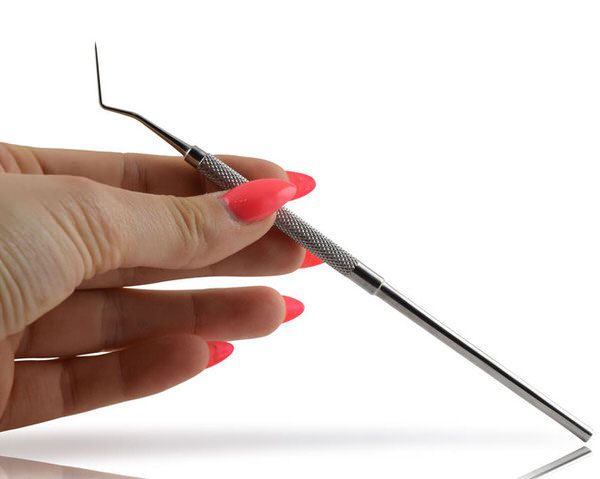
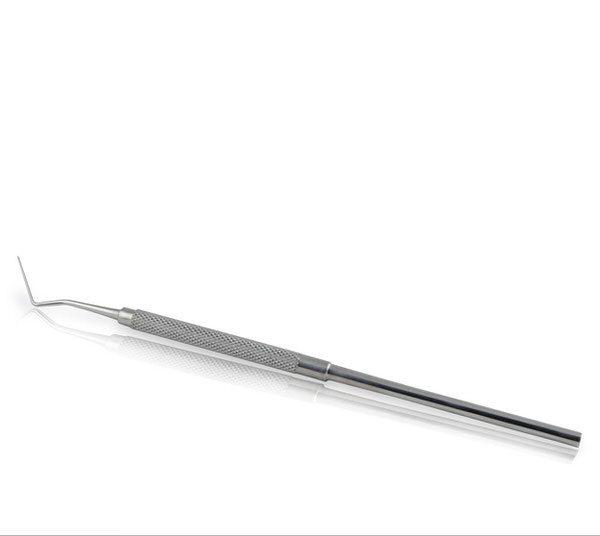
Once the shield is secure, isolation is the next priority. Professional lash lift tools are essential here. Use a Lash Lift Y Comb or a stainless steel separation tool to pull the lashes onto the shield with even tension. Ensure every lash is parallel; any crossing or overlapping at this stage will be permanently set once the lotions are applied.
Ensuring Symmetry and Optimal Retention
Asymmetry is a common technical challenge that usually stems from the shield on one eye being placed at a different angle than the other. Always step back and view the client from above the head to verify that both shields are mirrors of each other before applying Step 1 lotion. Checking the 45-degree angle relative to the lash line on both sides will help prevent one eye from appearing more lifted than the other.
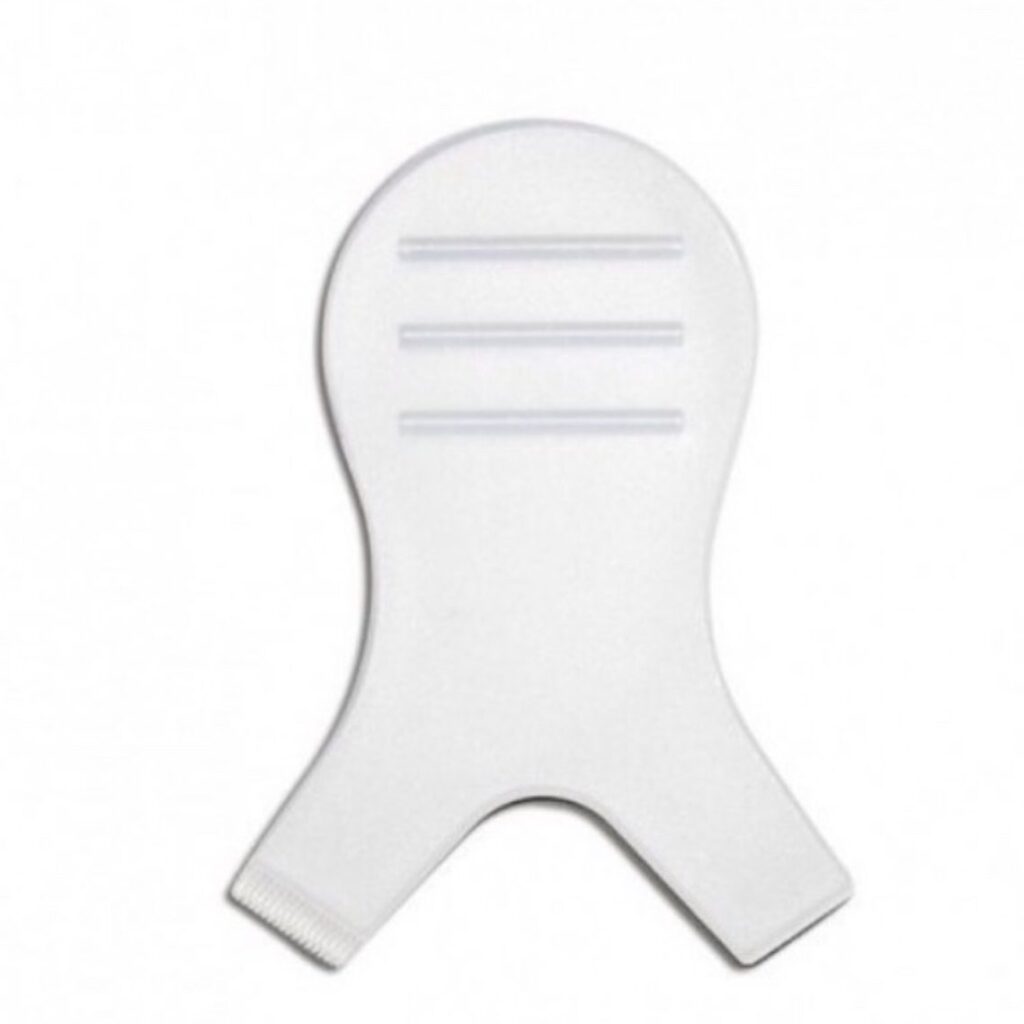
To prevent lashes from popping off the shield during the processing time – a common issue with coarse or stubborn lashes – technicians should use silicone compensators. These ultra-soft covers lay over the lashes once they are adhered to the shield, providing gentle pressure that ensures 100% contact between the hair and the silicone mold.
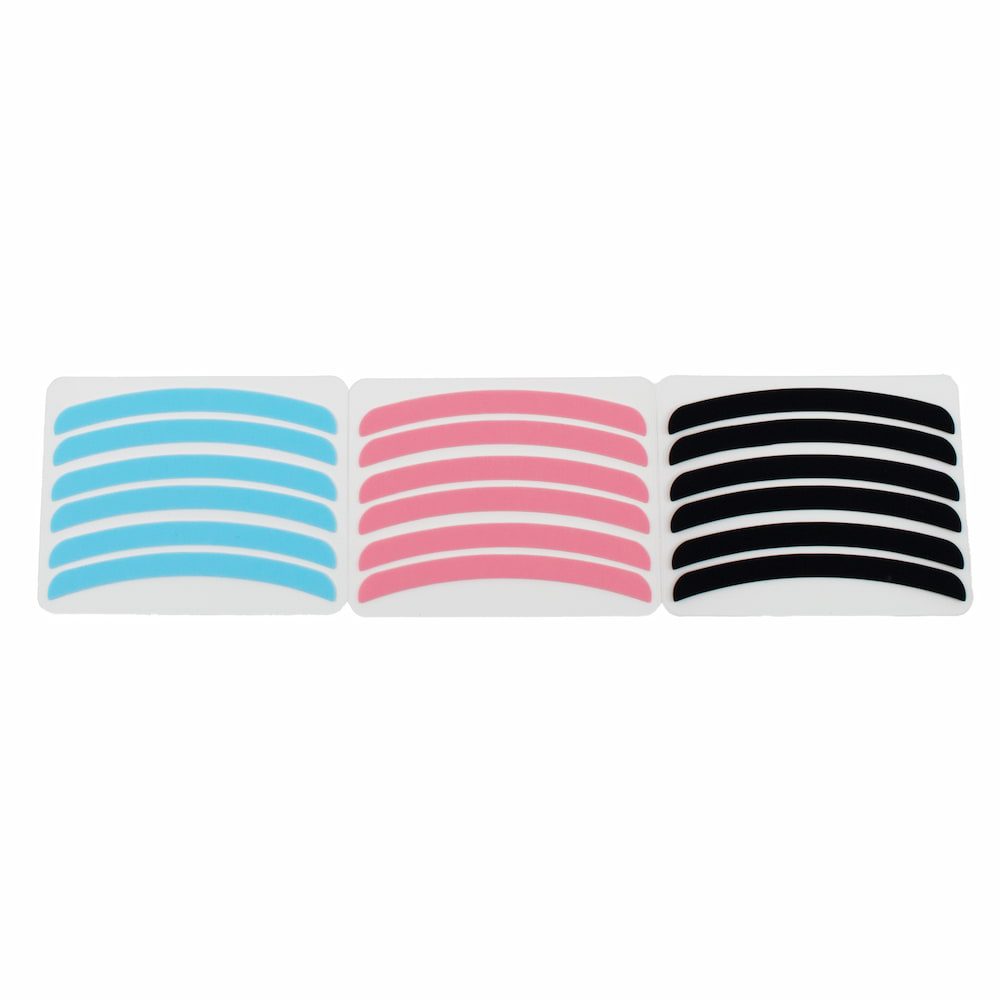
Lash Lift Compensators, 3 Pairs
After the treatment, the longevity of the results depends on the integrity of the lash and the hygiene of your kit. Ensure you follow best practices for cleaning lash lift shields to maintain tool longevity and prevent cross-contamination. If you encounter residual adhesive on the skin after removal, refer to our troubleshooting guide on how to get glue off eyelids to ensure the client leaves the salon with clean, irritation-free results.
Mastering the art of shield application requires a combination of anatomical knowledge and high-quality tools. By selecting the correct size, ensuring a snug fit to the lash line, and adapting your technique for different eye shapes, you can provide consistent, high-impact results for every client.
Ready to upgrade your station? Explore our full range of professional lash lift shields and precision accessories to perfect your next application.