The lash lift is a sophisticated evolution of the traditional lash perm, replacing outdated rollers with precisely engineered silicone shields. This treatment provides a consistent, root-to-tip curl that makes natural lashes appear longer and more voluminous without the maintenance of extensions. For a professional technician, mastering the technical nuances of the chemical process is the difference between a standard service and a transformative result that lasts up to eight weeks. Before beginning, it is essential to consult the Essential Lash Lift Contraindications Guide to ensure the client is a suitable candidate for the procedure.
Preparation and Eye Area Cleansing
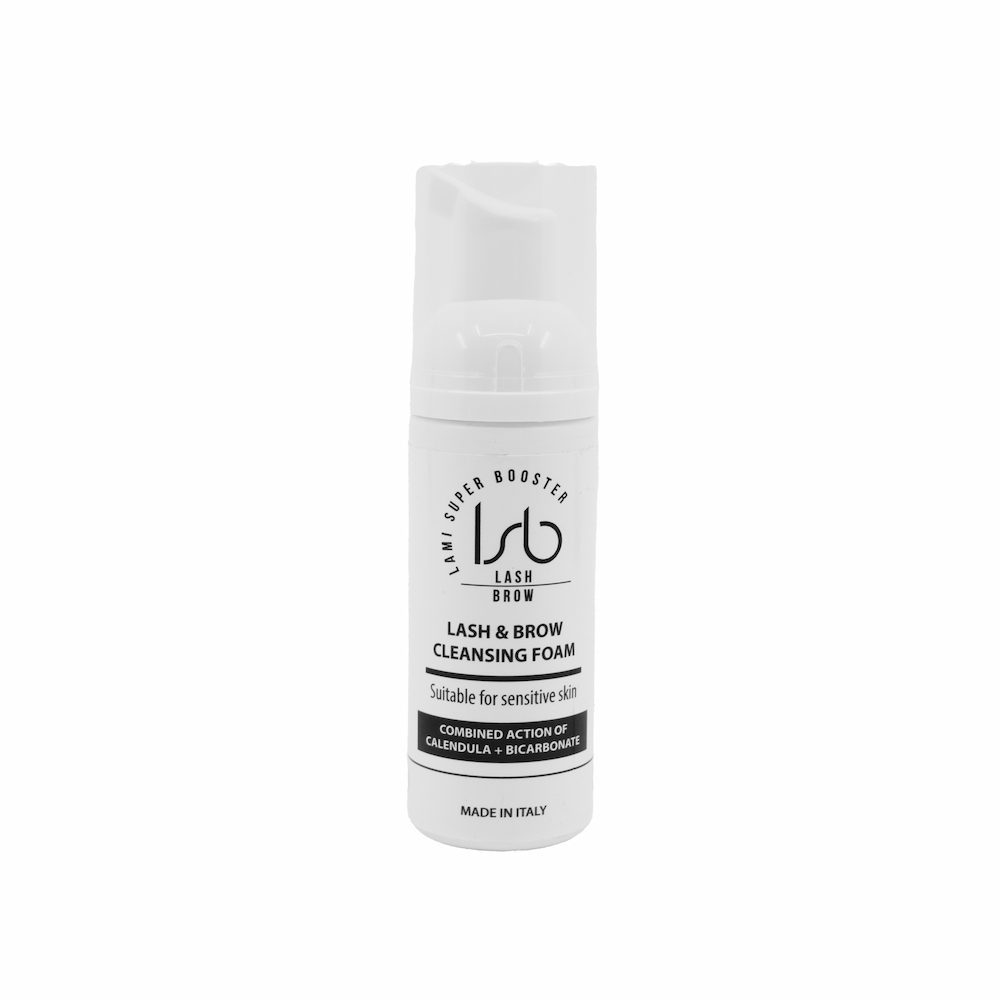
A successful lift begins with a pristine surface. Any residual oils, proteins, or makeup debris can act as a barrier, preventing the lifting solutions from penetrating the hair shaft effectively. Use a professional-grade, oil-free cleanser to thoroughly decontaminate the lashes and the surrounding eyelid skin. Applying the cleanser with a soft brush helps reach the base of the lashes where oils tend to accumulate.
Once the area is clean, secure the lower lashes using under-eye gel pads. Position these carefully to cover every lower lash, preventing them from being caught in the lifting process. Accurate placement ensures client comfort throughout the 45–60 minute treatment and prevents the lower lashes from being accidentally curled upward.
Selecting and Positioning Silicone Shields
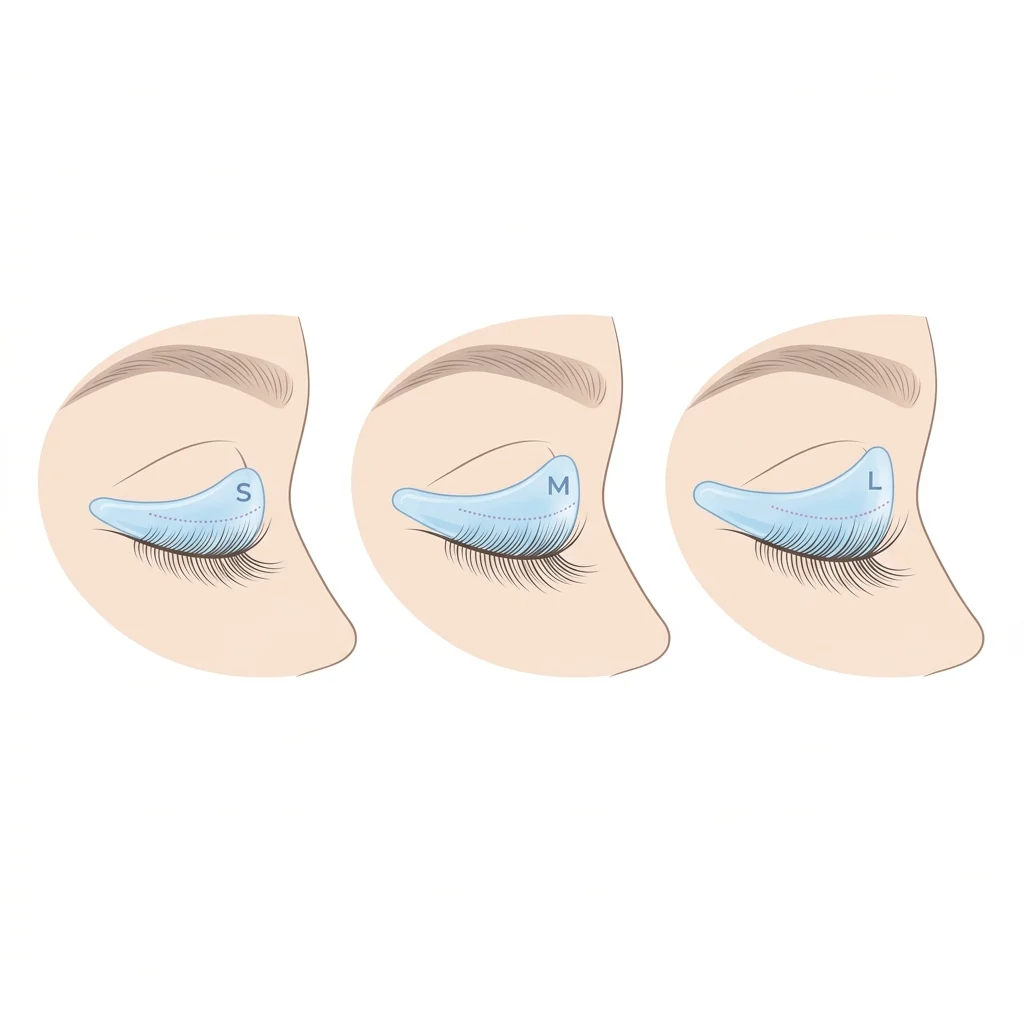
Choosing the correct shield size is the most critical decision for the final aesthetic. Natural lashes should generally cover approximately 70% to 80% of the shield’s curve. For clients with shorter lashes or those seeking a dramatic, tight curl, a small shield is appropriate. Medium shields provide a balanced, versatile lift for most lash lengths, while large shields are reserved for very long lashes or clients desiring a soft, natural curvature. Technicians can find more detailed parameters in the lash lift shield size guide to refine their selection process.
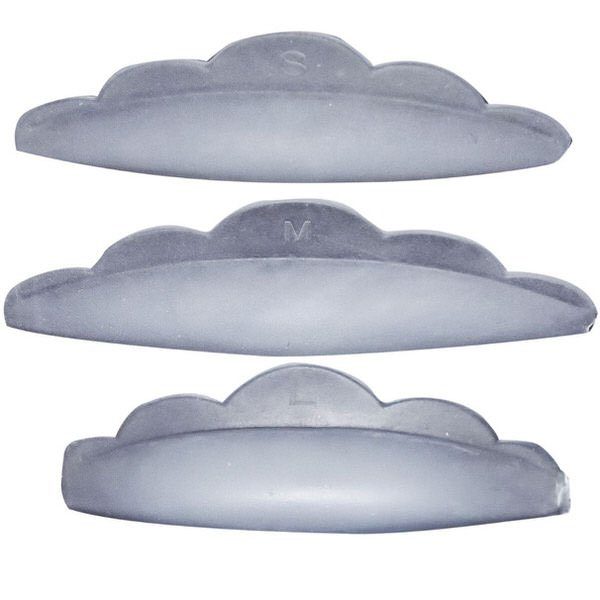
To attach the shield, apply a thin, even 1mm layer of water-soluble adhesive to the back of the silicone and allow it to become slightly sticky for approximately 30 seconds (or use a self-sticking one). Place the shield as close to the lash line as possible without touching the skin of the eyelid. This proximity is vital for achieving a lift from the root rather than a mid-shaft curl.
Lash Attachment and Precision Separation
With the shield secured, apply a thin layer of adhesive to the front surface. Working in small sections, use a dedicated tool to lift the lashes onto the shield. The goal is to ensure every lash is perfectly vertical and fanned out evenly, avoiding any crisscrossing or clumping. This stage requires a high degree of precision, as the lashes will set exactly how they are positioned on the shield.
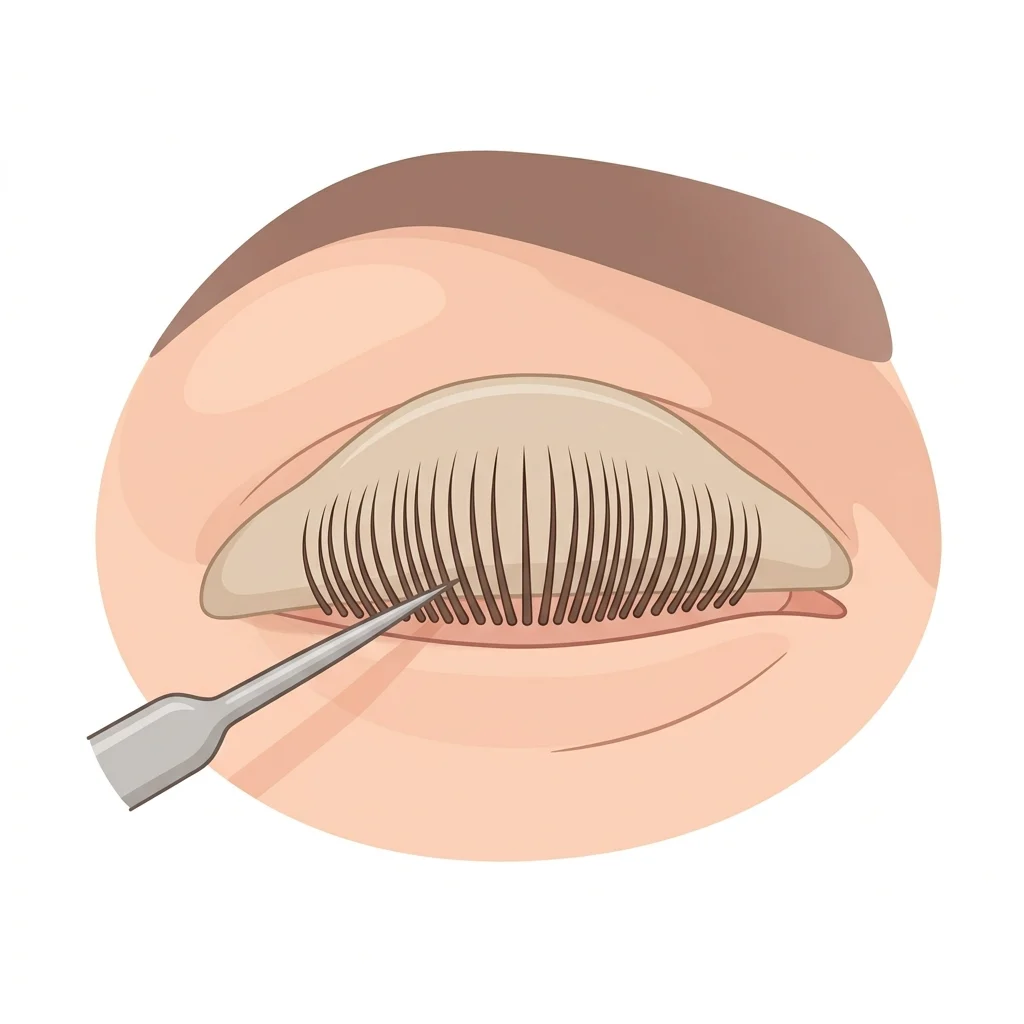
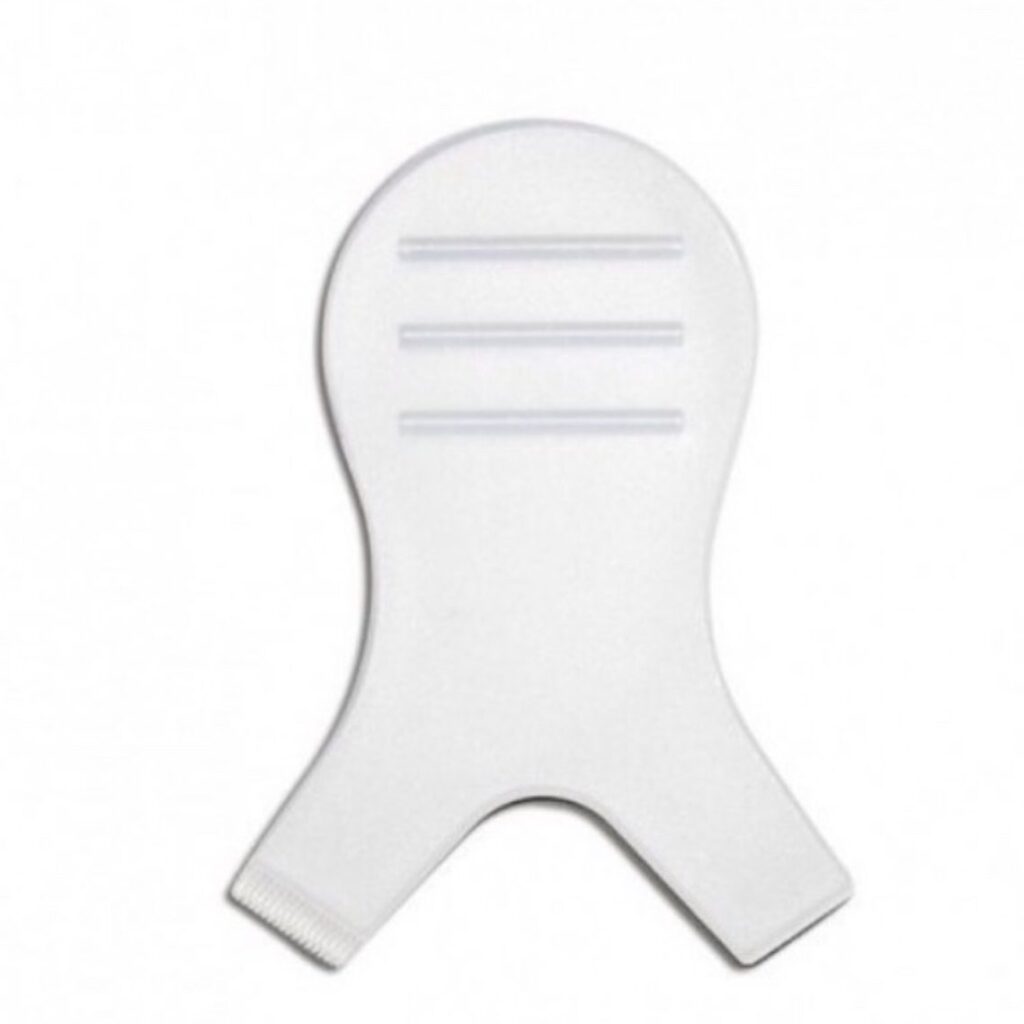
Technicians often use specialized tools to achieve this level of isolation. For lashes that are stubborn or prone to popping off the shield, the use of silicone compensators can provide the necessary tension to hold them in place during the chemical processing phase.
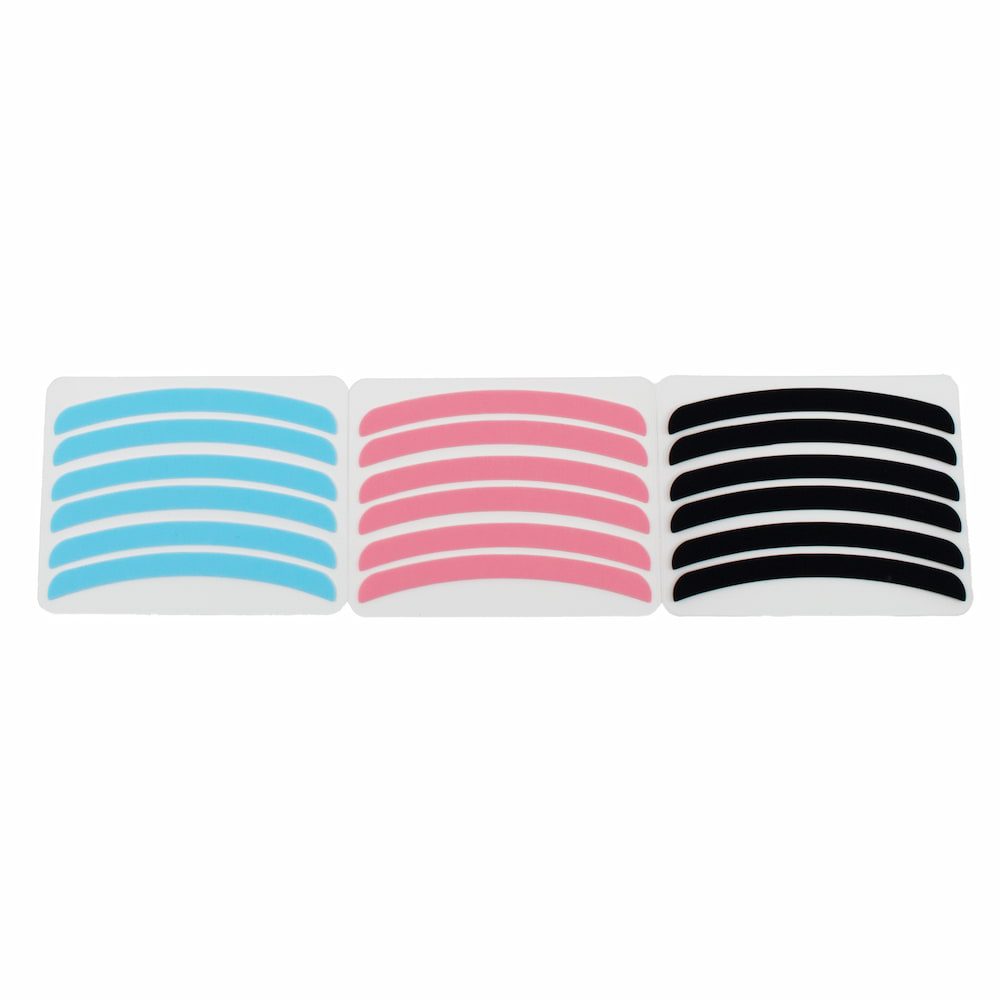
Lash Lift Compensators, 3 Pairs
The Chemical Lifting Process
The lifting phase involves breaking the disulfide bonds within the hair structure, allowing the lashes to be reshaped. Apply the lifting lotion (Step 1) from the base of the lashes up toward the middle, avoiding the tips to prevent over-processing and frizz. The lash lifting timing is determined by the hair’s diameter: thin or weak lashes require 7–8 minutes, medium lashes need 10 minutes, and thick or coarse lashes may require up to 12 minutes.
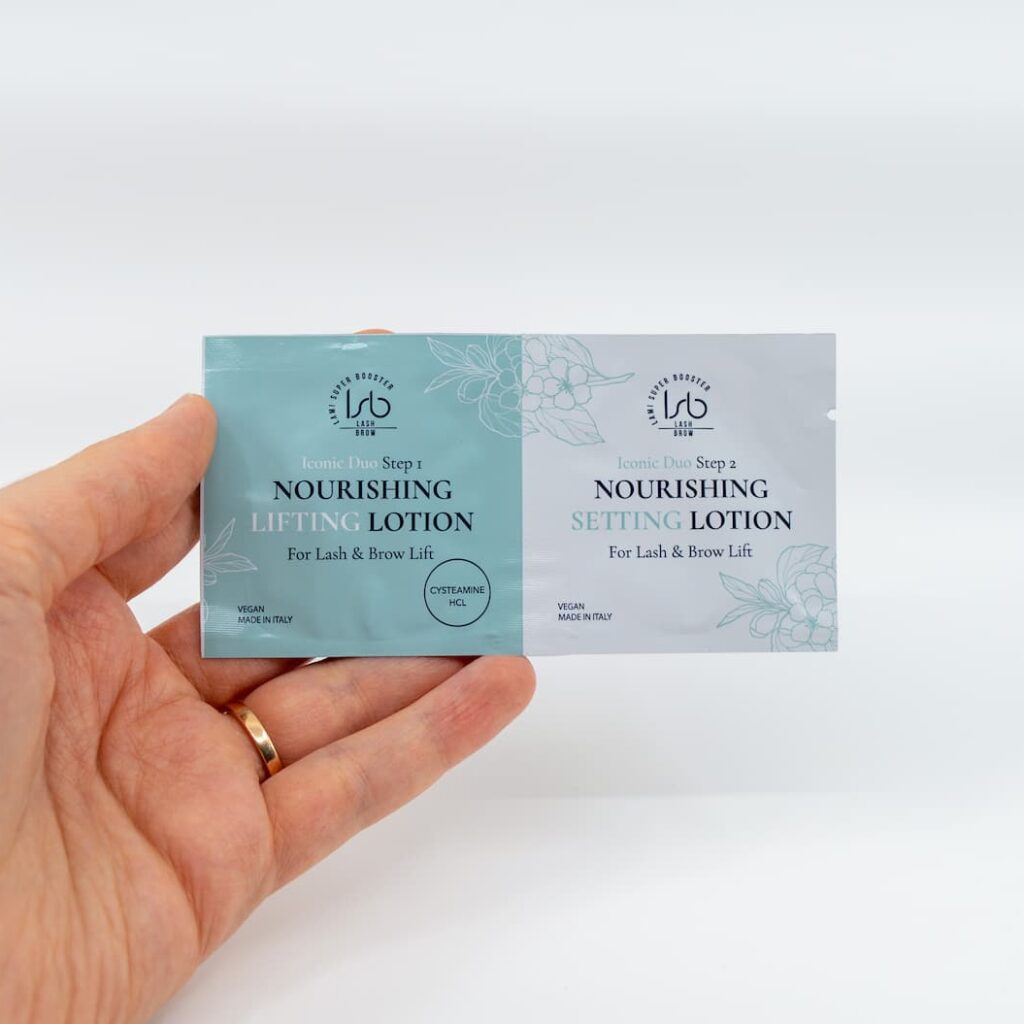

After the lifting lotion is completely removed with a dry cotton swab, the setting or fixing lotion (Step 2) is applied for the same duration. This stage is crucial for neutralizing pH in lash lifts, as it reforms the disulfide bonds and “locks” the lashes into their new, curled configuration. Failing to neutralize properly can lead to a weak lift or continued chemical action that damages the hair integrity.
Finishing and Lamination
Once the chemical lotions are removed, technicians may proceed with an optional tinting service to darken the lashes and enhance the visual impact of the lift. The final professional step is the application of a nourishing lamination cream. This cream-mask is formulated with ingredients like argan oil, keratin, and vitamins to close the hair cuticles and seal in moisture.
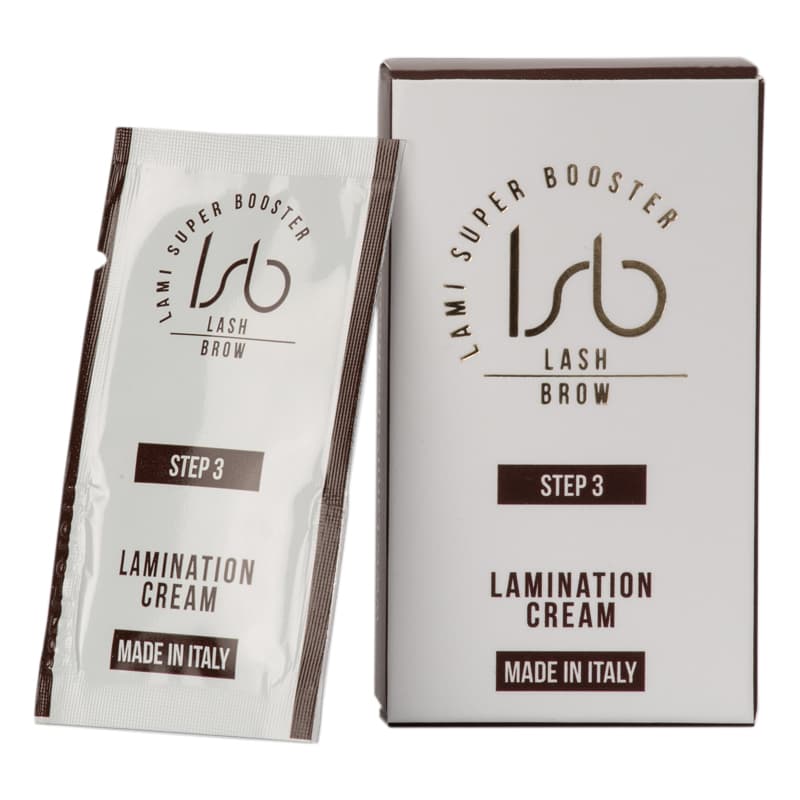
Apply the lamination cream evenly and leave it to process for 5–10 minutes. This not only strengthens the lashes after the chemical treatment but also gives them a fuller, healthier appearance. Finally, gently peel the silicone shields away from the eyelid, starting from the outer corner, and remove any remaining adhesive residue with a damp cotton pad.
Professional Maintenance and Aftercare
The first 24 to 48 hours following a treatment are the most critical for ensuring the longevity of the lift. Instruct your clients to keep their lashes completely dry and free from any steam, heat, or cosmetics during this window. Moisture can weaken the newly formed chemical bonds, causing the lift to drop prematurely.

- Avoid water, steam, saunas, and hot yoga for at least 24 hours.
- Do not apply mascara or eye makeup until the 24-hour setting period has passed.
- Advise clients to sleep on their back to prevent physical distortion of the lashes.
- Recommend a daily lash serum to keep the hair hydrated and strong between appointments.
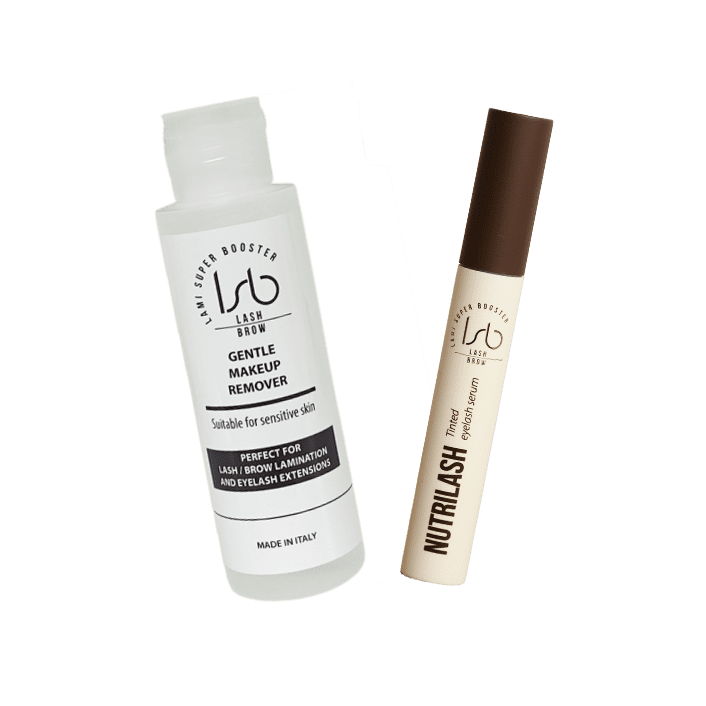
Consistent lash lift aftercare ensures that the results remain vibrant until the natural lash shedding cycle begins. By providing clients with clear, technical instructions and high-quality maintenance products, you establish a professional standard that encourages repeat bookings and maintains the long-term health of their natural lashes.
To provide your clients with the best possible results and ensure you have all the necessary components for a flawless service, consider investing in a professional lash lift kit. Training and high-quality Italian-made formulas are the foundation of a successful lash lifting business.