


Every brow service starts with the same decision: where the brow begins, peaks and ends, and which method you use to get it there. Map first, trim second, remove hair last, and only then decide whether the client needs wax, thread or tweezers. If the appointment also includes lamination or tinting, the order of those steps matters as much as the technique itself.
| Technique | Best for | Main watch-out |
|---|---|---|
| Mapping and trimming | Every client, before any chemical service | Over-trimming fine or sparse brows |
| Tweezing | Strays outside an established shape | Repeated trauma to the same follicles |
| Threading | Precise lines, sensitive skin | Temporary redness; use fresh thread each client |
| Waxing | Quick clean-up of broad areas | Contraindications, wax temperature, hygiene |
Map the brow before touching a hair
Mapping gives you three anchor points, measured with the client sitting upright and the head level, not tipped back. Use a mapping string, a brush handle or a white charcoal pencil and always pivot from the outer edge of the nostril.
The head of the brow sits where the line from the nostril passes the inner corner of the eye. The arch sits where the line from the nostril passes the outer edge of the iris, with the client looking straight ahead. The tail ends where the line from the nostril passes the outer corner of the eye. One rule keeps the face from looking tired: the tail should never finish below the horizontal level of the head. Mark each point as a dot on both sides and compare them before you cut or remove anything, because few faces are symmetrical and each brow needs its own map.
Face shape then decides how you adjust the arch and thickness within those anchor points. We cover those design choices in our guide to choosing a good brow shape.

A Y-comb or a clean disposable brush keeps the hairs separated while you map, and a fresh brush per client avoids cross-contamination. You can find both in our brow lamination tools and accessories.
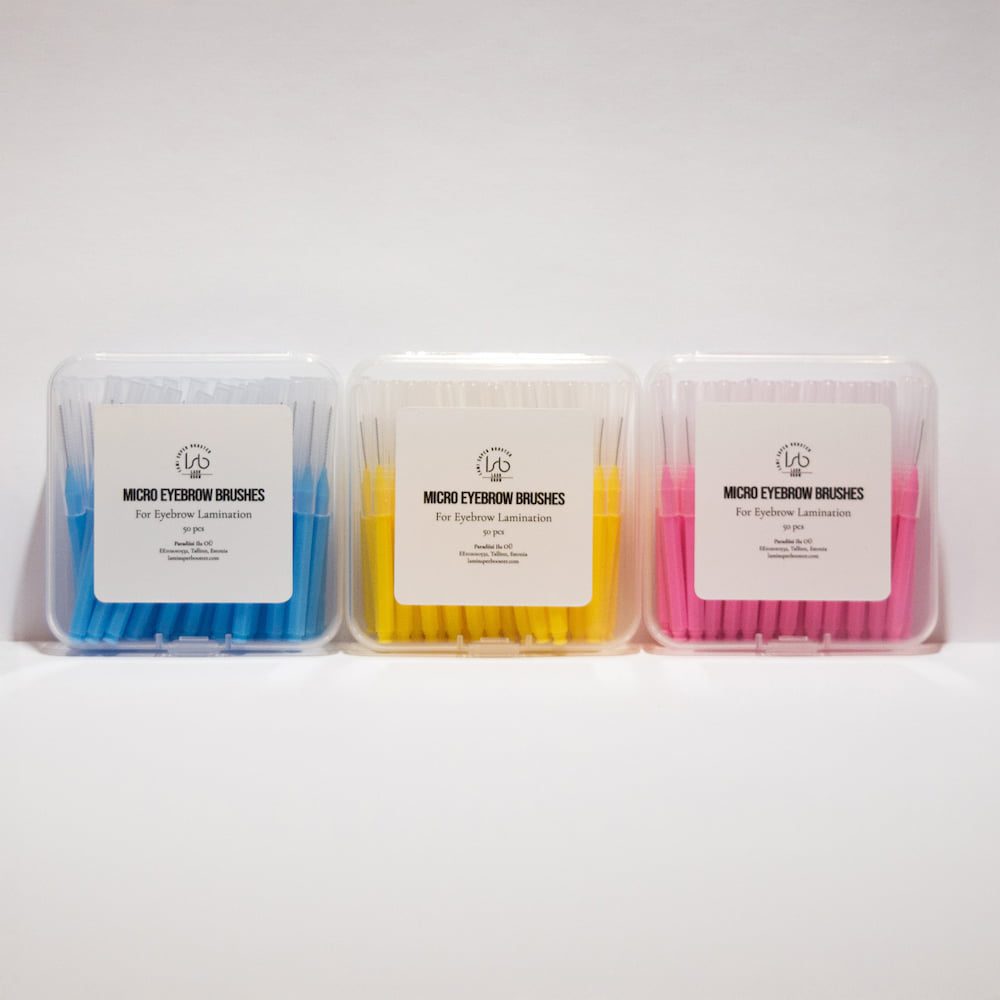
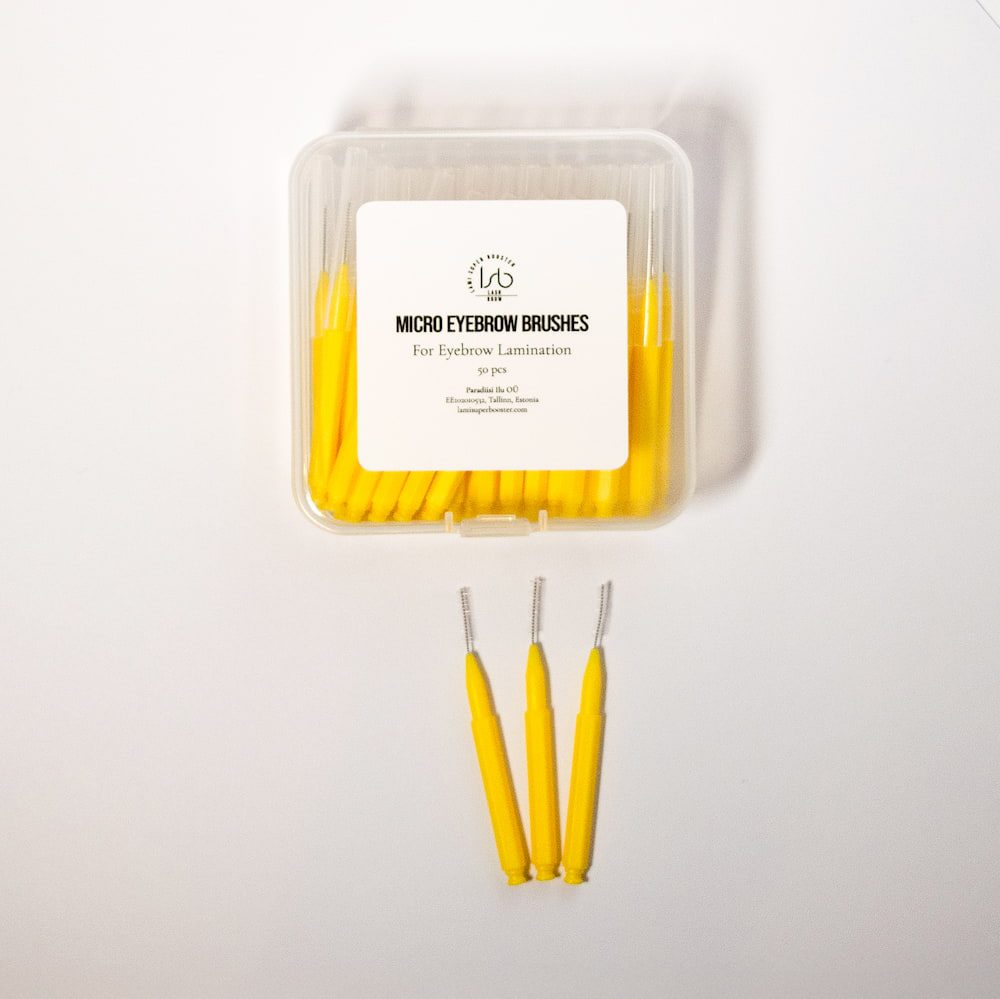
50 Micro Eyebrow Brushes

Trim first, then decide what to remove
Trimming controls length without costing any density, so it should come before hair removal. Brush the hairs upward with a spoolie, then trim only the tips that rise above the natural top line. Use small, sharp brow scissors and work in sections from the inner brow outward.
Cut one hair at a time at a slight downward angle rather than straight across. A straight cut leaves blunt tips and a boxy outline. Take roughly a fifth of the hair length on the first pass, which is one brow artist’s rule of thumb, then brush the hairs back and reassess before cutting again. On coarse brows that second look prevents gaps. On fine or sparse brows, trim very little, because every millimetre of length helps cover the skin. Our article on managing eyebrow hair that is too long covers the problem cases, such as hairs that curl over the lower edge.
Waxing
Waxing clears a broad area fast, which suits clients with a lot of fine hair outside the mapped line. It also carries the most contraindications of the three removal methods, so the consultation comes before the wax pot.
Do not wax sunburned or very sensitive skin, and do not wax a client who has taken isotretinoin in the last six months, according to the American Academy of Dermatology. Topical retinoids such as tretinoin make skin fragile too. Sources differ on the pause, and many studios ask clients to stop for about seven days, so follow your wax manufacturer’s instructions and ask every client about creams, not only tablets. Also check for broken or irritated skin, and for diabetes, circulation problems or blood thinners, which many waxing guidelines treat as reasons to get medical agreement first.
There is no universal working temperature for hard wax. One manufacturer’s instructions say to start melting at about 38 °C and not to exceed 42 °C, while other guides quote higher ranges, so check the temperature for the exact wax you use with a thermometer, and test it on a small patch of skin before every use.
For application, spread a thin layer in the direction of hair growth, hold the skin taut and remove the strip low and fast against the growth direction. Use a new single-use spatula for every application and never double-dip. NSW Health notes that reused or cross-contaminated wax can lead to staphylococcal and streptococcal infections and folliculitis.
Threading and tweezing
Threading uses a twisted cotton thread to catch hairs at the root, and it is the method to reach for when you need a crisp line. The Cleveland Clinic describes it as more precise than waxing and slightly less precise than tweezing. With no heat and no wax on the skin, it tends to irritate less than waxing, which makes it useful for clients who react to wax ingredients. Redness and mild swelling can still follow. A peer-reviewed review of threading complications recommends proper technique, disposable thread and sterilised reusable materials, and lists folliculitis among the rare side effects.
Work the arch and tail last, where the outline matters most, and keep the skin stretched firmly so the thread glides rather than drags. Healthline reports that threaded brows stay tidy for around four to five weeks on average, a useful figure for your rebooking advice.
Tweezing is the finishing tool. Use it for single strays outside the map and for the last clean-up after wax or thread. The Cleveland Clinic warns that how often a client plucks and how traumatic each pull is both affect whether follicles recover, so tell clients not to chase strays at home between visits. Eyebrow follicles have a short growth phase, typically 2 to 3 months according to a published clinical review of eyebrow anatomy, which is why a heavily over-worked brow can take months to recover.
Sequence shaping around lamination and tinting
Practices vary here and the published guidance is inconsistent. Studios ask clients to stop tweezing, waxing and threading anywhere from 72 hours to four weeks before lamination, and some do wax and tweezing straight after lamination in the same visit. Others ask for shaping at least two days before and no wax within 24 hours of the service, while one aftercare source advises waiting 24 to 48 hours after lamination before anything pulls on the hairs.
A workable middle route is to leave hair removal at least 48 hours away from the chemical service on either side. The lotions sit close to the skin, and freshly waxed or threaded skin is reactive. That is our reasoning, not a manufacturer rule, so check it against the instructions for your system. On the day, map and trim first, since mapping should precede any shaping, waxing or chemical service. Brush the hairs into their final direction with a Y-comb at roughly 45 degrees rather than vertically, which also helps cover gaps on sparse brows.
Hair thickness then sets your processing time. With our Classic system, the perming and fixing lotions each stay on for 7 to 8 minutes on thin or fine brows, 10 minutes on medium brows and 12 minutes on thick, coarse brows. With the Iconic Duo cysteamine system, the lifting and setting lotions each take 4 minutes on thin brows, 6 to 7 on medium and 8 to 10 on strong brows. Always run a hair test, because those times are approximate. The full protocol is in our brow lamination step-by-step guide, and the brow lamination kits category has complete systems.


Iconic Duo: 2-Step Korean Lash Lift & Brow Lamination System (Vegan, Nourishing Formula)

Lash & Brow Cleansing Foam
If you tint as well, mark the mapped outline with a pencil and mix the colour in a glass dappen dish so the consistency stays even and the pigment stays inside the line. Our article on tinting before or after lamination explains the order, and the eyebrow tint category lists the shades.


Dappen Glass Cup for Eyelash and Eyebrow Tint Mixing
Aftercare and rebooking
Tell every client how long the result will hold. After lamination, the brows stay dry and untouched for the first 24 hours, away from steam, sweat and heavy products, while the bonds settle. From 24 to 48 hours, gentle cleansing can resume. Full instructions are in our brow lamination aftercare guide. Hand over a disposable spoolie so the client can brush the brows into place daily, and recommend a nourishing step to finish the service.


Eyelash and Eyebrow Lamination Cream, 10 pack (10ml)
Good shaping is mapped, trimmed and then refined by the gentlest method the client’s skin allows, with chemical services timed around it rather than squeezed against it. Build your next brow appointment around that order, and stock the tools and systems you need from our brow lamination range.
