

Lash porosity describes how readily a lash takes in and releases water, and with it your lifting lotion. In practice it tells you how fast Step 1 will work on a given client. Lashes with a sealed, glassy surface tend to resist the lotion and need more time inside the manufacturer’s window. Lashes that are already damaged or chemically treated tend to react quickly and are the ones you over-process.
One caveat before the details: porosity is a clue, not a measurement. There is no validated chairside test for eyelash porosity, so treat any reading as a starting hypothesis and let a mid-process flex check make the final call.
| Lash behaviour | Typical cues | Starting adjustment |
|---|---|---|
| Low porosity (resistant) | Glossy or glassy surface, smooth to the touch, often straight or downward-pointing | Start at the manufacturer’s time for the lash thickness and extend in 1-minute steps, only within the published window |
| Medium porosity | Healthy sheen, even colour, no frays | Standard time for the lash thickness |
| High porosity (reactive) | Matte or dull, slightly rough, history of tints, lifts or chemical services | Reduce Step 1 by 15–20% and check early |
What porosity means at cuticle level
Every lash is wrapped in overlapping scale-like cuticle cells, in the same way as scalp hair. In healthy hair the cuticle surface carries a thin lipid layer, mainly 18-MEA, that makes it water-repellent. Alkaline treatments, oxidative bleaching and everyday weathering strip that layer, so the surface becomes more water-attracting and the fibre takes up water more easily. In a 2025 study of textured hair published in the journal Cosmetics, bleaching more than doubled the change in fibre diameter caused by water uptake compared with virgin hair.
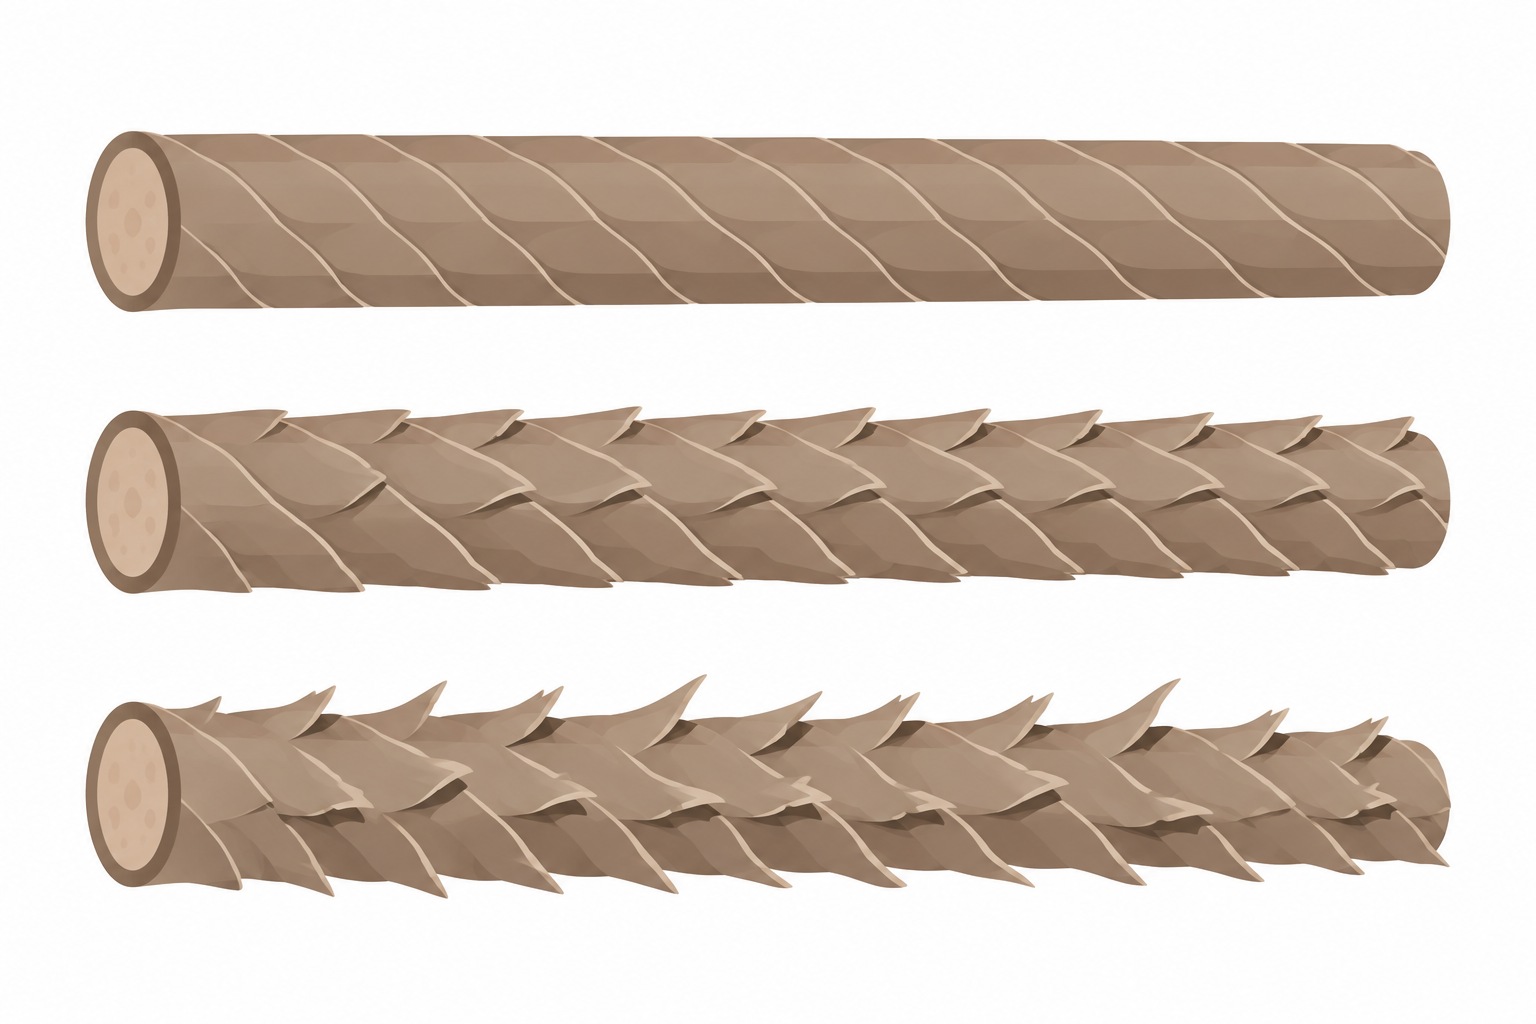
Two points keep this honest. First, most of the measured data comes from scalp hair, because eyelash porosity has barely been studied. The structure is comparable, but the numbers should not be assumed to transfer. Second, “open cuticle” is a useful picture but not the whole story. Researchers describe porosity as the fibre’s capacity to absorb fluids, which also depends on internal voids and surface chemistry, not only on how far the scales stand away from the shaft.
Your own service is part of the picture. Step 1 lifting lotion raises the lash from its natural pH of about 5.5 to roughly 8.5–9.5, which swells the shaft and lifts the scales so the reducing agent can reach the cortex. The fixing step brings the pH back down and closes things up again, but the lash can remain temporarily more porous afterwards. This is why a client who has had several lifts and tints in a short period often behaves differently from the same client’s first appointment. Damaged cuticles also tend to hold tint unevenly, which makes patchy colour a useful warning sign alongside dullness and brittleness.
Reading porosity before you start
Start with the consultation. A history of lifts, tints, extension removal with solvents or bleaching near the lash line is the most reliable indicator you have, and it costs nothing. Then look and feel.
Shine and feel. A glossy, almost glassy lash that feels very slippery under tweezers points to low porosity. A matte, dull or slightly grippy lash points to higher porosity. Supplier training guides present these as clues rather than rules, and that is the right way to use them.
Root versus tip. Porosity is not uniform along the shaft. Tips are the oldest and most fragile part of the lash and over-process first, which is why lotion belongs on the mid-shaft. Apply a 1mm layer starting 1mm from the root line and keep it off the tips entirely.
Thickness is a separate variable. Fine lashes process quickly because there is less structure to reduce. A fine lash can be low porosity and a coarse lash can be highly porous after bleaching or repeated tinting. Judge the two independently, and use the thickness chart for your system as the main guide.
Why we no longer recommend the float test
The float test, where a single clean lash is dropped in water and its floating or sinking is read as low or high porosity, is widely repeated, and an earlier version of this page included it. We have dropped it. Whether a fine fibre floats depends on surface tension, sebum and product residue at least as much as on porosity, and cosmetic chemists consider it unvalidated even for scalp hair. It also needs you to pull a lash from your client. The same limitation applies to the water-spray test: beading or quick absorption tells you about surface condition, but nobody has shown how well it predicts processing time.
Adjusting processing time
Always start from the manufacturer’s chart for your specific system, because timing differs between chemistries. For the cysteamine HCl-based Iconic Duo system, the recommended time for both Step 1 and Step 2 is 4 minutes for thin lashes, 6–7 minutes for medium lashes and 8–10 minutes for strong lashes. Traditional ammonium thioglycolate systems can run longer, typically 7–8, 10 and 12 minutes for the same three groups.
For previously treated lashes with raised or fragmented cuticles, a reduction of 15–20% on those times is a sensible opening move. As a worked example, a medium lash with a 6–7 minute Step 1 and a history of two lifts plus tint would start at about 5–6 minutes, because 15% off 6 minutes is about 5 minutes and 20% off 7 minutes is about 5.6.
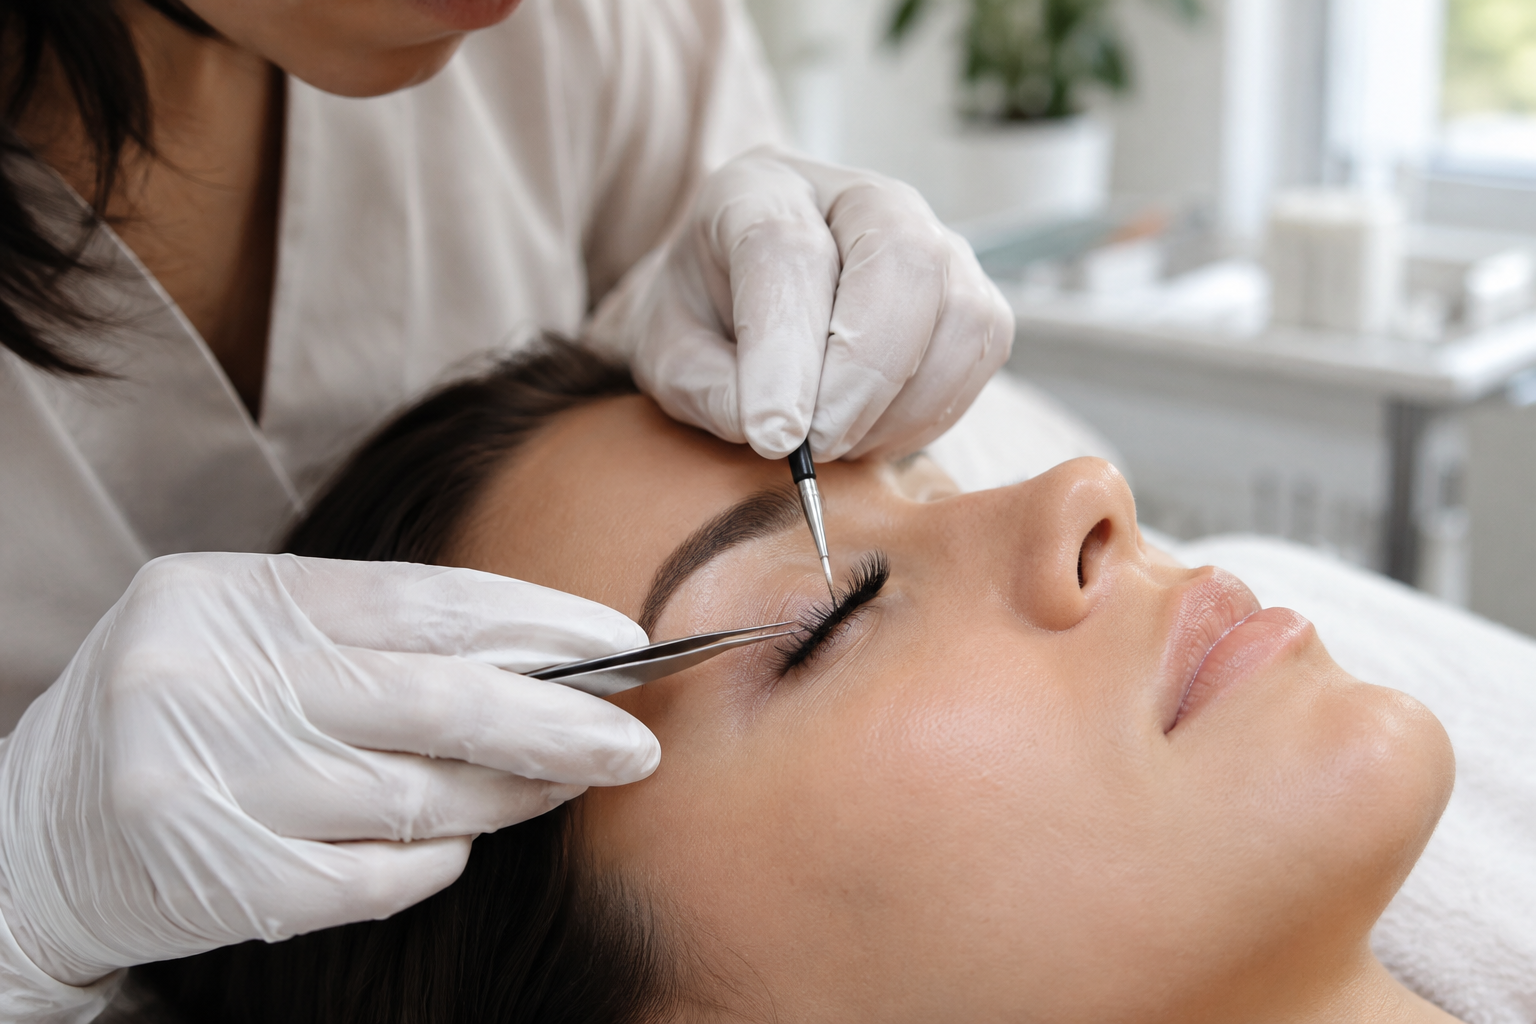
Then check, don’t trust the timer. Gently peel a single lash from the shield and bend it downward or move it in a circle. If it feels soft and offers almost no resistance, the bonds have been reduced enough and the lotion can come off. If it springs back, keep processing and re-check every two minutes toward the end of the cycle. For high-porosity lashes, run the first check before the shortened time is up rather than after.
Low-porosity and resistant lashes
Resistant lashes are where technicians most often under-process, and the lift drops within days. Extend Step 1 in 1-minute increments, never beyond the maximum for the system, and make sure the lashes are fully cleansed first. A cleanser removes oil and residue so the lotion wets the lash evenly, but it does not change the cuticle structure itself, so do not count on it to compensate for too little time.
If a lash will not respond within the safe window, change the approach instead of adding minutes. Stronger or downward-pointing lashes often respond better to a firmer pull on the shield or to a thioglycolate-based lotion, which works at a higher pH of around 8.5–9.5. Our comparison of TGA and cysteamine explains when each is the better choice. For lashes that grow straight down or drop quickly after standard lifts, a Korean-style glueless lift is also worth trying. Mixing 30–50% Lash Lift Glue Powder into the lifting lotion gives the lotion more grip on the lash.

Iconic Duo Cysteamine Lash Lift Kit medium


If a result is under-processed, our guide to what to do when a lash lift doesn’t work covers the troubleshooting step by step.
High-porosity and previously treated lashes
Cysteamine HCl is generally the better fit here because it breaks disulfide bonds at a milder, more controlled rate and swells the cuticle less aggressively than thioglycolate. Beyond chemistry, three habits protect reactive lashes: keep lotion off the tips, remove Step 1 completely with a dry swab before applying Step 2, and watch the clock closely, because with thioglycolate even a one-minute deviation can leave a reactive lash brittle.
Know what over-processing looks like. Lashes that look frizzy, crimped or bent back against the lid, feel gummy, stretch excessively or fail to spring back, or appear translucent and wiry, are telling you to stop. Postpone the next lift rather than chemically correcting them. Repeat lifts are generally spaced four to six weeks apart. Our guide on when to safely repeat a lash lift explains how to judge whether a client’s lashes are ready.
Aftercare by porosity
The first 24 to 48 hours matter for everyone, because the bonds stay malleable and the lift can relax or drop unevenly if it meets water, steam or pressure. Clients should avoid direct water, saunas, hot showers, heavy sweating and eye makeup in that window, and sleep on their back where possible.
For reactive lashes, add a nourishing routine once that window has passed. A lash serum or conditioning aftercare helps the lash cope with the temporary porosity the treatment leaves behind. For resistant lashes, the priority is protecting the lift you worked hard to get, so reinforce the dry period instead of adding products.


Keep a porosity note for every client
Because porosity changes with each chemical service, one assessment at the first visit is not enough. Record the cues you saw (shine, feel, tint history), the chemistry and system used, the Step 1 and Step 2 times, the result of your flex check and how long the lift lasted. After three or four visits you will have your own data on how each client reacts, which is more useful than any generic chart. Where a retention problem appears, compare these notes first: a lift that dropped early with a long Step 1 time points to resistance, while a crimped, brittle result with a short time points to a lash that was more reactive than it looked.
Start your next consultation by looking at shine, feel and service history, set a shortened or standard Step 1 accordingly, and let the flex check decide when to rinse. If you want to work with a milder, nourishing chemistry on reactive lashes, explore our Korean lash lift range and see how it fits your timing notes.
