



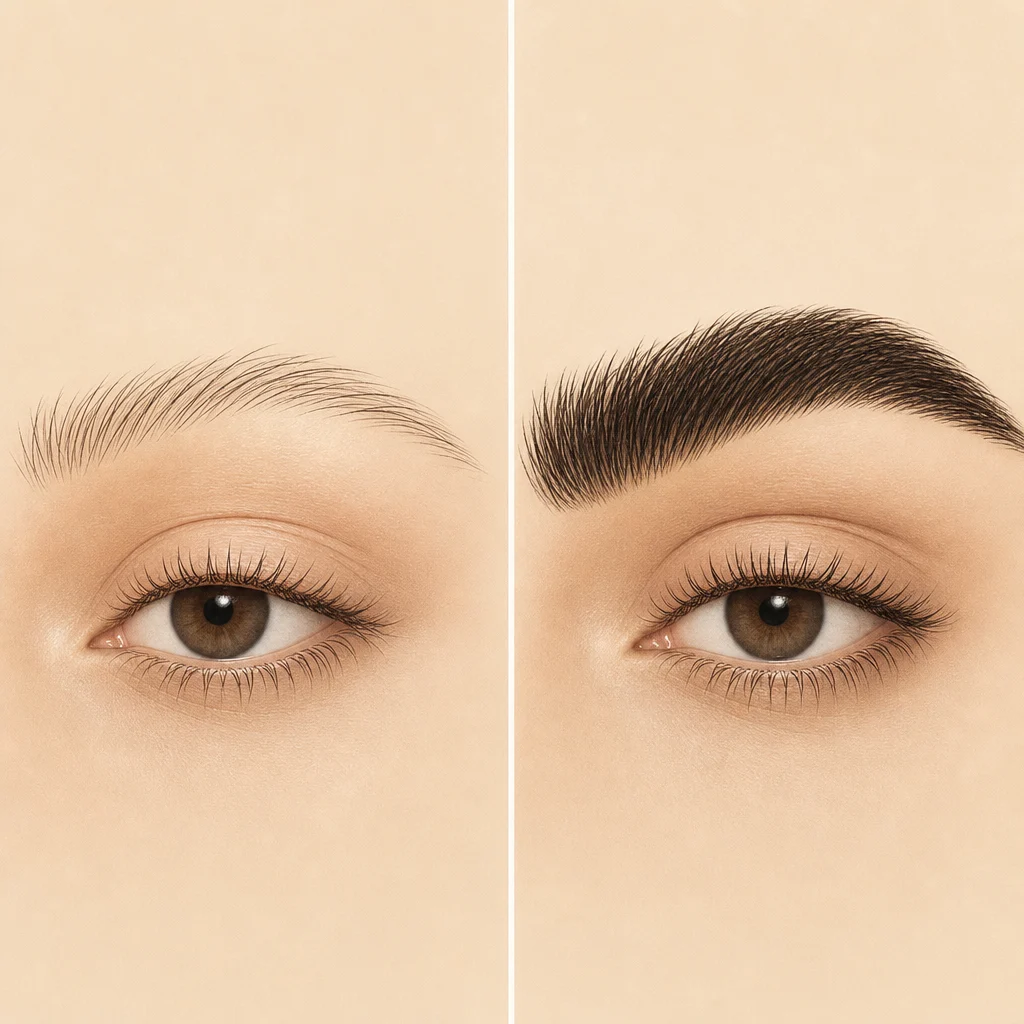
Brow lamination has transitioned from a seasonal beauty trend to an essential salon service. At its core, this treatment is a chemical restructuring process that alters the disulfide bonds of the hair shaft, allowing technicians to redirect stubborn growth patterns into a sleek, uniform direction. Because every client presents a unique combination of hair texture, growth density, and bone structure, a single approach to lamination will not yield consistent results.
Understanding the science of what is brow lamination from a technical standpoint enables beauty professionals to customize chemical application, processing times, and mapping styles. This tailored methodology ensures the preservation of hair health while delivering predictable, high-quality results.
Assessing Brow Hair Types and Textures
Before applying any chemical solutions, beauty technicians must perform a thorough physical assessment of the client’s eyebrow hair. Hair texture, thickness, and natural growth patterns dictate the choice of formula, the placement of the product, and the processing duration.
Fine, Thin, and Sparse Brows
Clients with fine or sparse eyebrows often seek lamination to create a denser, more defined look. For these hair types, lamination works by straightening the individual hairs and positioning them across empty areas, which creates a convincing illusion of fullness.
However, fine hair has a thin, delicate cuticle layer that is highly susceptible to chemical damage and overprocessing. Technicians must use a gentle, highly controlled application. Avoid pulling or stretching the hairs too aggressively during the styling phase, and reduce chemical contact times to the absolute minimum required to break the bonds. For a deep dive into styling these delicate profiles, consult our professional guide on brow lamination for thin brows.
Thick, Coarse, and Unruly Brows
Coarse, wiry, or curly brows present a different challenge. The primary objective is to relax the stubborn hair shaft so it lies flat and behaves uniformly. Thick hair has a dense, tightly closed cuticle layer that resists chemical penetration.
To manage these brows, technicians must rely on precise combing techniques and may need to use a strong adhesive to hold the springy hairs in place. Curly or downward-growing hairs must be redirected at the root to break their natural growth resistance. For clients with excessive length that interferes with a clean silhouette, technicians should employ careful trimming techniques before starting the chemical process, focusing on managing long eyebrow hair by cutting at a precise angle to maintain a natural, tapered tip.
Processing Guidelines by Hair Profile
Processing times must be adjusted strictly by hair type rather than using a single, uniform timeline for every client. To ensure safety and efficacy, technicians should always perform a hair elasticity test prior to full chemical application.
Lami Super Booster Classic System (Perming and Fixing Lotions)
The Classic system is designed to handle a broad range of hair types. Use the following timing protocols for both the Perming Lotion and the Fixing Lotion:
- Thin or fine brows: 7 to 8 minutes
- Medium or normal brows: 10 minutes
- Thick, coarse, or unruly brows: 12 minutes
Iconic Duo Cysteamine-Based System
The Iconic Duo system utilizes a gentler, cysteamine-based formula that is highly nourishing, making it an excellent option for delicate hairs or clients prone to sensitivity. Use the following processing times for Step 1 (Lifting) and Step 2 (Setting):
- Thin or fine brows: 4 minutes
- Medium brows: 6 to 7 minutes
- Strong or thick brows: 8 to 10 minutes


—
Brow Mapping and Styling by Face Shape
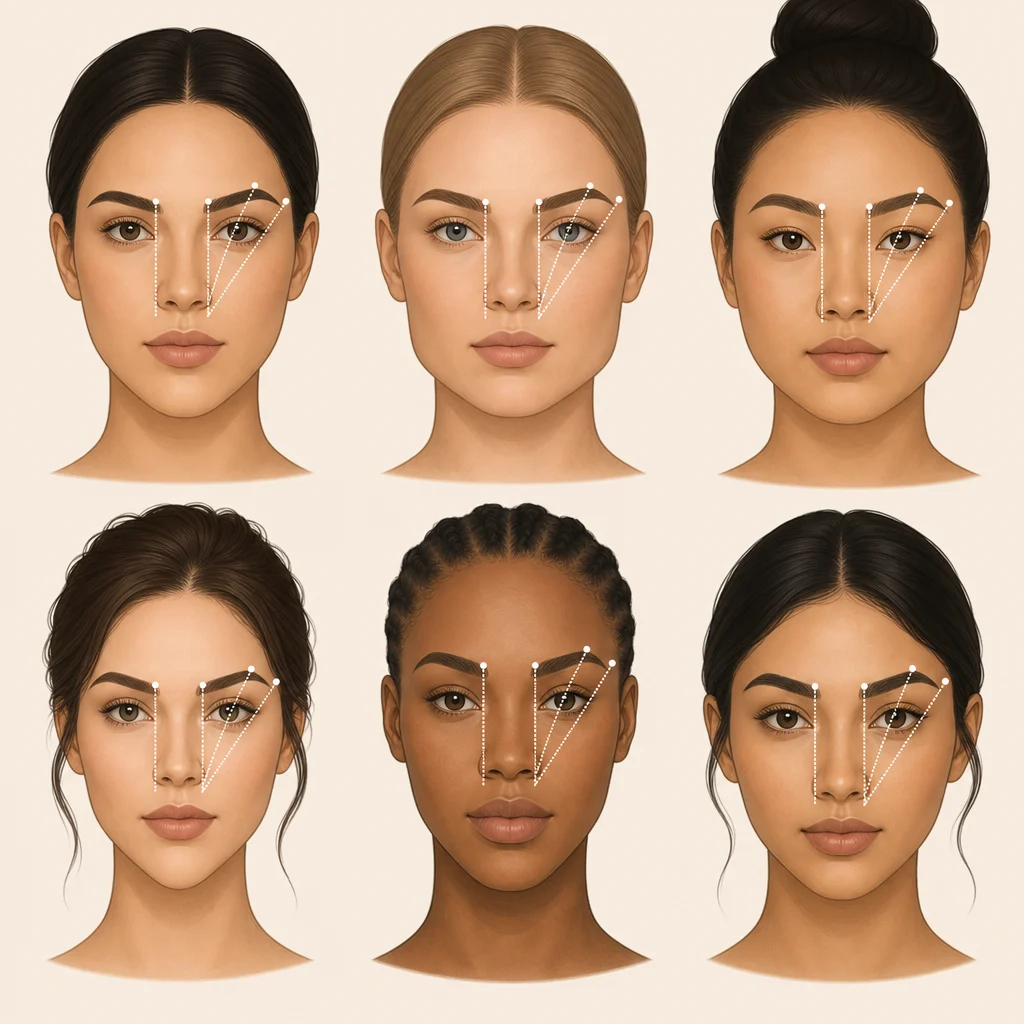
Executing a successful brow lamination requires combining chemical skill with facial geometric analysis. Technicians should use professional brow shaping techniques to map the brows according to the client’s bone structure, selecting a good brow shape that balances their overall face shape.
Oval Face Shape
Oval faces are highly versatile and accommodate most styles. The professional goal is to maintain the face’s natural balance. Position the arch at approximately two-thirds of the distance from the brow start, keeping a consistent, moderate thickness and a soft, natural curve. Avoid overly dramatic vertical spikes during lamination, as they can disrupt the face’s inherent proportions.
Square Face Shape
To soften the strong, angular lines of a square jaw, design a fuller brow with a higher, smooth, continuously curved arch. Avoid sharp, angular peaks, which can emphasize facial boxiness. Extending the tail slightly outward helps to widen the upper face and create a more balanced, oval-like illusion.
Round Face Shape
To add structure, definition, and length to a round face, style the laminated brows with a high, sharply angled arch. Lamination is highly effective here for lifting the brow hairs vertically at the peak to create a lifting effect. Keep the tails structured and extended slightly past the outer corner of the eye to visually elongate the face.
Heart-Shaped Face Shape
To balance a wider forehead and a delicate, pointed chin, style the brows with a soft, rounded, and fluffy finish. Keep the brows full but avoid sharp angles or harsh borders. Soft, vertical brushing at the front of the brow helps draw attention upward and balances the lower half of the face.
Long or Oblong Face Shape
To visually shorten and widen a long face, orient the laminated brow hairs in a flatter, more horizontal direction. Minimize the height of the arch and style the brows with a low, flat shape and soft edges. Ensure the tail does not droop downward, which can make the eyes look tired.
Diamond Face Shape
To soften prominent cheekbones and widen a narrow forehead, design curved brows with an angled arch that peaks directly above the outer edge of the iris. Keep the tails soft, blended, and slightly tapered to prevent drawing too much attention to the temples.
Selecting the right professional brow lamination tools ensures that you can execute these precise mapping lines and comb the hairs into their exact design positions with ease.
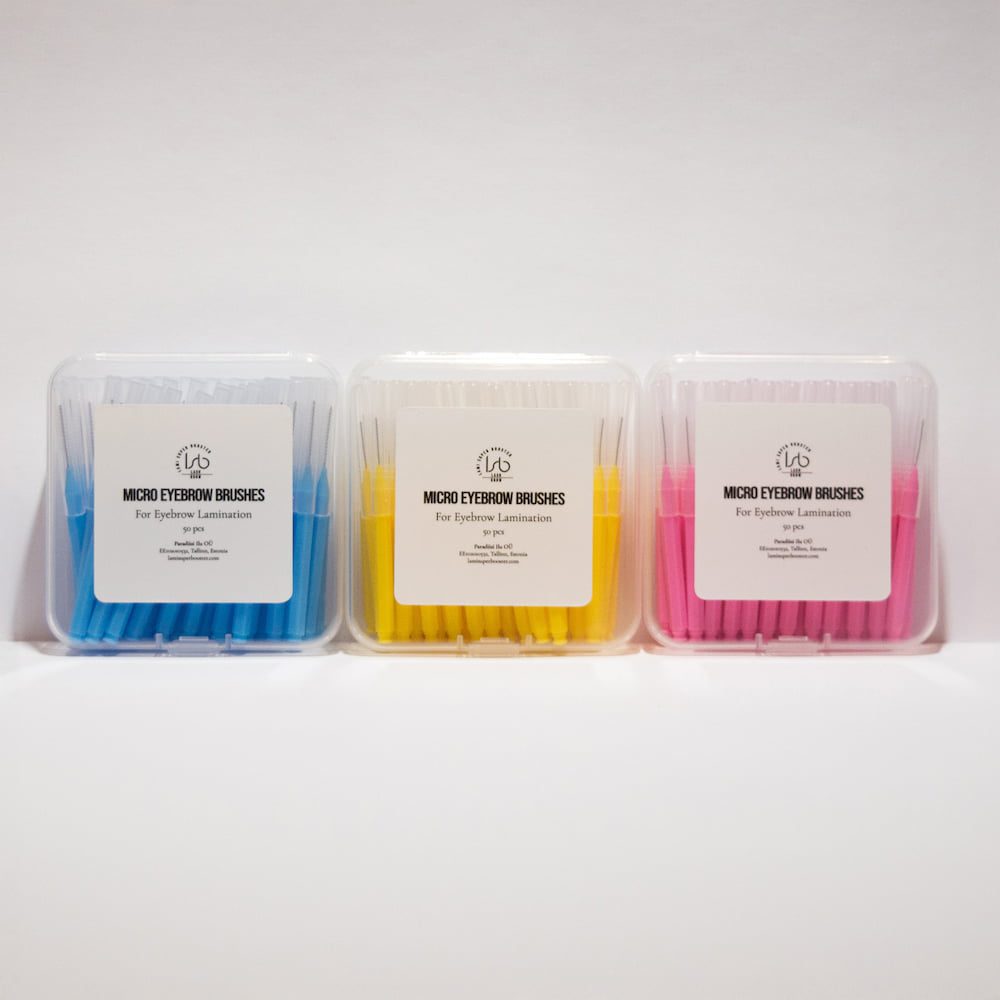
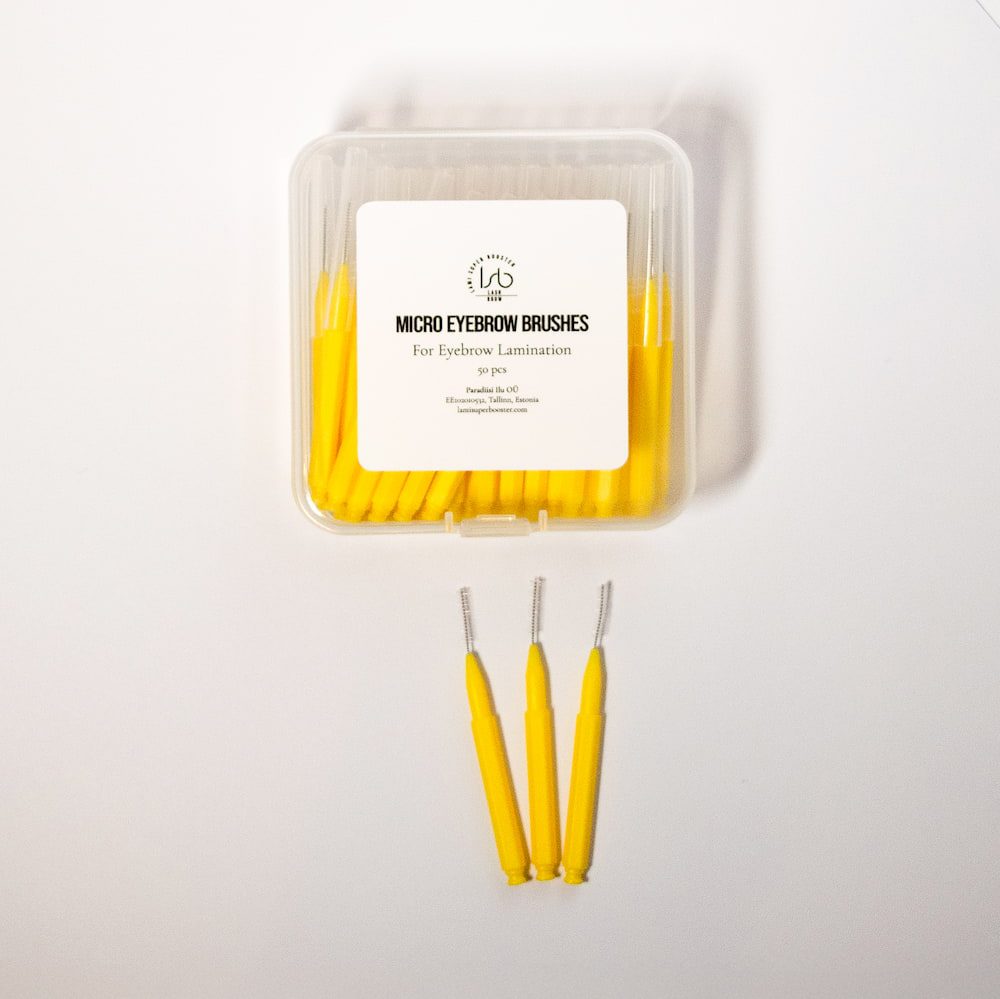
50 Micro Eyebrow Brushes
Addressing Asymmetry and Growth Direction
One of the most common styling challenges beauty professionals face is natural asymmetry. Perfect symmetry is rarely achievable or flattering; instead, technicians should focus on creating visual harmony.
When encountering localized hair growth direction issues, such as cowlicks, brows that grow downward, or hairs that grow sideways, the technician must use strategic tension and adhesive placement. Apply a thin, 1mm layer of water-soluble adhesive to secure these stubborn areas.
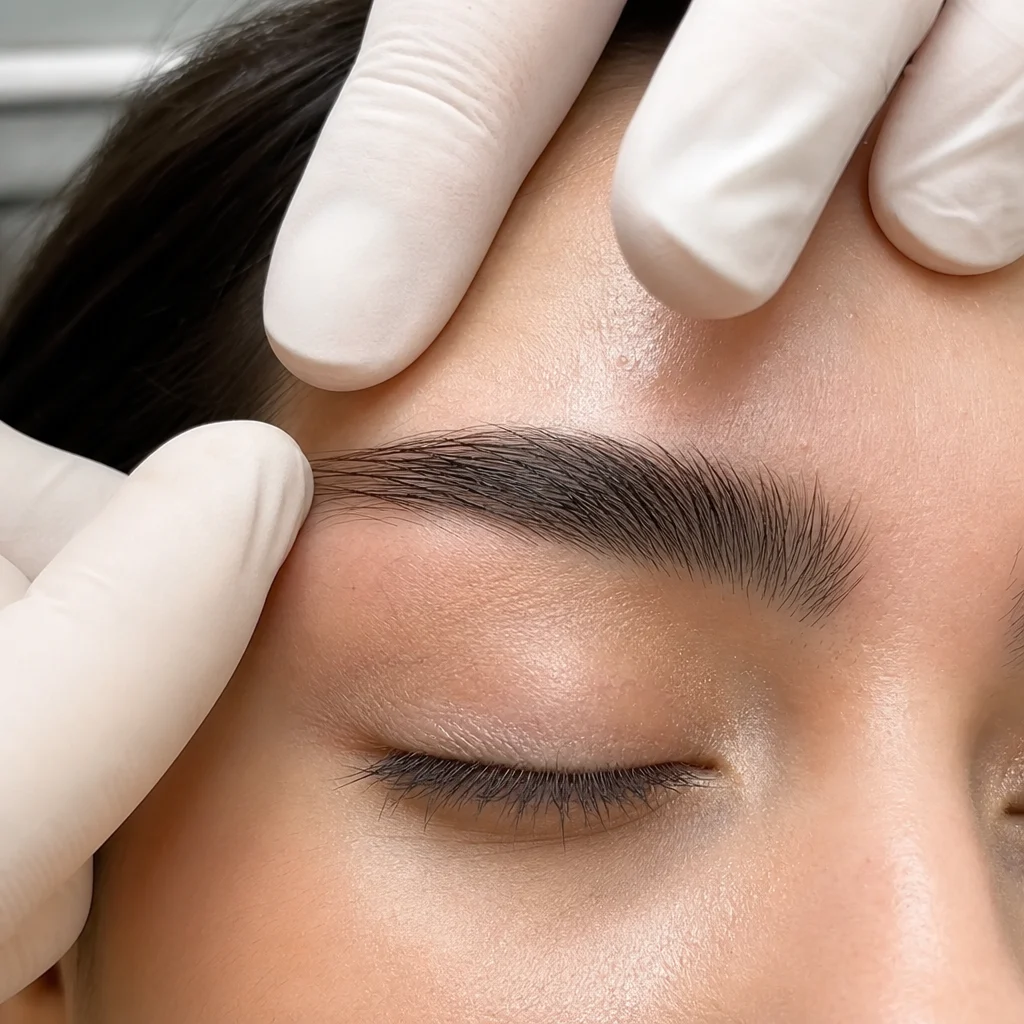
Using a microbrush or a separation tool, redirect the root of the hair at a 45-to-60-degree angle relative to the brow line. Never force hairs straight up at a 90-degree angle. This creates an unnatural, spiked appearance and can cause severe cowlick rebuffing or crimping once the natural hair growth cycle resumes.
The Professional Step-by-Step Lamination Workflow
Adhering to a standardized, chemical-safe workflow ensures consistent results regardless of the client’s hair type.
Cleansing and Preparation
Begin by thoroughly cleansing the eyebrows and the surrounding skin to remove sebum, cosmetics, and dead skin cells, which can act as a barrier to the lamination lotions. Apply a gentle, specialized foam cleanser to the brow area, massage it thoroughly into the hair root using circular motions, and rinse completely with water before patting dry.

Precise Mapping and Shaping
Use a brow mapping thread, calipers, or a white cosmetic pencil to mark the starting point, arch peak, and tail endpoint. Shape the brows by removing stray hairs outside the map using precise threading or waxing techniques, keeping in mind the designed facial shape.
Adhesive and Styling
For stubborn or thick hairs, apply a thin layer of lamination adhesive. Work in small sections, brushing the hair upward and outward into the mapped shape. Ensure the hairs are perfectly separated and laid flat against the skin without overlapping or twisting at the roots.
Lifting and Fixing
Apply Step 1 (Perming/Lifting lotion) evenly across the hair using a microbrush. Avoid applying the product to the very tips of thin brows to prevent singing. Leave the lotion on for the designated time based on the hair type assessment, then remove it completely using a dry, clean cotton swab.
Apply Step 2 (Fixing/Setting lotion) using the same application method, keeping it on for the exact same duration as Step 1 to rebuild the broken disulfide bonds and lock the hair into its new shape. Remove with a dry cotton swab.
Color Enhancement
Lamination opens up the hair cuticle, making it highly receptive to pigment. Because of this, when deciding whether to tint before or after brow lamination, professionals always recommend tinting after the lamination process is complete.
Due to the raised cuticle, the hair will absorb pigment much faster than usual. Reduce your normal tint processing times by half to prevent the brows from turning too dark or harsh. Select a professional shade from high-quality eyebrow tint options to ensure a natural, long-lasting color blend.


Cuticle Sealing and Nourishment
The final step is crucial to restore moisture and seal the open cuticle. Apply a generous layer of nourishing cream enriched with keratin, oils, and vitamins. Leave the nourishing formula on the brows for 5 to 10 minutes to deeply hydrate the hair shaft and skin before gently wiping away any excess with a dry cotton pad.

Maintenance, Recovery, and Client Expectations
Managing expectations is a vital part of a technician’s client relationship. Clients must understand that lamination is a semi-permanent treatment that styles the hair, but they will still need to brush their brows into place daily using a dry spoolie.
Troubleshooting and Recovery
If a client experiences overprocessed, frizzy, or singed brows, which is often due to incorrect timing or chemical overlap, do not attempt to re-laminate the brows immediately. Instead, focus on intensive hydration. Technicians should guide clients through a dedicated recovery protocol using nourishing oils and restorative serums, allowing the hair to naturally cycle out. For a detailed guide on addressing these issues, refer to our advice on fixing a bad brow lamination.
Scheduling and Aftercare
Educate clients on the biological limits of the hair by determining how often you can laminate brows. The standard recommended interval is 6 to 8 weeks. For fragile, lightened, or very thin hair, extend this period to 8 to 10 weeks to prevent cumulative chemical damage.
Provide clear brow lamination aftercare instructions. The first 24 to 48 hours are critical. Clients must keep their brows dry, avoid steam rooms, heavy exercise, and makeup, and refrain from sleeping directly on their face to prevent disrupting the freshly set brow shape.
Before performing any lamination service, technicians must screen for brow lamination contraindications. This includes active skin conditions (such as eczema or psoriasis in the brow area), extreme skin sensitivity, pregnancy, or recent microblading, which requires a 4-to-6-week waiting period.
Every client’s face is a unique canvas, and mastering the science of hair textures and facial geometry is what separates a standard beauty service from a premium, high-end experience. By choosing the right formulations, calibrating processing times, and mapping with facial balance in mind, you can deliver flawless, customized results that keep your clients returning.
Are you looking to scale your salon business or establish your own brand identity with premium, Italian-made formulas? Explore our professional range of advanced brow lamination kits and find out how our customized solutions can help you elevate your beauty business.
