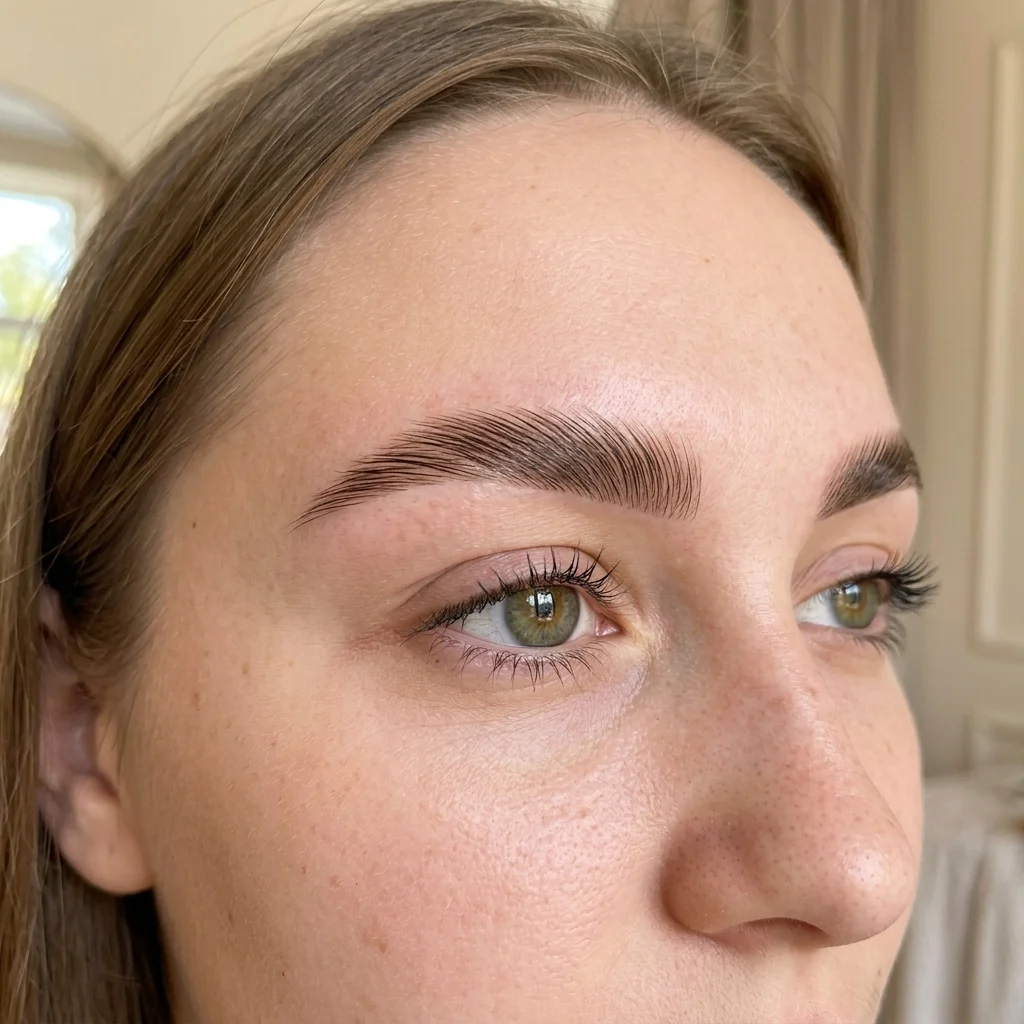
Brow lamination is a sophisticated chemical process that realigns the brow hairs to create a fuller, more symmetrical, and groomed appearance. For the professional technician, success lies in understanding the chemistry of disulfide bond manipulation while maintaining the integrity of the hair and skin. This procedure involves breaking down the natural hair structure, repositioning the hairs into a more desirable flow, and then fixing them into place to achieve a lasting result.
Professional Preparation and Safety
Before beginning the treatment, a thorough consultation is essential to identify any brow lamination contraindications. You must screen for conditions such as active eczema, alopecia, or recent microblading, and ensure the client has not used retinoids, AHAs, or BHAs within the last week. A patch test is a mandatory safety measure and should be performed 48 hours prior to the appointment to ensure the client does not have a hypersensitivity to the lifting or fixing solutions.
Once the client is cleared for treatment, analyze their brow hair texture carefully. The integrity of the final look depends on an accurate assessment of hair thickness, as processing times vary significantly between fine, medium, and coarse hairs. Understanding these nuances prevents the risk of chemical burns or over-processed, frizzy results that can compromise the hair shaft.
Step 1: Cleansing and Mapping
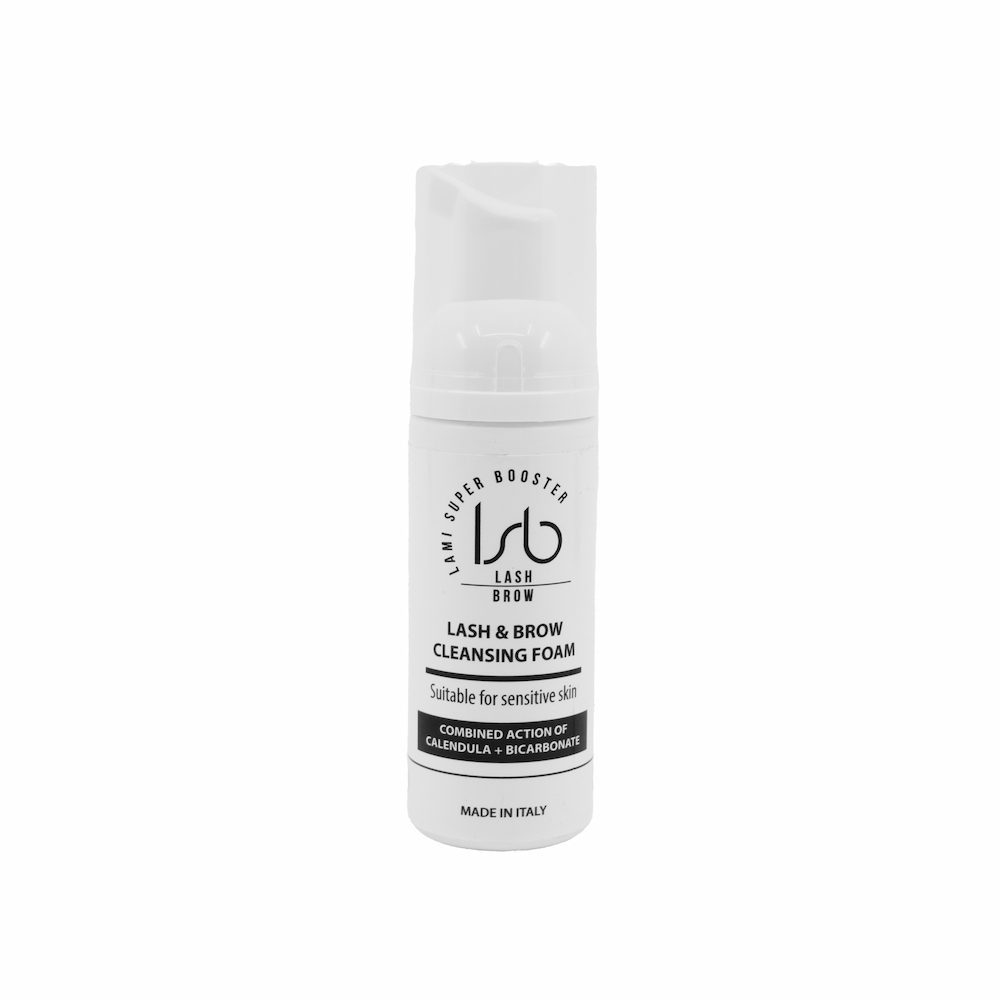
The brow area must be completely free of oils, makeup, and skin cells to allow the chemical solutions to penetrate effectively. Apply a professional cleansing foam specifically designed for the eye area and massage it gently into the brows with a soft brush. Rinse the area thoroughly with lukewarm water and pat the skin until it is completely dry.
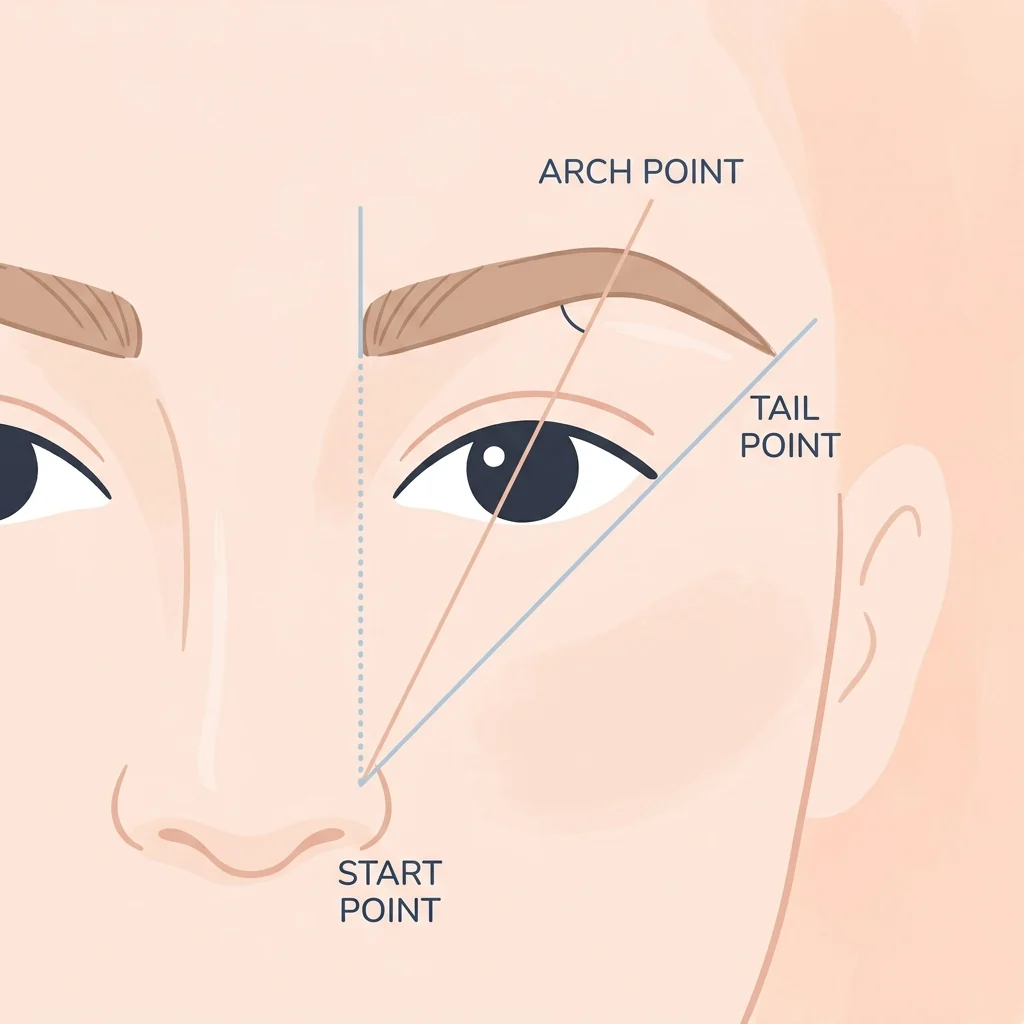
After cleansing, utilize advanced brow shaping techniques to map the desired structure. Using a white charcoal pencil or mapping string, mark the starting point vertical from the nose corner, the arch through the pupil at a 45-degree angle, and the tail past the outer eye corner. This step is crucial for identifying natural asymmetries and planning the hair redirection needed to create facial harmony.
Step 2: Adhesive Application and Hair Direction
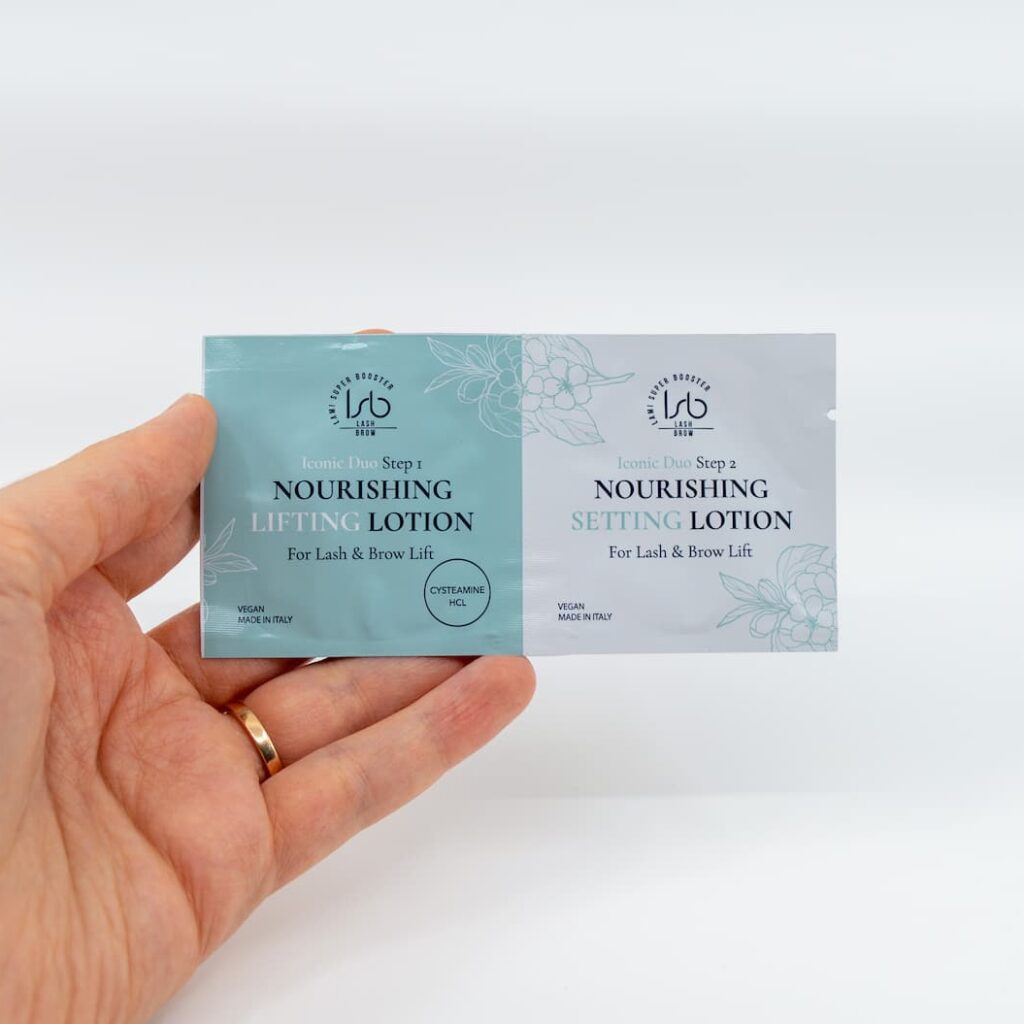
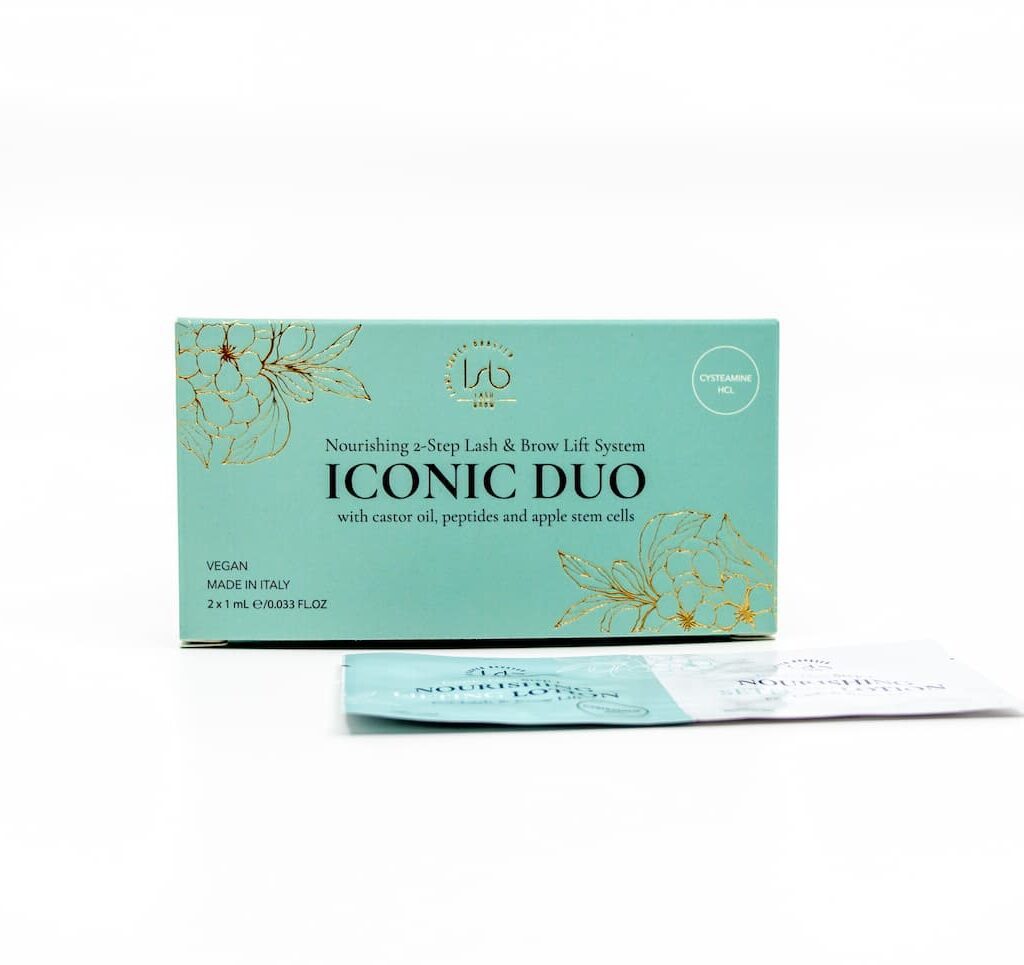
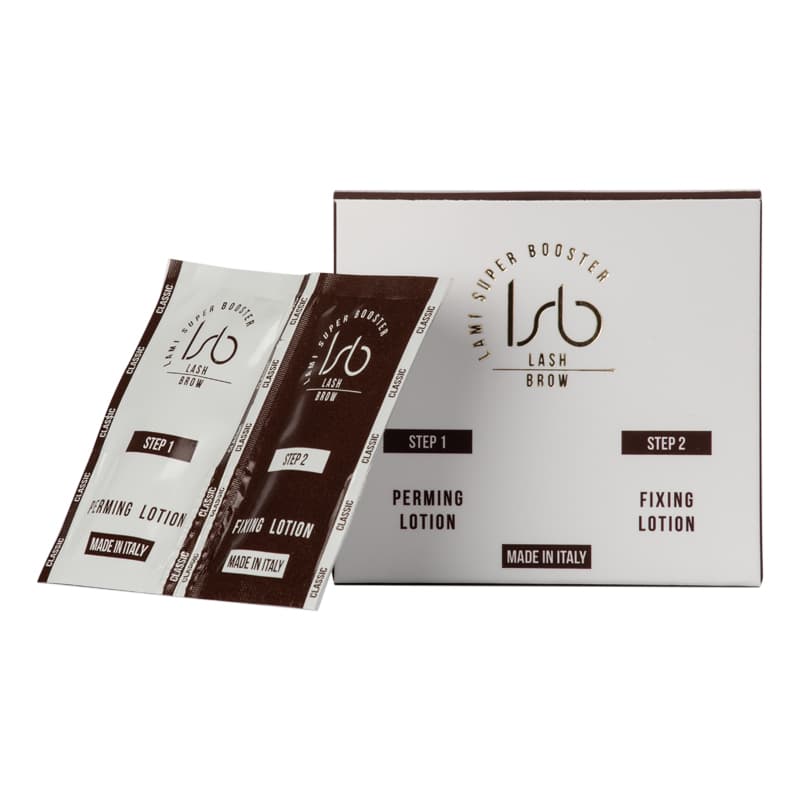
When performinga classical technique, apply a thin, 1mm layer of water-soluble adhesive to the brow hairs, working in small sections to prevent the glue from drying prematurely. This adhesive acts as the temporary “anchor” that holds the hair in its new position before the chemical processing begins. Using a dedicated separation tool or a Y-comb, brush the hairs into the planned direction with steady, precise movements. If you are working with Iconic Duo, no adhesive is needed. Mix Glue Powder directly into the lotions and apply in sections.
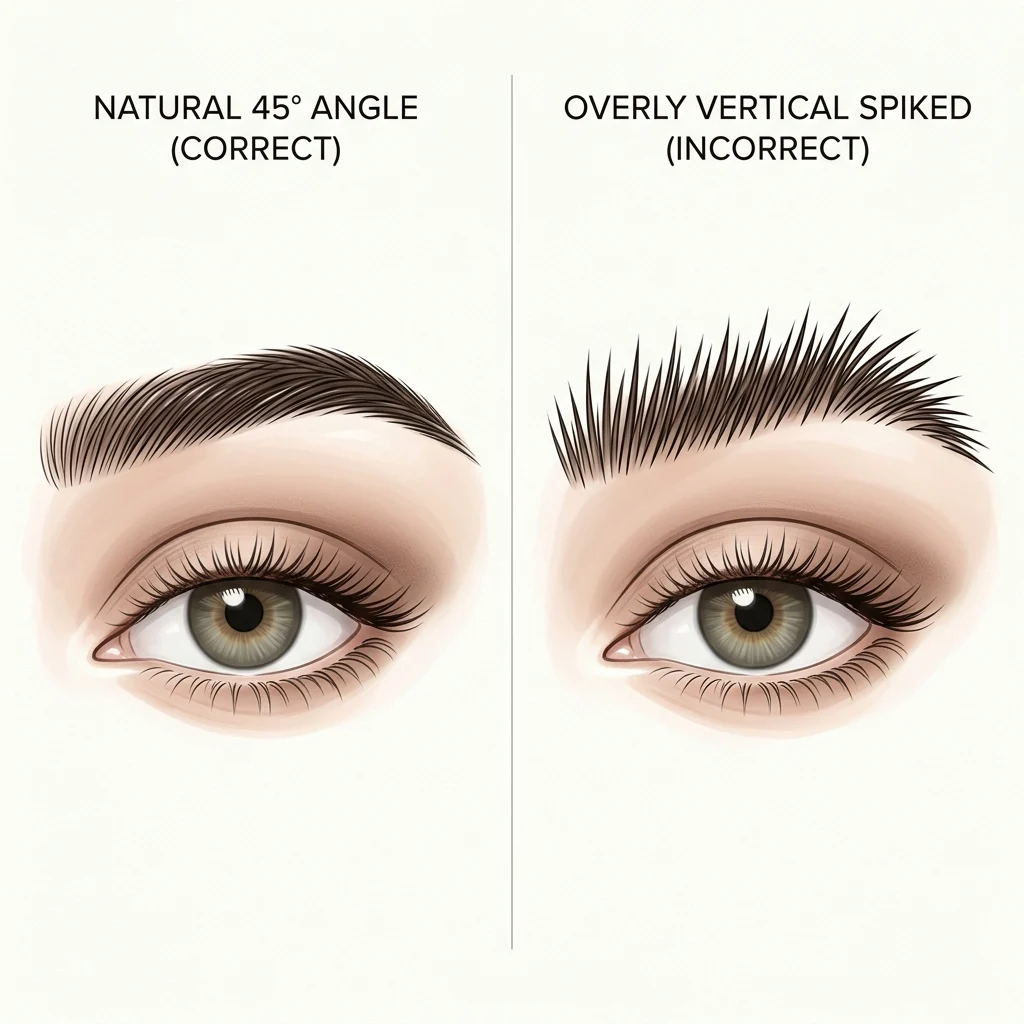
For the most flattering and modern result, aim for a 45-degree angle rather than pulling the hairs vertically upward. Moving the hairs too sharply upward can create an unnatural “spiked” appearance that is difficult for the client to maintain. Ensure every hair is straightened from the root and laid flat against the skin, taking care that hairs do not cross over one another, which can lead to tangling once the bonds are set.
Korean Lash Lift & Brow Lamination Mini Kit
Step 3: Chemical Perming
The curling lotion is the active component responsible for breaking the disulfide bonds within the hair. Apply the perming lotion evenly to the base and mid-section of the brow hairs using a microbrush, ensuring the tips are handled with care to avoid over-processing.
You may cover the brows with plastic wrap to create a controlled environment that aids the chemical reaction. However, be mindful that this will significantly speed up the processing time. It is vital to perform a hair test halfway through the processing time. Gently lift a hair with a tweezer. If the twists into V-shape, the bonds are successfully softened. If it springs back or doesn’t form a V, continue processing. Once the processing is complete, remove the lotion entirely with a dry cotton swab.
Step 4: Neutralizing and Fixing
The fixing lotion acts as a neutralizer that rebuilds the disulfide bonds in their new, straightened position. Apply the fixing lotion evenly over the entire brow area. If the client has particularly coarse or resistant hair that struggles to lay flat, use a clean spoolie to reinforce the intended direction during this stage.
The processing time for this neutralizing step should match the time used for the initial perming step exactly. This balance ensures the chemical reaction is fully neutralized, preventing the hair from becoming brittle or continuing to process after the client leaves the salon. After the designated time has elapsed, remove the fixing lotion thoroughly using a dry cotton swab.


Step 5: Tinting and Final Nourishment
If the client requires additional depth or definition, this is the appropriate stage for color enhancement. It is generally recommended to tint after brow lamination because the hair cuticles are open, which makes the hair highly receptive to pigment. Because of this increased porosity, apply the tint for a significantly reduced time (usually 2 to 5 minutes) and monitor the color closely to prevent it from becoming too dark or saturated.
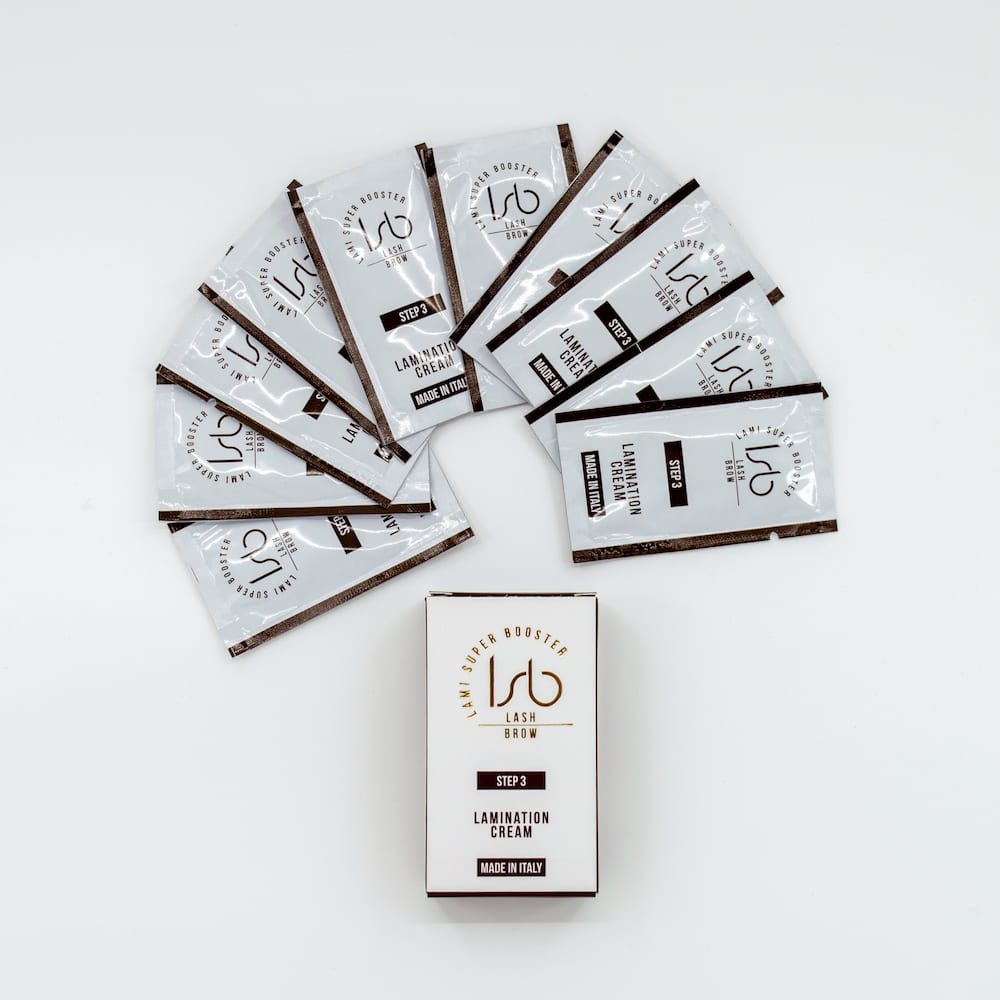
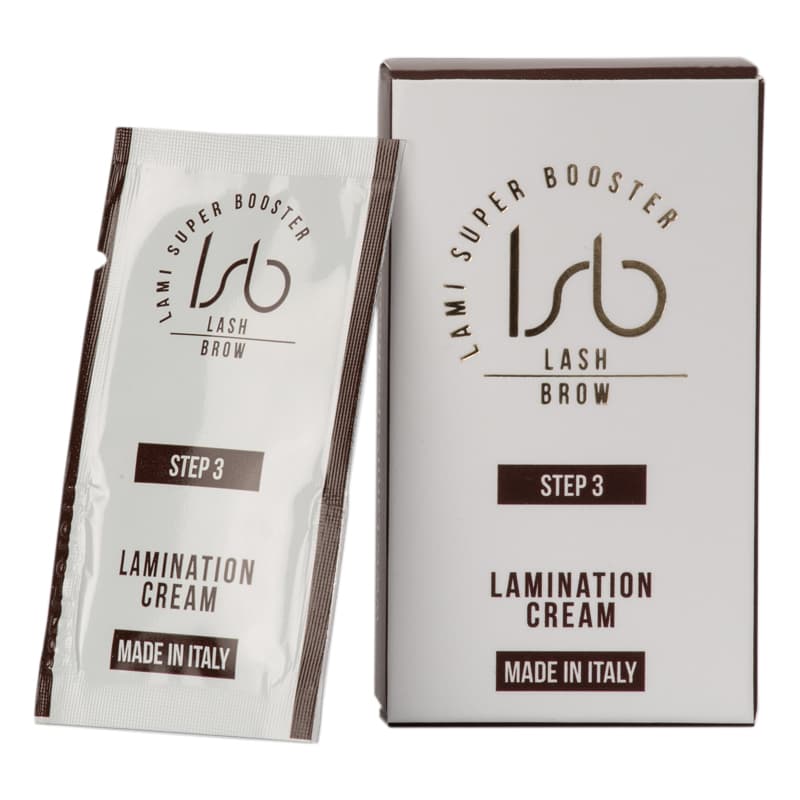
The final step in the professional protocol is the application of a nourishing lamination cream. This product acts as a deep-conditioning sealant that closes the hair cuticle, locks in moisture, and infuses the hair with essential nutrients like keratin and argan oil. Apply the cream generously and allow it to absorb for 5–10 minutes before gently removing any excess residue with a dry pad.
Professional Aftercare and Maintenance
The first 24 hours following the procedure are the most critical for the stabilization of the disulfide bonds. Technicians must emphasize that any exposure to moisture, steam, or high humidity can cause the hairs to lose their newly defined shape before they have fully set.
Essential Post-Treatment Instructions:
- Keep the brows dry and avoid touching them for the first 24 hours.
- Avoid saunas, steam rooms, swimming, and activities that cause heavy sweating.
- Refrain from applying makeup or skincare products directly to the treated area.
- Advise the client to sleep on their back to prevent crushing the brow hairs against a pillow.
Once the initial 24-hour window has passed, the client should transition to a daily aftercare routine that includes brushing the hairs into place with a clean spoolie every morning. They should also apply a nourishing brow serum daily to maintain hair health and hydration. Because the natural brow growth cycle continues, you should schedule a maintenance appointment every 6 to 8 weeks to refresh the shape.
By adhering to these precise timing sequences and professional application techniques, you can consistently deliver high-quality results that preserve hair health. For practitioners looking to streamline their workflow, utilizing a coordinated professional system ensures that every solution and tool is designed to work in harmony for optimal client satisfaction.