
As professional beauty technicians, executing a flawless treatment requires mastering both chemical processing and mechanical clean-up. Two of the most common post-treatment hurdles are removing stubborn adhesive residue from the client’s skin and correcting an uneven or asymmetrical curl. Clean execution ensures client comfort, while systematic troubleshooting maintains your reputation as a trusted lash artist.
Safely Removing Residual Glue from Eyelids and Lashes
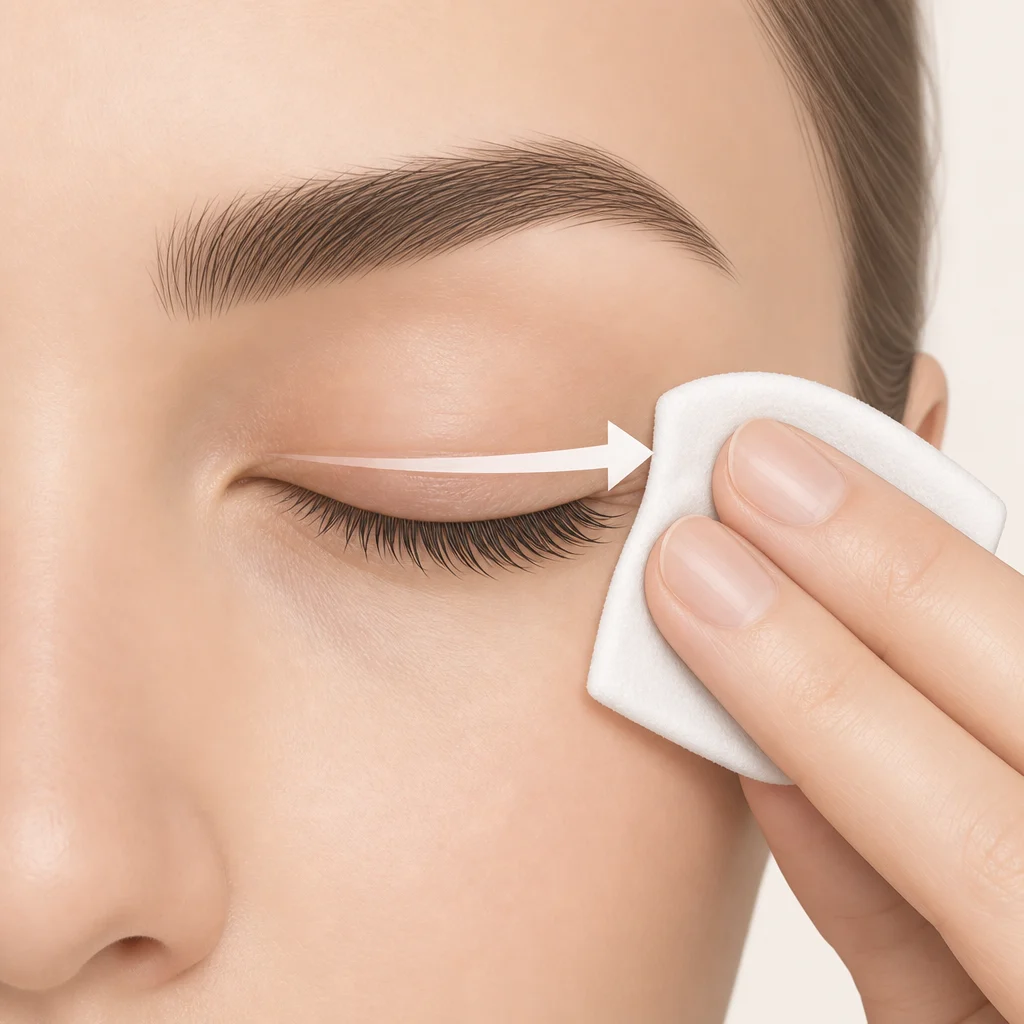
During a treatment, adhesive can easily migrate onto the client’s eyelids. To safely remove lash lift glue without compromising the newly set lift, technicians should employ a gentle, systematic approach.
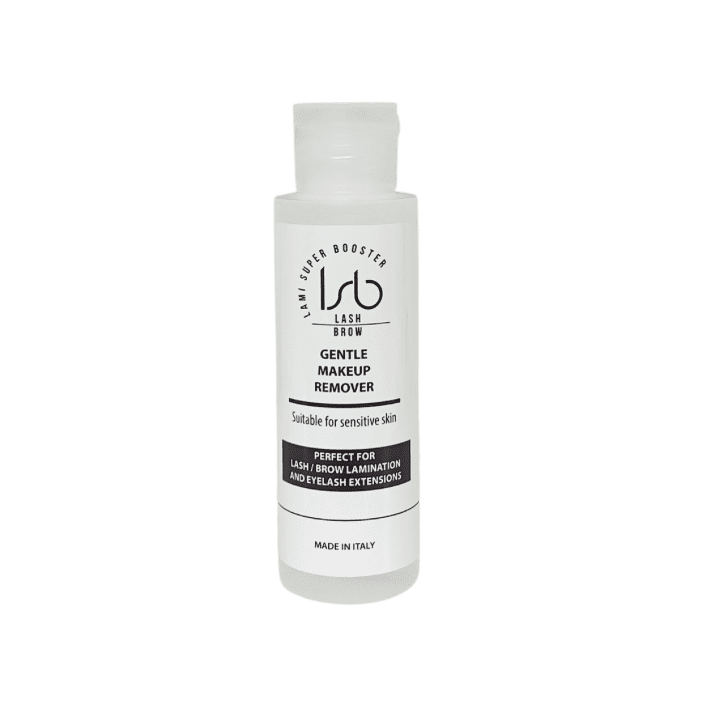
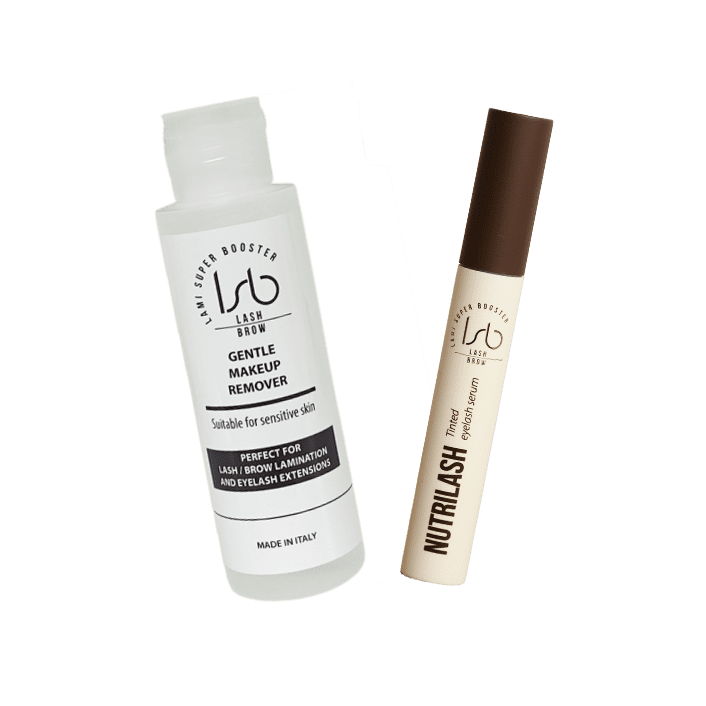
Start by saturating a lint-free pad with a gentle, oil-free cleanser designed for sensitive skin. Press the pad firmly but gently against the closed eyelid for 30 seconds to allow the solution to soften the adhesive bonds. Carefully wipe outward from the inner corner to the outer corner of the eye, using light, sweeping motions rather than harsh scrubbing.
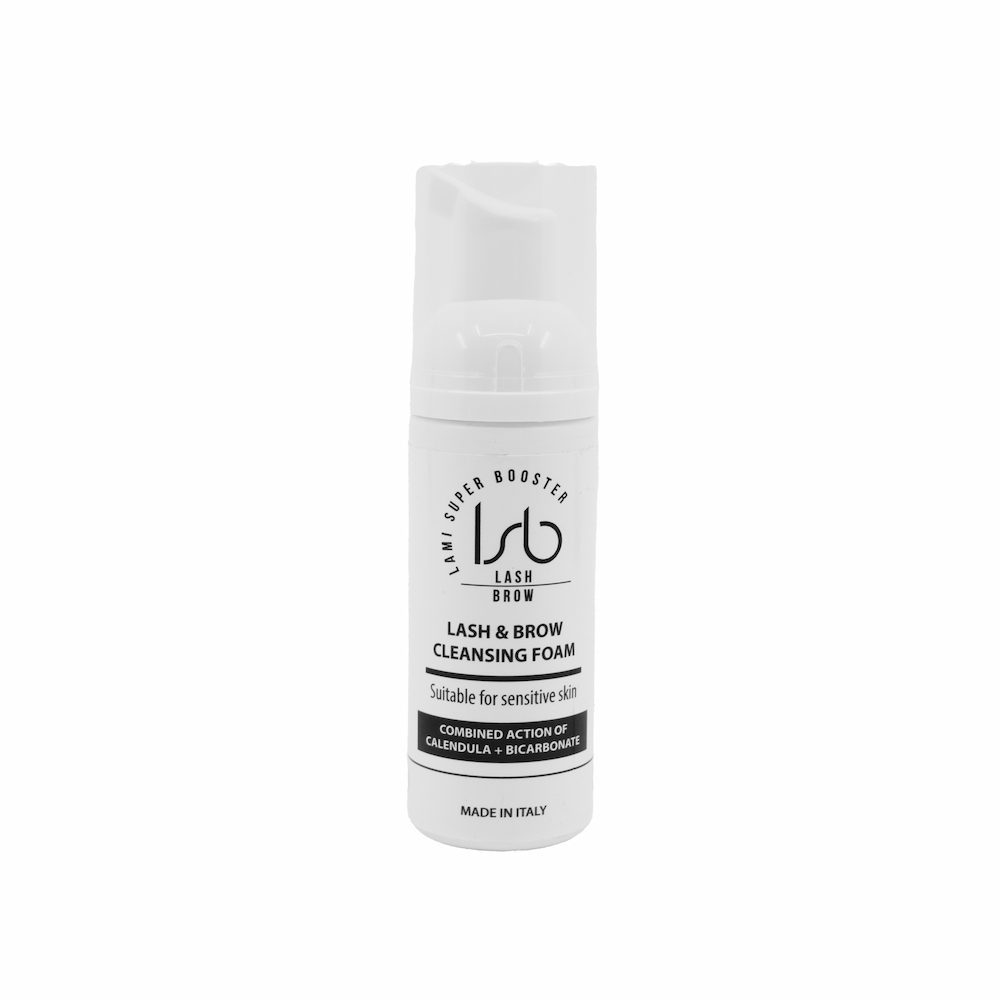
For particularly stubborn traditional adhesives or waxy residue left by balm-style products, apply a 1mm layer of specialized lamination cream using a precision microfiber swab. Allow the cream to sit for 60 seconds to break down the bond, then sweep the residue away. Follow up by washing the entire eye area with a nourishing, pH-balanced cleansing foam. This thoroughly rinses away any lingering chemical residue, preventing post-treatment irritation.
Understanding the Root Causes of Uneven Lash Lifts
Achieving perfect symmetry across both eyes requires understanding why curl discrepancies happen. Uneven results typically stem from technical errors during the preparation and wrapping stages:
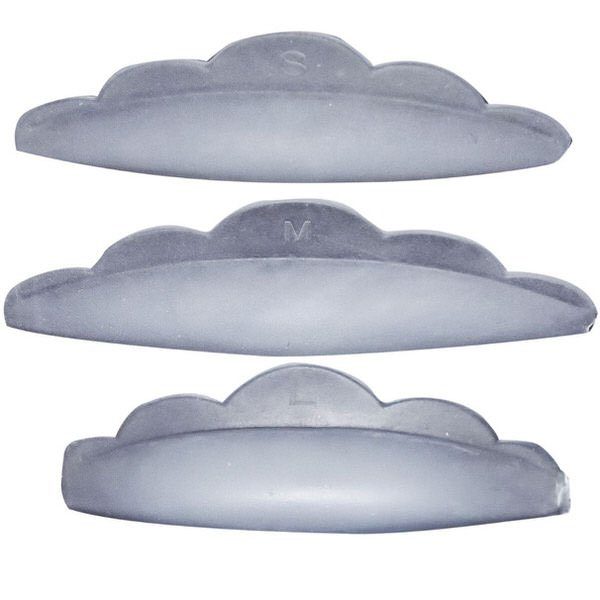
- Incorrect Shield Selection and Placement: Selecting mismatched shield sizes or placing a shield slightly higher on one eyelid changes the angle of the lift. Technicians must align shields perfectly along the lid margin, ensuring they sit flush against the skin without pinching or leaving gaps. A detailed protocol on shield preparation can be reviewed in the guide to how to apply lash lift shields.
- Uneven Adhesive Thickness: Applying a heavy, inconsistent layer of adhesive acts as a physical barrier. If the glue is thicker on certain lashes, it prevents the lifting lotion from penetrating the hair cortex evenly, resulting in localized under-processing. Technicians can contrast adhesive behaviors in the guide on balm glue vs traditional glue and learn optimal application techniques for lash lift balm glue.
- Improper Lotion Placement and Timings: Applying lifting cream too high up the lash shaft (beyond three-quarters of the lash length) causes an over-curled, crimped, or unnatural look. Conversely, uneven application or timing discrepancies between the left and right eyes will inevitably yield asymmetrical curls.
Actionable Correction Techniques for Uneven Curls
When a client presents with asymmetrical or unsatisfactory curls, technicians must evaluate lash health before attempting any mechanical or chemical adjustments.
For immediate corrections (performed within 24 hours of the initial treatment), under-processed areas can be gently re-lifted. Cleanse the lashes thoroughly to ensure no oils or barrier products remain, re-secure them to the shield, and apply a thin layer of lifting lotion. Process the lashes for exactly 50% of the original timing, checking their flexibility every 2 minutes. Keep the solution 1-2mm away from the roots to protect the hair follicles. This technique is detailed further in the guide on how do you fix uneven lash lifts and the lash lift underprocessing guide.
For over-processed or over-curled sections, technicians can perform a gentle relaxation treatment. Cleanse the lashes and apply a cysteamine-based lifting lotion for 2 to 4 minutes, using a clean spoolie or specialized lash lift tools to brush the lashes downward and loosen the curl. Rinse the solution thoroughly, apply the neutralizing/fixing agent, and finish with a deep conditioning treatment. Technicians can find detailed walkthroughs in the guides on managing over-curled eyelashes after a lash lift and reversing the curl safely.
Managing Client Expectations and Preventing Asymmetry
Preventing uneven results starts with a rigorous pre-treatment assessment. Technicians should inspect natural lash direction, lid tension, and facial asymmetry during the consultation, explaining to the client how these factors shape the final result. For a comprehensive look at managing these expectations and applying clinical fixes, refer to the guide on correcting lash lift asymmetry.
If a delayed correction is required (more than 24 hours after the service), avoid immediate re-perming to prevent structural damage. Instead, recommend a daily recovery regimen using specialized nourishing products from the lash lift aftercare range to restore hydration and protein levels.
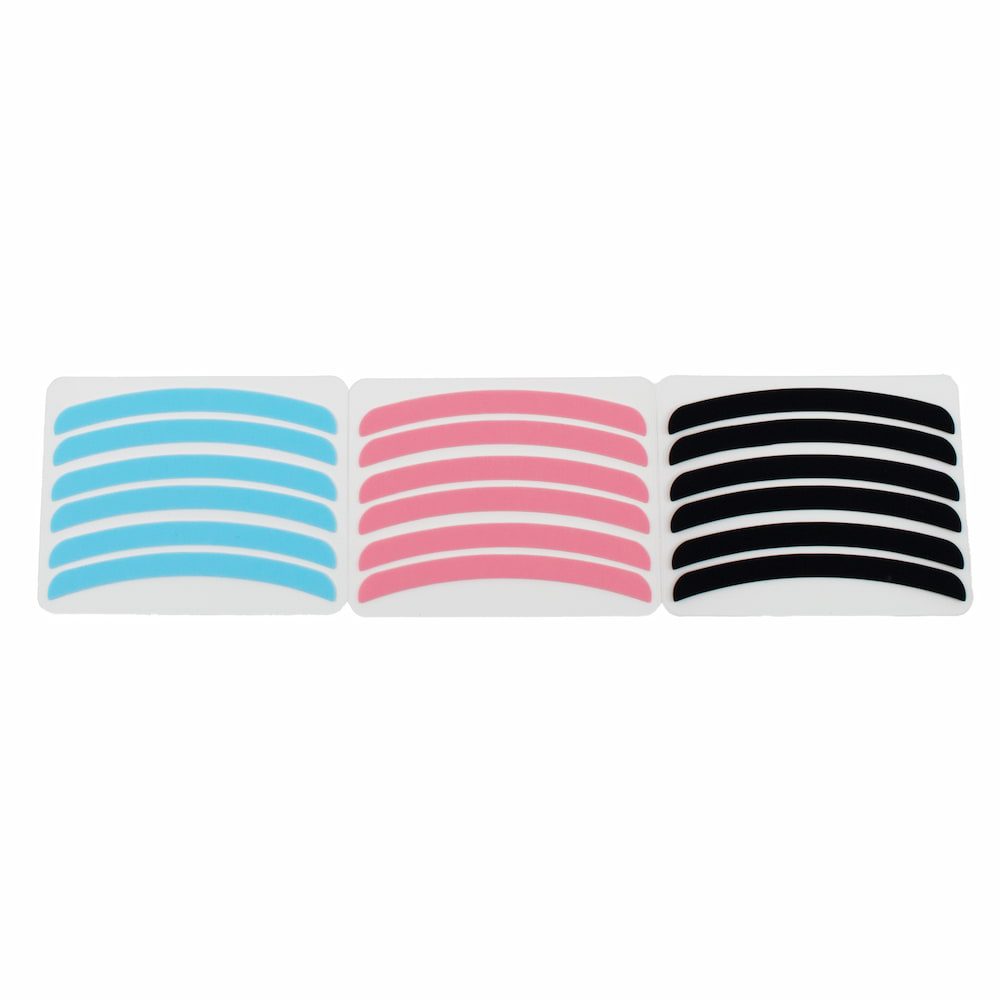
To maintain perfect alignment and even tension across the entire lash line during processing, technicians should utilize silicone compensators. Additionally, selecting high-quality lash lift shields that match the client’s eye shape is critical for ensuring a predictable curl path.
Lash Lift Compensators, 3 Pairs
Next-Level Solutions for Custom Consistency
Professional-grade formulations provide technicians with the control needed to bypass common adhesive and processing issues. For instance, incorporating advanced Korean techniques utilizing specialized Korean lash lift lotions can produce exceptionally uniform results.
Technicians can customize lotion consistency by adding 30% to 50% nourishing powder to their lifting lotions, supporting a glueless lift technique, or adding 30% to the fixing lotion to control product migration. This ensures that lash lift lotions remain precisely where they are applied, preventing chemical run-off and under-processed patches.
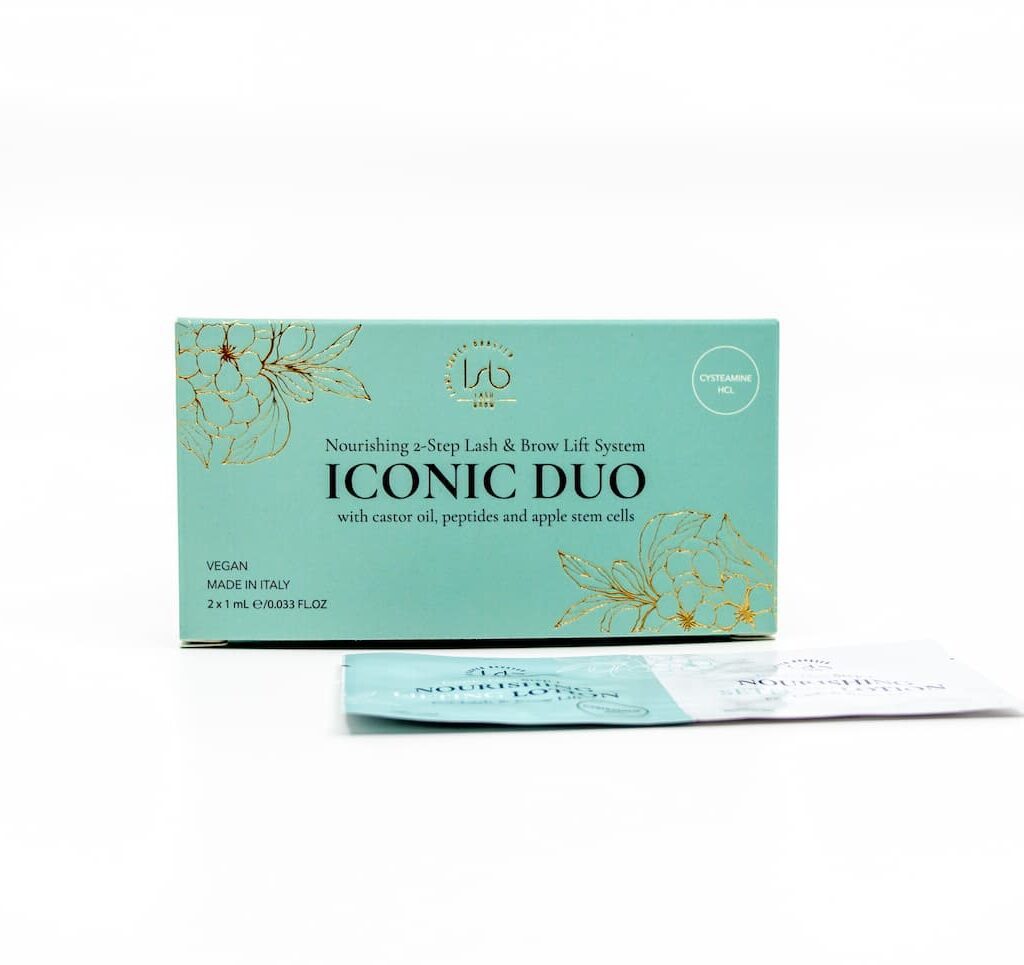
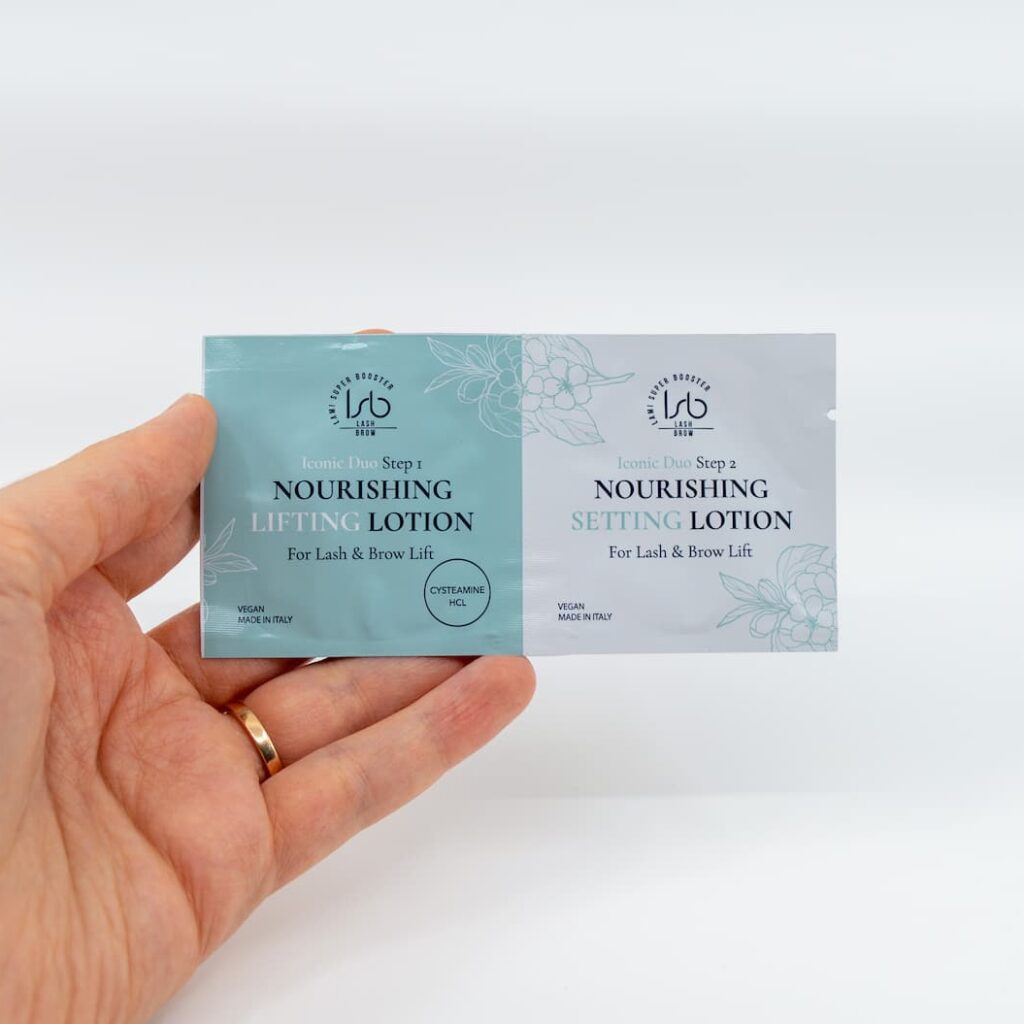
Using a reliable, vegan, cysteamine HCl-based system provides a gentle chemical action that respects the hair structure while delivering uniform lift.

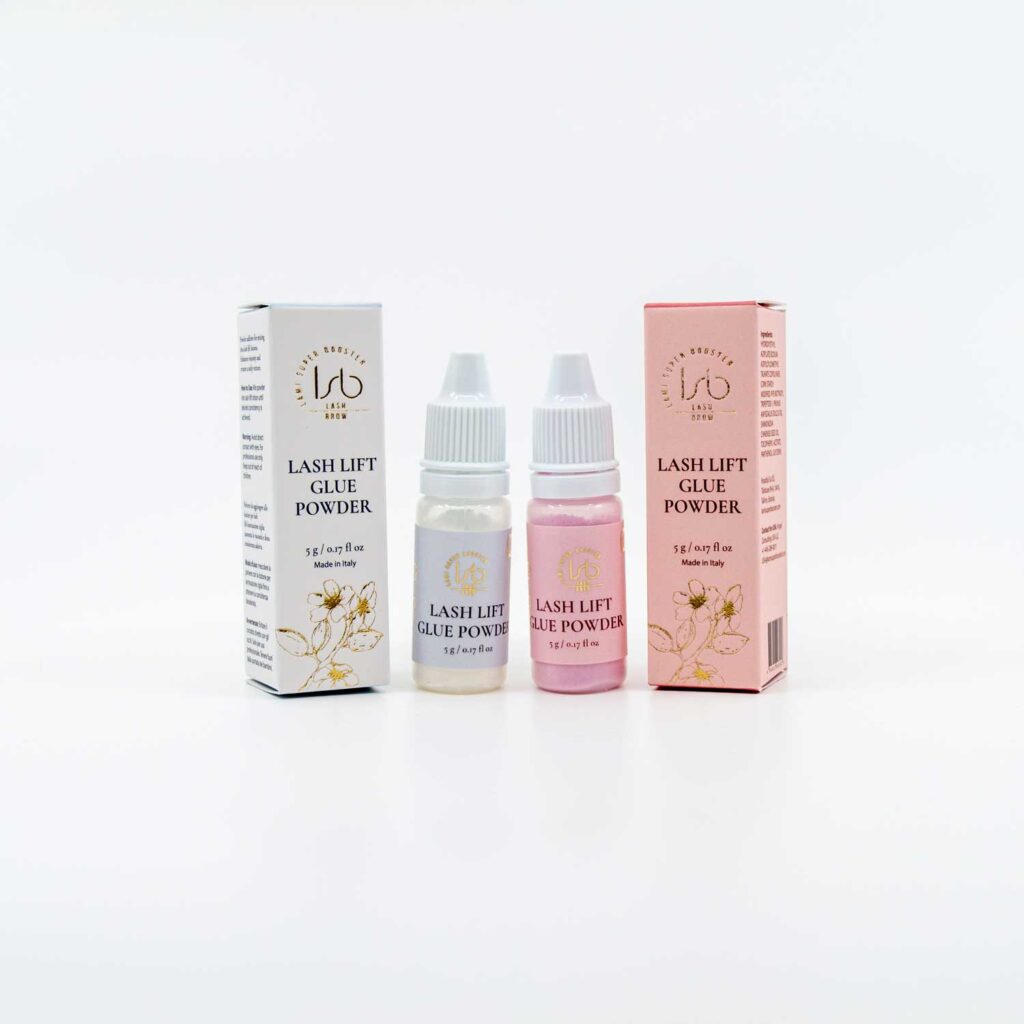
Lash Lift Glue Powder
Perfecting the art of the lash lift requires a balance of precise chemical control and clean technical execution. By implementing systematic cleanup techniques and understanding how to safely adjust processing times, you can deliver flawless, symmetrical results that protect natural lash health. Upgrade your professional toolkit today with Lami Super Booster’s advanced solutions and training materials to elevate your client experience and elevate your lash artistry.