


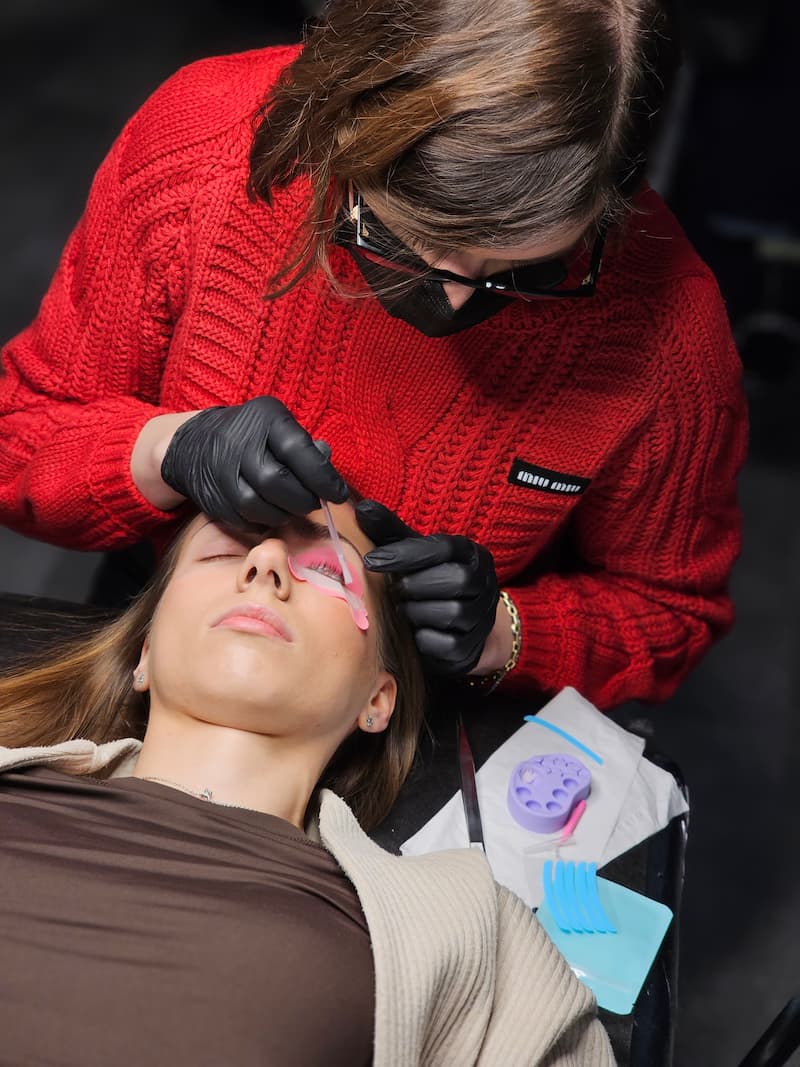
Achieving a flawless lash lift is as much about technical precision as it is about the tools you select. For beauty technicians, the difference between a high-impact result and a frustrated client often comes down to a few millimeters of silicone. Choosing the wrong shield size can lead to lashes that are either underwhelmingly flat or aggressively over-curled, necessitating time-consuming corrections. Understanding how to match professional lash lift shields to your client’s natural lash length, eye anatomy, and desired aesthetic is the foundation of a consistent and professional practice.
The Standard Sizing Scale
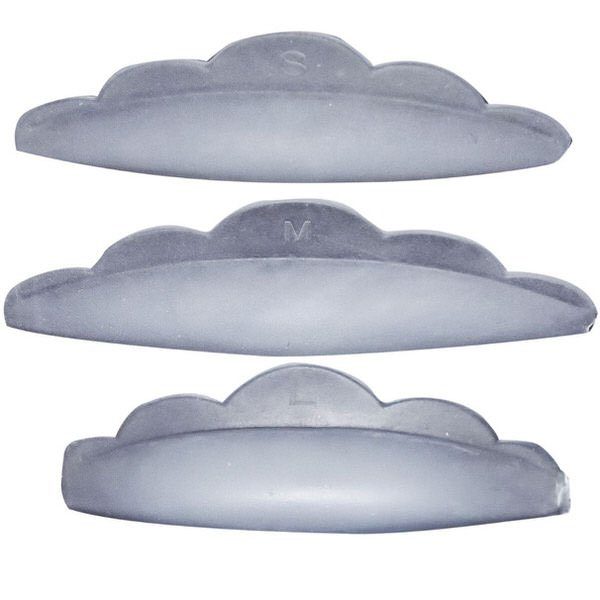
While every brand has slight variations, silicone shields generally follow a standardized scale that dictates the intensity of the curve and the suitability for different lash lengths. Selecting the correct size ensures that the chemical solutions process the hair at the most effective point of the curve.
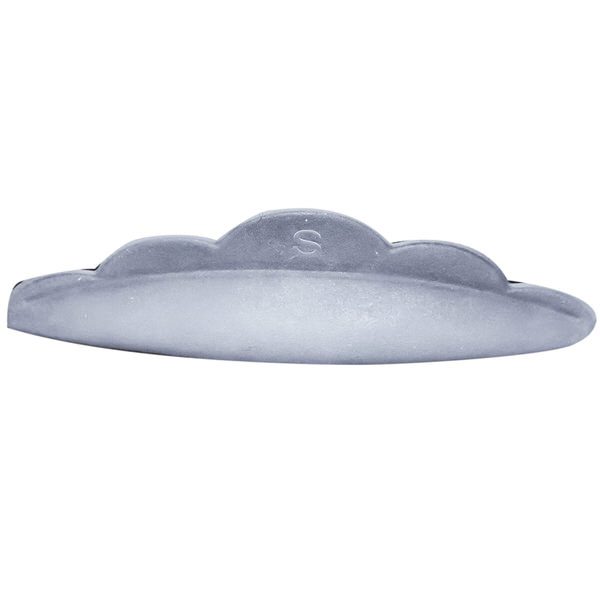
- Small (S): These are designed for short lashes, typically those under 7–8mm. They provide a maximum, tight curl from the root and are also used on medium lashes when the client requests an exceptionally dramatic lift.
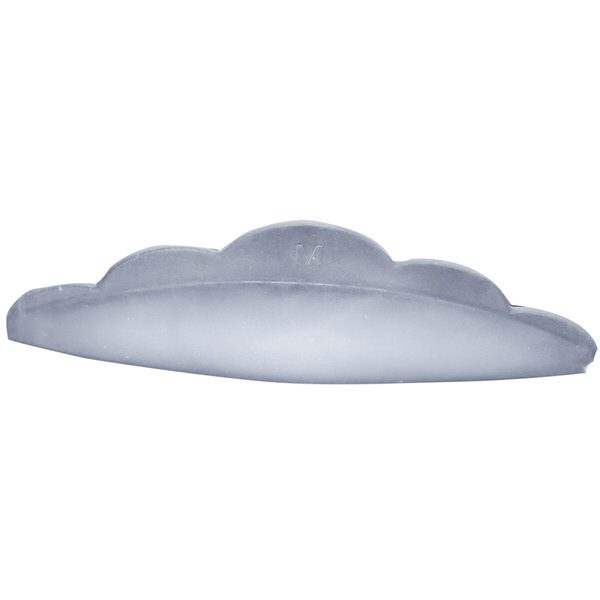
- Medium (M): As the most versatile size in any kit, these are ideal for average lash lengths of 8–12mm. This size provides a balanced curl that is clearly visible while maintaining an elegant, sophisticated appearance.
- Large (L) and Extra Large (LL/XL): These are reserved for long lashes exceeding 12mm. These shields create a soft, natural sweep rather than a tight curl, which prevents the tips of very long lashes from hitting the eyelid or brow bone.
The Two-Thirds Rule for Measurement
To ensure you have the correct fit, always perform a dry fit before applying any lash lift lotions. Place the shield on the eyelid and use a specialized lash lift tool to pull the natural lashes up against the silicone. The gold standard for a perfect classical lash lift is when the natural lashes cover approximately two-thirds to three-quarters of the shield’s surface. For Korean lash lift, always size up the silicone shield.
If the lashes reach the very top of the shield or wrap over the edge, the shield is too small. This will likely result in over-curled eyelashes where the tips point back toward the eye or touch the skin, which can cause significant client discomfort. Conversely, if the lashes only reach the halfway point, the shield is too large for classical lash lift. This results in an under-lifted look where the lashes appear almost straight or only slightly tilted. For a deeper look at the physical installation process, you can study the technical steps on how to apply lash lift shields effectively.
Adjusting for Eye Shape and Growth Patterns
Eye anatomy significantly influences how a shield performs, as a size that works for an almond eye may cause issues for a client with hooded or deep-set eyes. Technicians must analyze the lid position to ensure the lashes have enough space to lift without interference.
Hooded and Deep-Set Eyes
For clients with hooded eyes, the technician should select rounder shields that provide enough lift to clear the heavy lid fold. If the curl is too soft, the lashes may remain hidden under the hood of the eyelid. Clients with deep-set or protruding eyes benefit from shields with a flatter profile or a more gradual curve. This prevents the lashes from pinching against the brow bone or appearing too aggressive against the prominent eyelid.
Downturned and Short Lashes
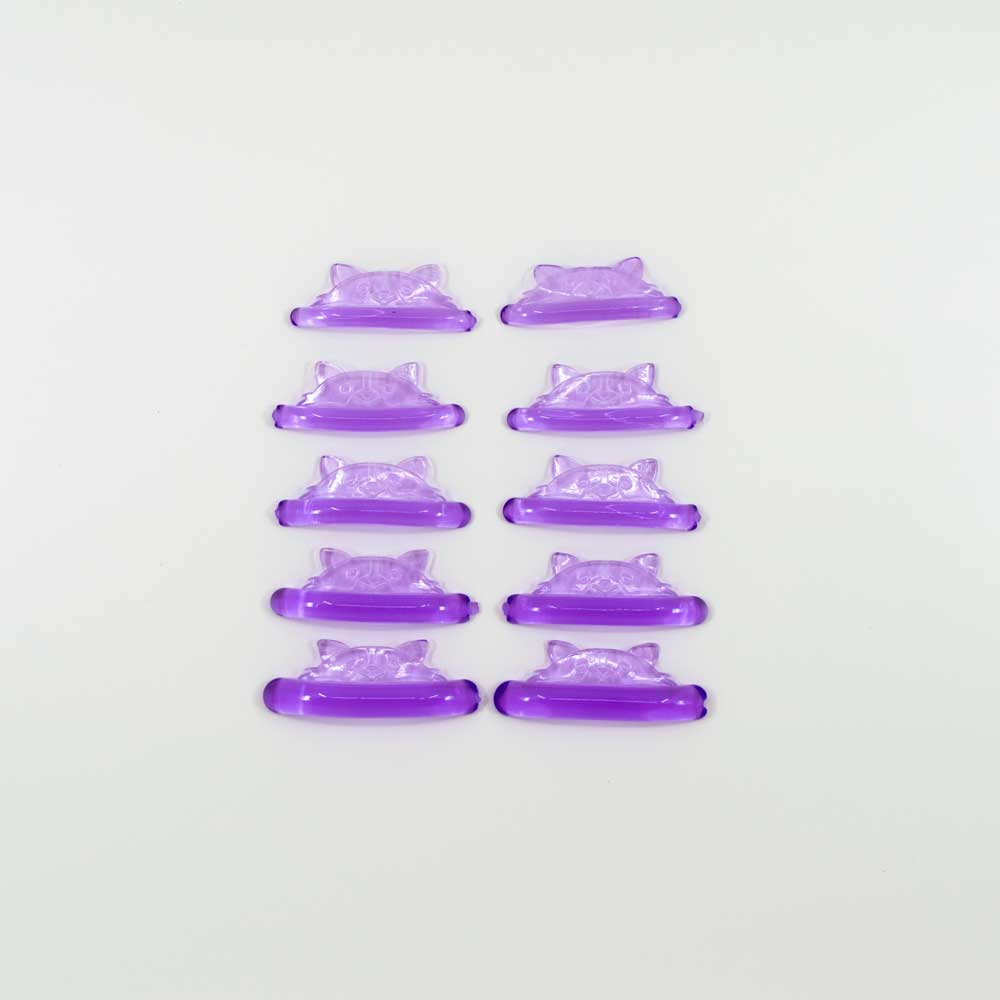
Lashes that naturally point downward, particularly common in the outer corners, require the shield to be placed exactly 1mm from the lash line to allow for a strong root lift. During the processing stage, using reusable lash lift compensators can help keep these stubborn outer lashes perfectly aligned and prevent them from popping off the shield. Treating short lashes often involves the smallest available shields and frequent flex checks to monitor the malleability of the hair throughout the procedure.
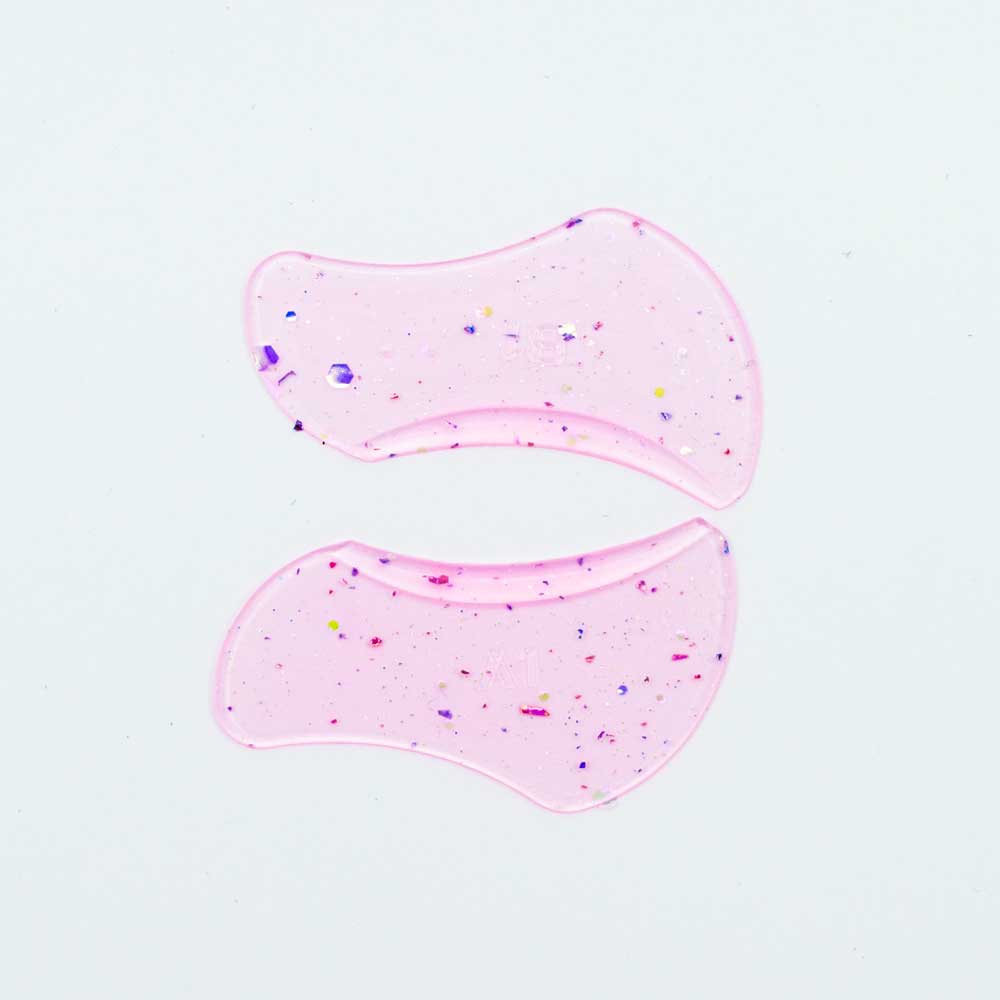
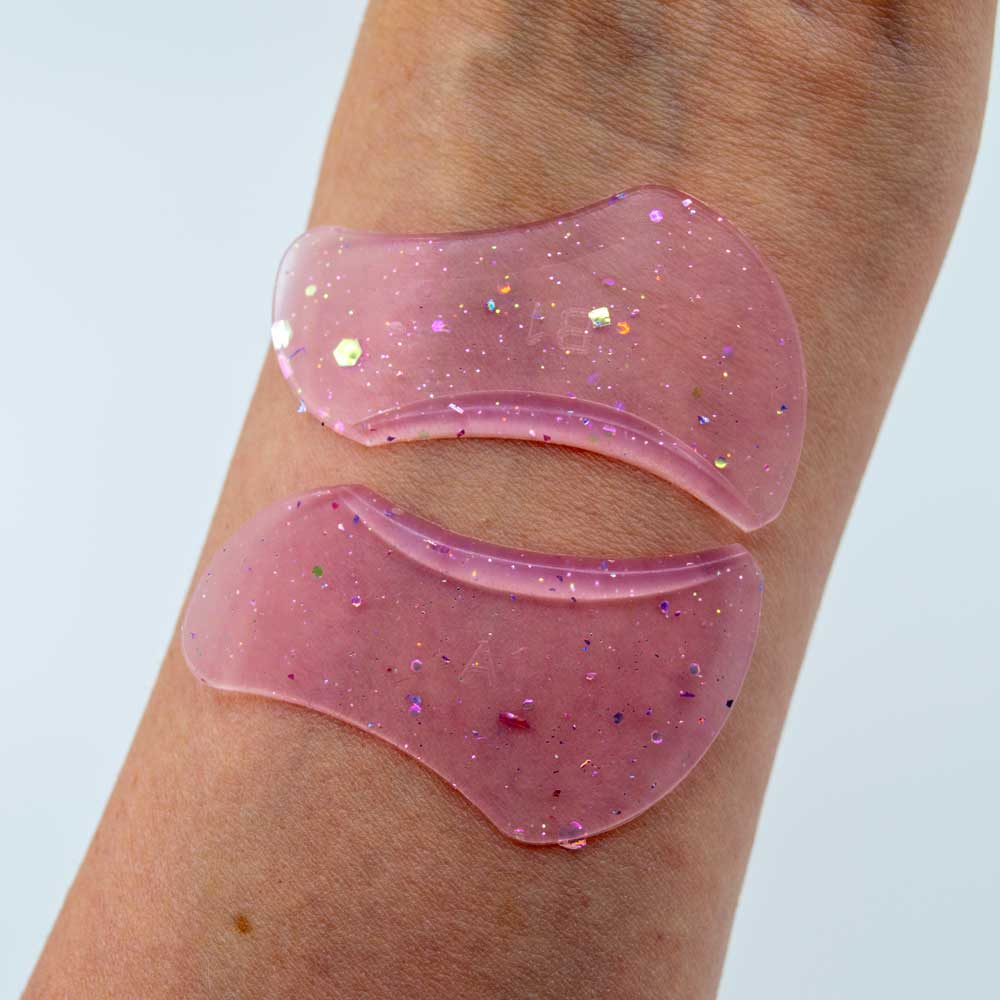
Lash Lift Compensators, 3 Pairs
Advanced Shield Types and Texture
Modern silicone technology has introduced variations that solve common technical hurdles like lash crisscrossing or poor lotion contact. These specialized tools allow for greater customization based on the client’s hair texture and the technician’s preferred workflow.
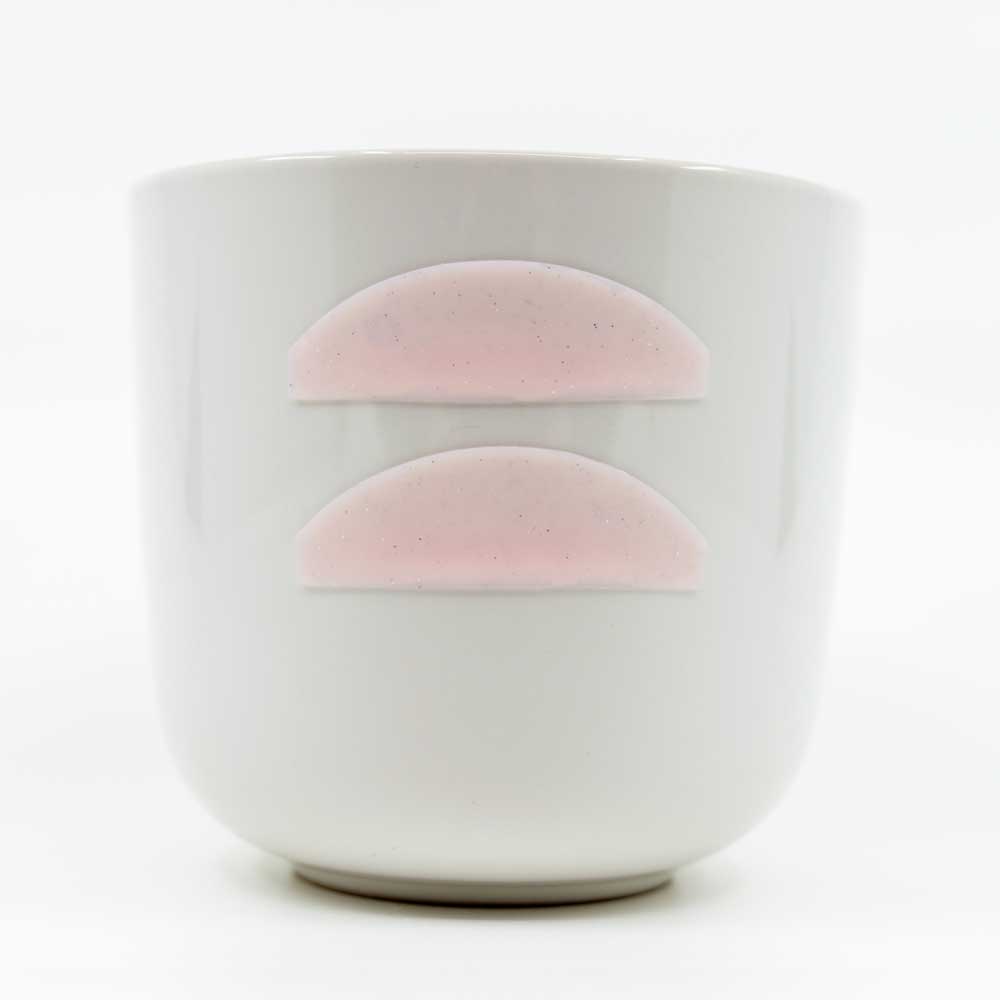
Ridged and Korean Flat Shields
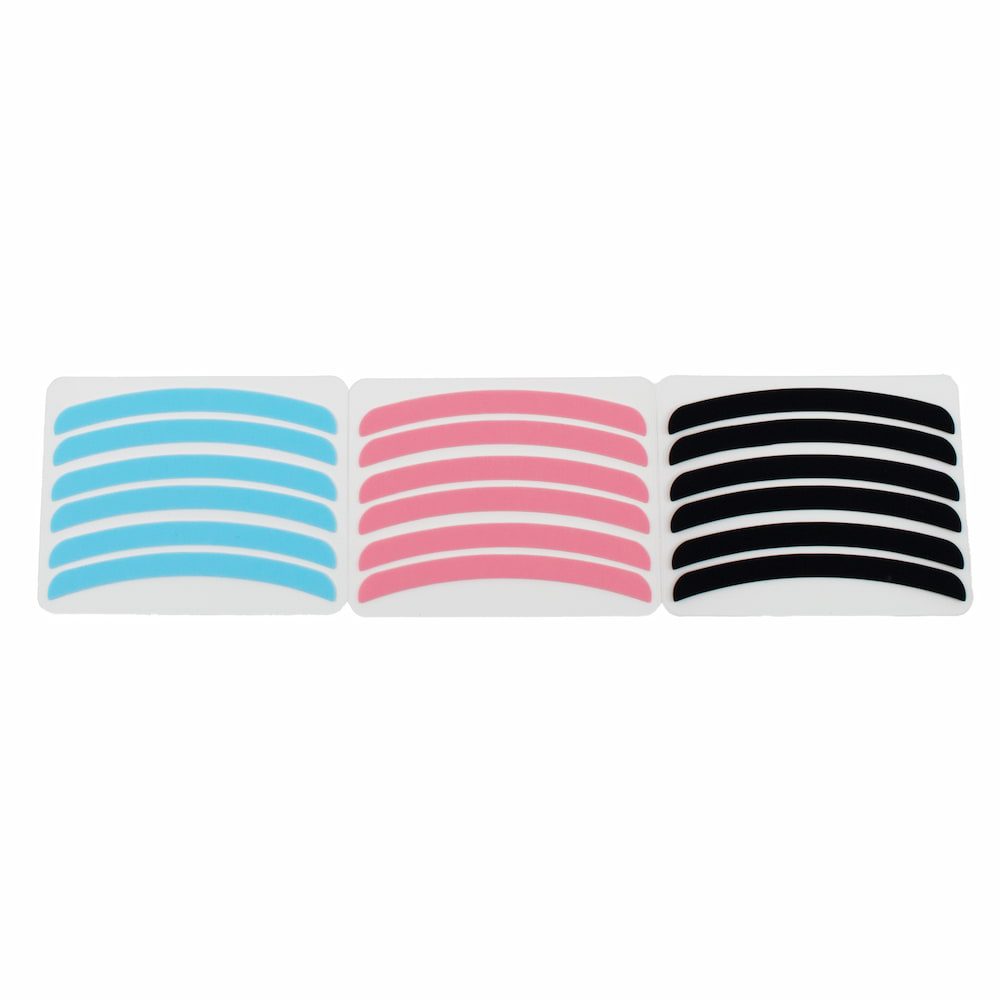
For technicians who struggle with lash isolation, shields with built-in ridges act as a precise guide. These ridges keep the lashes parallel and prevent the crisscrossing that often leads to uneven lash lifts. Another advanced option is the Korean-style lift, which often utilizes ultra-thin flat shields during the initial perming stage. This ensures the lifting lotion makes maximum contact with the lash base before the lashes are transferred to a larger, contoured shield for the setting stage. To further improve control, technicians can mix lash lift glue powder into their lotions to thicken the consistency and reduce product migration.

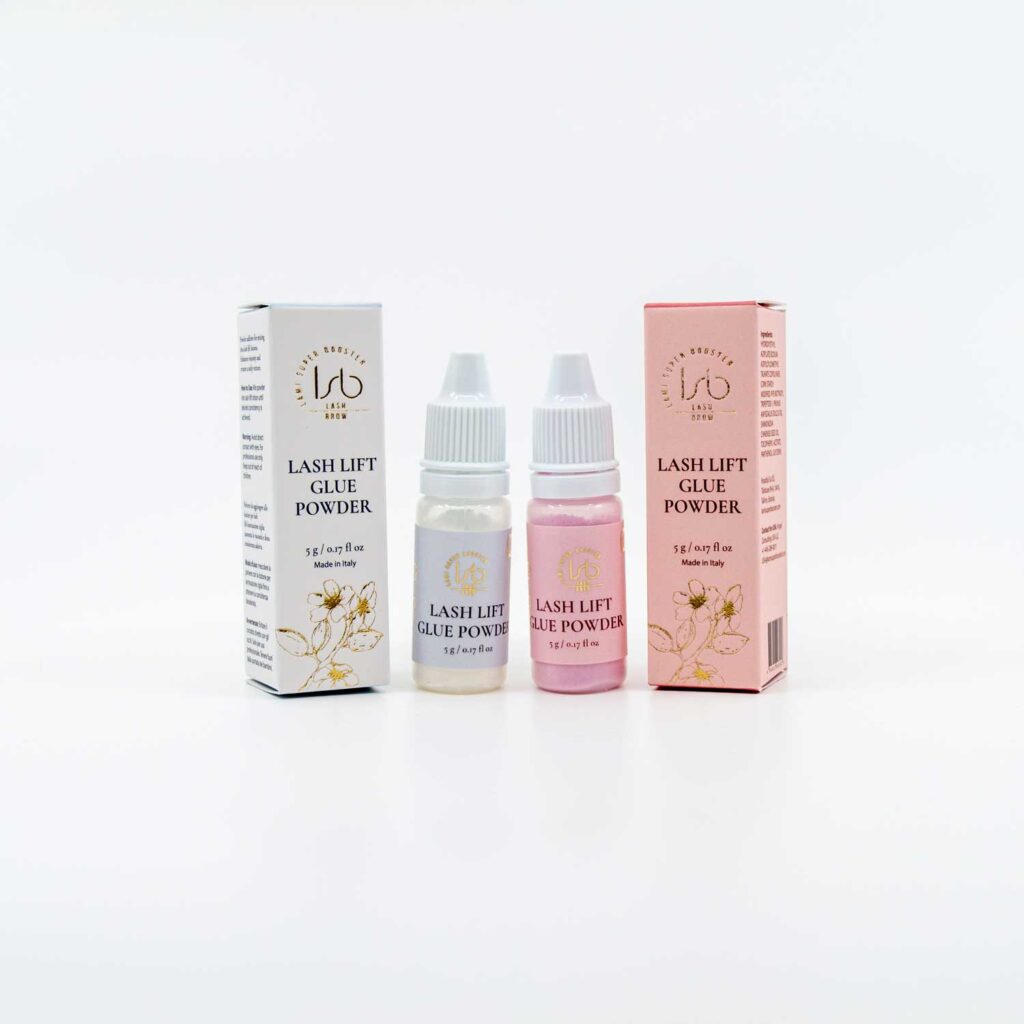
Lash Lift Glue Powder
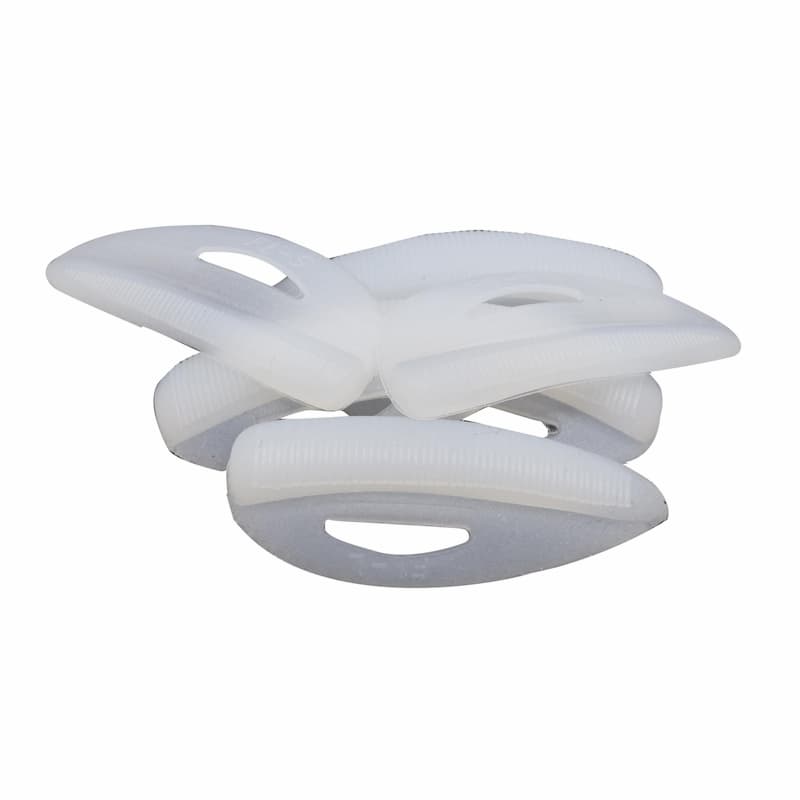
Glueless and Ergonomic Shapes
Newer glueless shields are manufactured from high-grade, ultra-soft silicone that adheres to the eyelid without additional adhesive. This innovation reduces skin irritation and simplifies the cleanup process. Some designs also feature ergonomic grips, such as cat-ear tabs, to make placement and removal significantly easier for the technician. These flexible materials conform better to various eye shapes, ensuring the shield stays flush against the lid throughout the entire processing time.

Maintaining Your Kit
Consistent results depend on the integrity of your tools, as silicone is a porous material that can absorb tints or adhesives over time. To maintain safety and performance, you must clean your lash lift shields immediately after every use. Begin by washing them with warm water and antibacterial soap, then immerse them in a high-level disinfectant, such as 70% alcohol, for at least 10 minutes, then rinse and set to dry. Inspect your shields regularly for any loss of shape, discoloration, or persistent stickiness that could interfere with lash placement.
Selecting the right shield size is a skill that blends mathematical measurement with an artistic eye for facial symmetry. By mastering the relationship between lash length and shield curvature, you ensure that every client leaves with a lift that is perfectly tailored to their unique features. To support the longevity of your work, always provide clients with high-quality lash lift aftercare products to keep the lashes nourished and the curl intact between appointments.